 (1)")

There is something undeniably charming about furniture that looks like it has a story to tell. While pristine, brand-new finishes have their place, the worn, weathered look of distressed wood adds instant character and warmth to any room.
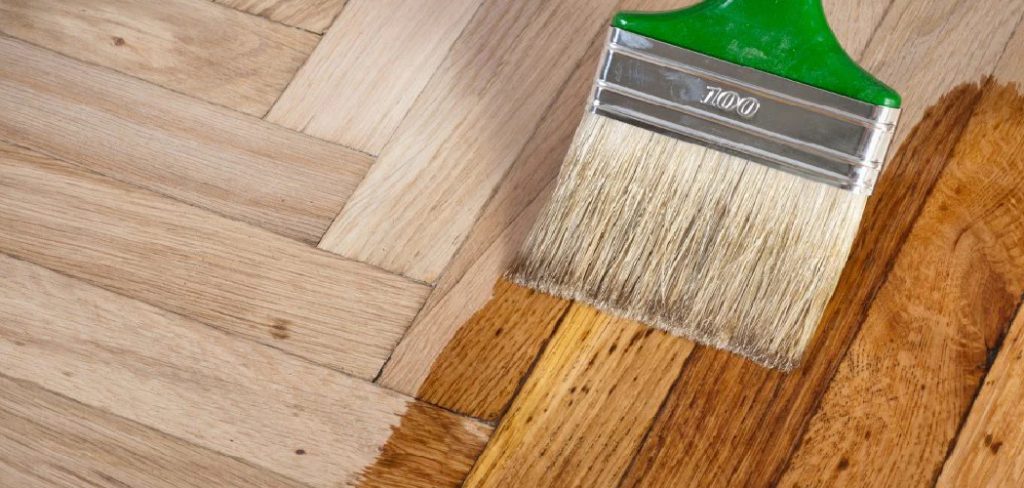
Whether you’re trying to achieve a farmhouse chic aesthetic or simply want to breathe new life into a thrift store find, mastering the art of distressing wood is a game-changer for DIY enthusiasts.
In this guide on how to paint wood to make it look distressed, we will walk you through the process of transforming ordinary wood into a beautifully aged masterpiece. You don’t need years of woodworking experience to pull this off—just a little patience and the right technique.
What are the Benefits?
Why would you take perfectly good wood and make it look old on purpose? It might seem counterintuitive, but there are several fantastic reasons to embrace the distressed look.
First, it is incredibly forgiving. Unlike high-gloss finishes that show every smudge, fingerprint, and scratch, distressed furniture hides daily wear and tear. If you accidentally bump it or scratch it later, it just adds to the charm rather than ruining the finish. This makes it perfect for high-traffic homes with kids or pets.
Second, it allows you to customize your decor on a budget. You can take an inexpensive, mass-produced piece of furniture or a roadside find and turn it into a custom statement piece that looks like an expensive antique. It’s a sustainable way to upcycle items that might otherwise end up in a landfill.
Finally, it adds texture and depth to your interior design. A room full of new, flat surfaces can feel sterile. A distressed piece breaks up the monotony and makes a space feel lived-in and cozy.
What Will You Need?
Before you start painting, gather your supplies. Having everything within arm’s reach will make the process much smoother.
- Wood Furniture or Object: The piece you intend to paint.
- Sandpaper: Various grits are essential. Grab some 80-grit for heavy sanding, 150-grit for smoothing, and 220-grit for finishing.
- Sanding Block or Palm Sander: For larger surfaces, an electric palm sander saves time, but a hand block works for detail work.
- Paint: Two contrasting colors work best. A base coat (often a dark wood stain or dark paint) and a top coat (often white, cream, or a pastel). Chalk-style paint is highly recommended for this technique as it sands easily.
- Paintbrushes: A high-quality synthetic brush for the main painting and a cheaper chip brush if you want to try dry brushing.
- Candle Wax or Vaseline: This is the secret ingredient for the “resist” technique.
- Drop Cloth: To protect your workspace.
- Tack Cloth or Rags: For cleaning up dust.
- Steel Wool: For subtle distressing.
- Clear Wax or Polyurethane: To seal and protect your finished work.
10 Easy Steps on How to Paint Wood to Make it Look Distressed
Creating that perfect aged look is all about layers and strategic removal of paint. Follow these steps to achieve a professional-looking distressed finish.
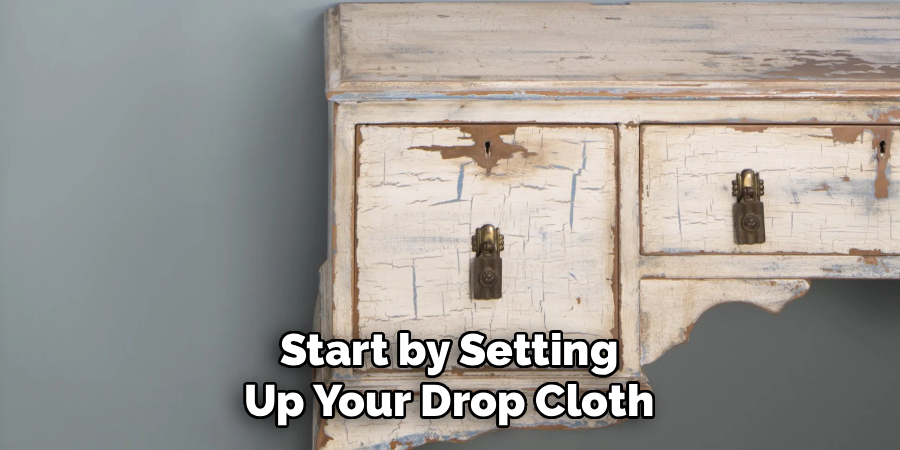
Step 1: Prepare Your Workspace and Surface
Start by setting up your drop cloth in a well-ventilated area. Preparation is the unglamorous part of DIY, but it is the most critical for a lasting finish. Remove any hardware, such as knobs, handles, or hinges, from your piece. If the wood currently has a glossy finish, you need to scuff it up so the new paint will stick. Take your 150-grit sandpaper and give the entire piece a light sanding. You aren’t trying to strip it bare; you just want to remove the shine and create a “tooth” for the paint to grab onto. Wipe away all the dust with a tack cloth.
Step 2: Apply the Base Coat or Stain
This layer is what will “peek through” the distressing later. If you want natural wood to show through your final paint color, you might stain the wood a dark walnut or espresso color here. If you want a two-tone paint look (like blue showing through white), paint your base color now. Apply a smooth, even coat. Don’t worry if it isn’t absolutely perfect, as much of it will be covered. Let this coat dry completely according to the manufacturer’s instructions. If you used a stain, ensure it is fully cured before moving to the next step to prevent bleeding.
Step 3: Apply Wax to Strategic Areas
This is where the magic happens. Take your candle stub or a small amount of Vaseline. Rub the wax over areas where wear and tear would naturally occur. Think about where hands would touch or where the furniture would bump against things over decades. Focus on corners, edges, raised details, and around handle holes. The wax acts as a “resist,” preventing the top coat of paint from adhering to these specific spots. It essentially saves the base coat underneath so you can easily reveal it later.
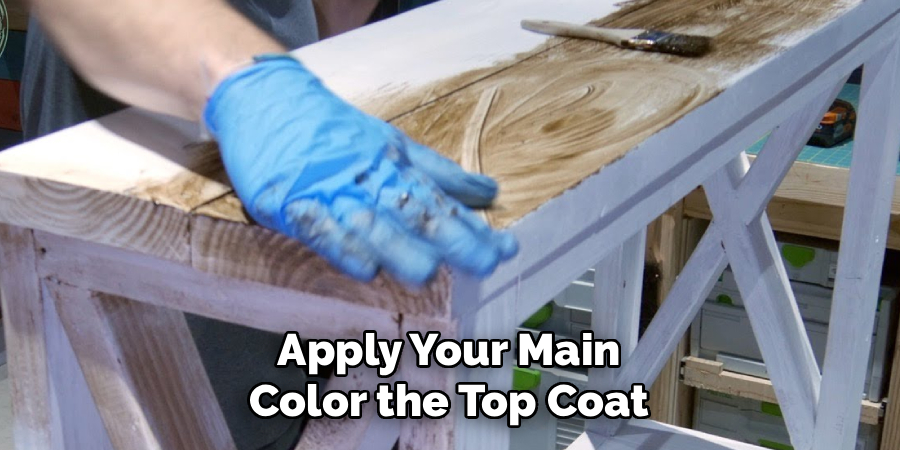
Step 4: Paint the Top Coat
Now, apply your main color—the top coat. Chalk-style paints are excellent here because they dry with a matte, chalky finish that looks authentically vintage. Paint right over the entire piece, including the areas where you applied the wax. Depending on the coverage of your paint and the color difference between your base and top coat, you may need two coats. If you do apply a second coat, make sure the first one is dry to the touch. Don’t worry if the paint looks a bit uneven over the waxed spots; that is part of the plan.
Step 5: Let the Paint Dry Thoroughly
Patience is key in this step. You must let the top coat dry completely. If you try to distress the paint while it is still tacky, it will peel off in gummy strips rather than chipping away authentically. This can ruin the effect. Wait at least a few hours, or overnight if possible. The paint should feel dry, hard, and room temperature to the touch.
Step 6: The Distressing Process
Grab your sandpaper (150-grit or 220-grit) or a sanding block. Gently sand over the areas where you applied the wax in Step 3. Because of the wax, the top layer of paint shouldn’t stick well in those spots. As you sand, the paint should flake away easily, revealing the dark stain or base color underneath. This creates that chipped, time-worn appearance. Apply varying pressure: press harder for a more rugged look, or use a light hand for subtle aging.
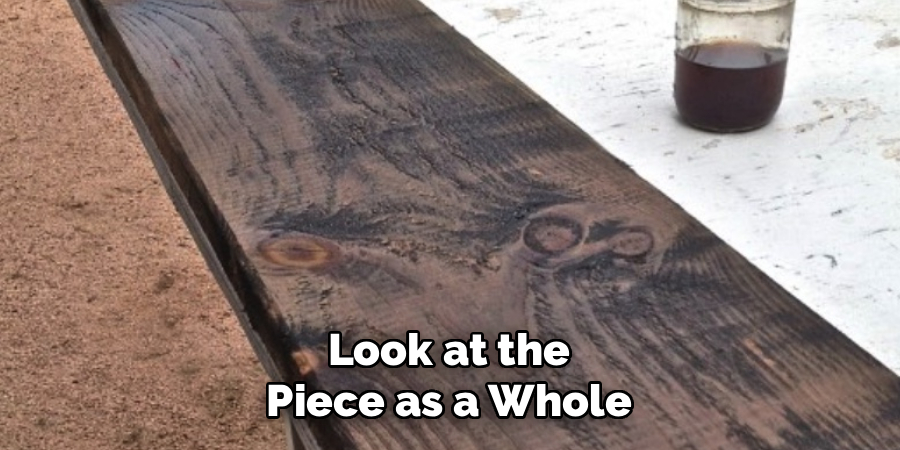
Step 7: Distressing Non-Waxed Areas
You don’t have to limit yourself only to the waxed spots. Look at the piece as a whole. Does it need more weathering? You can take rougher sandpaper (80-grit) to the edges and corners that you didn’t wax. Sanding through the paint without the wax resist takes a bit more elbow grease and creates a smoother, worn-down look rather than a chipped look. This combination of “chipped” (from wax) and “worn” (from sanding) creates a very realistic vintage aesthetic.
Step 8: Clean and Dust Off
By now, your piece will be covered in fine paint dust. It creates a mess, but it means you are doing it right! Use a vacuum with a brush attachment to remove the bulk of the dust. Follow up with a tack cloth or a slightly damp rag to wipe down the entire surface. You want the surface to be completely dust-free before sealing it. Any dust left behind will get trapped in your clear coat, making the finish feel gritty.
Step 9: Optional: Add an Antique Glaze
If the color feels too bright or “new” despite the distressing, you can add an antique glaze or dark wax. This step adds a layer of grime and age that settles into the crevices. Brush on a small amount of dark wax or glaze, working in small sections. Immediately wipe most of it back off with a clean, lint-free cloth. The dark pigment will stay in the brush strokes and corners, giving the piece a shadowed, aged patina.
Step 10: Seal and Protect
All that hard work needs protection. Because you’ve sanded the paint, it is porous and vulnerable to stains and water damage. Apply a clear sealing wax or a water-based polyurethane topcoat. Clear wax is traditional for chalk-style paints and gives a soft, hand-rubbed luster. Polyurethane provides stronger durability, which is better for tabletops or high-traffic pieces. Apply the sealer evenly, let it cure, and then reattach your hardware.
5 Things You Should Avoid
- Skipping the Prep Work: Never paint directly over a glossy or dirty surface without cleaning and sanding first. The paint will eventually peel right off in sheets, ruining your hard work.
- Over-Distressing Everywhere: Avoid sanding random spots in the middle of flat surfaces. Real wear happens on edges, corners, and handles. Random spots in the middle look artificial and manufactured.
- Using High-Gloss Paint: Shiny paint rarely looks authentically old. Avoid high-gloss or semi-gloss paints for the top coat. Stick to matte, eggshell, or specifically formulated chalk paints for the best vintage results.
- Rushing Drying Times: Do not try to sand paint that is still wet or tacky. It will gum up your sandpaper and create ugly smears instead of clean, distressed chips.
- Forgetting to Seal: Don’t leave your distressed piece unsealed. Exposed chalk paint attracts dirt and absorbs oils from your hands. Always finish with wax or poly to lock in the look.
Conclusion
Distressing wood is more than just a painting technique; it is a creative way to tell a story with your furniture. By following these steps, you can transform generic pieces into custom, character-filled treasures that anchor your home’s decor. Remember, the beauty of this style lies in its imperfections. Don’t stress about making mistakes—if you sand off too much, you can always add a little paint back.
Hopefully, this guide on how to paint wood to make it look distressed has inspired you to give distressing a try and add some personality to your furniture.
So grab your sandpaper, pick your colors, and enjoy the rewarding process of making something “new” look beautifully old.
About
Mike May is a distinguished figure in the world of woodworking and timber design, with a decade of expertise creating innovative and sustainable indoor solutions. His professional focus lies in merging traditional craftsmanship with modern manufacturing techniques, fostering designs that are both practical and environmentally conscious. As the author of Woodimber, Mike delves into the art and science of timber-craft, inspiring artisans and industry professionals alike.
Education
RMIT University (Melbourne, Australia)
-
Associate Degree in Design (Timber): Focus on sustainable design, industry-driven projects, and practical craftsmanship.
-
Gained hands-on experience with traditional and digital manufacturing tools, such as CAD and CNC software.
Nottingham Trent University (United Kingdom)
-
Bachelor’s in Woodworking and Product Design (Honors): Specialized in product design with a focus on blending creativity with production techniques.
-
Participated in industry projects, working with companies like John Lewis and Vitsoe to gain real-world insights.
Publications and Impact
In Woodimber, May shares his insights on timber design processes, materials, and strategies for efficient production. His writing bridges the gap between artisan knowledge and modern industry needs, making it a must-read for both budding designers and seasoned professionals.