 (1)")

Building a wooden boat is a timeless craft that connects you to centuries of maritime tradition. There’s a unique satisfaction that comes from gliding across the water in a vessel you’ve built with your own hands.
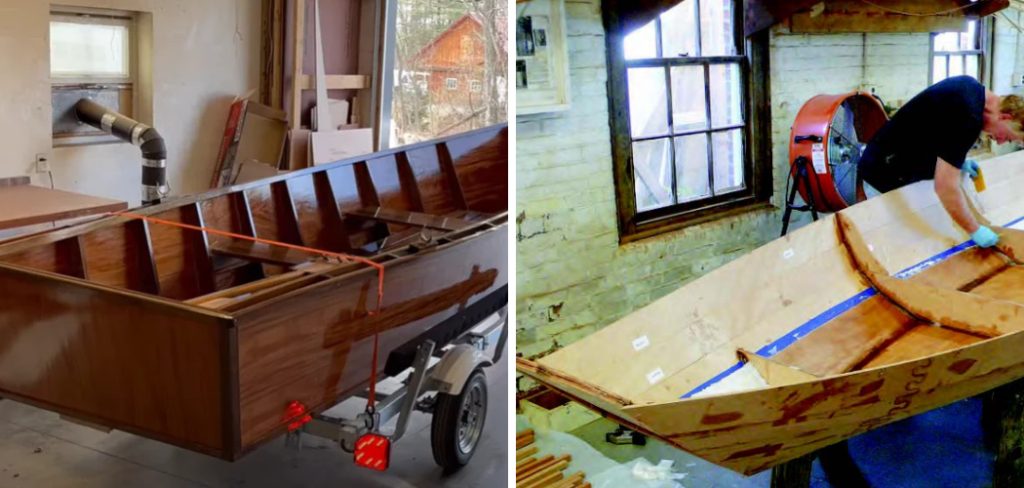
This guide on how to make wooden boat will walk you through the process, from selecting your materials to applying the final coat of varnish. It’s a journey of patience, skill, and ultimately, immense reward.
Whether you dream of peaceful days fishing on a quiet lake or simply want a new, fulfilling project, this comprehensive guide will provide the foundation you need to turn raw timber into a beautiful, functional boat.
What Will You Need?
Before you begin, gathering the right tools and materials is crucial for a smooth and successful build. This list covers the essentials, though your specific boat plan may require additional items.
Materials:
- Boat Plans: A detailed set of plans is the most important item. Choose a design that matches your skill level and intended use.
- Marine-Grade Plywood: This is essential for the hull as it’s designed to resist water and delamination.
- Solid Lumber: For framing, gunwales, and transom. Woods like mahogany, cypress, or white oak are excellent choices due to their rot resistance and workability.
- Epoxy Resin and Hardener: This is the glue that will hold your boat together and provide a waterproof barrier.
- Fiberglass Cloth: Used in combination with epoxy to reinforce seams and add strength to the hull.
- Fasteners: Stainless steel or bronze screws and nails to prevent rust and corrosion.
- Marine Varnish or Paint: To protect the wood from UV rays and water damage.
- Wood Filler: Epoxy-based filler for fairing the hull and filling any gaps.
Tools:
- Safety Gear: Goggles, a dust mask, and gloves are non-negotiable.
- Measuring Tools: Tape measure, combination square, and a long, flexible straightedge.
- Cutting Tools: A high-quality jigsaw is essential for cutting curves. A circular saw and a hand saw will also be necessary.
- Shaping Tools: A block plane, spokeshave, and various rasps for shaping wood.
- Sanding Tools: A random orbit sander and a variety of sandpaper grits (from 80 to 220).
- Clamps: You can never have too many. A variety of C-clamps and spring clamps are needed to hold pieces together while the epoxy cures.
- Drill: A cordless drill with a set of bits for pilot holes and driving screws.
- Mixing and Application Tools: Disposable cups, mixing sticks, plastic spreaders, and bristle brushes for epoxy and paint.
10 Easy Steps on How to Make Wooden Boat
Step 1: Set Up Your Workspace and Build the Frame
The first step is to prepare your environment. You need a large, well-lit, and ventilated space where the boat can be assembled without being moved until it’s complete. A garage or large workshop is ideal. Clear the floor and consider building a pair of sturdy sawhorses that will support your project at a comfortable working height.
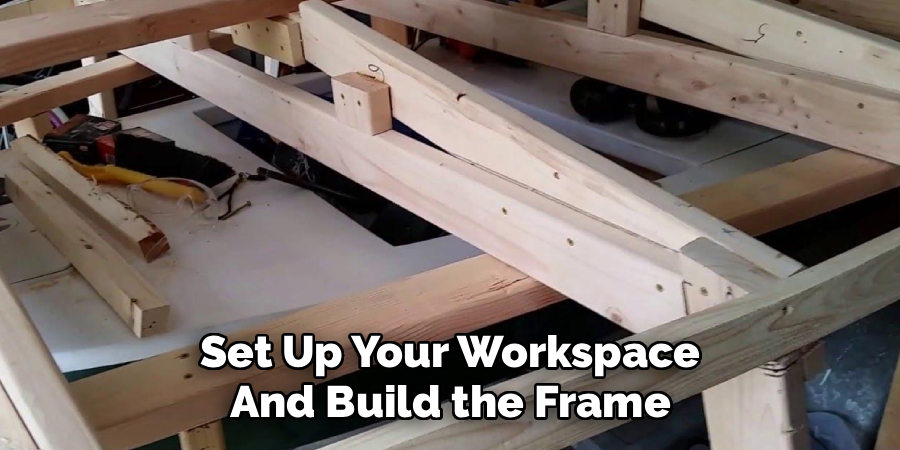
Once your space is ready, you’ll construct the building frame, also known as a strongback. This is a rigid, level ladder-like structure that will serve as the foundation for your build. It must be perfectly straight and level, as the entire boat will be built upon it. Refer to your plans to construct the strongback to the specified dimensions. After the strongback is built, you will mount the temporary frames or molds onto it according to the spacing detailed in your boat plans.
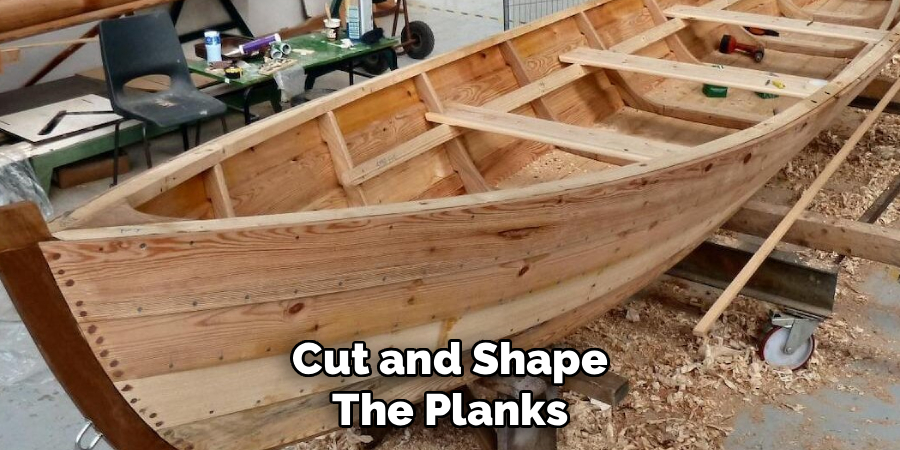
Step 2: Cut and Shape the Planks
With the molds in place, you can begin cutting the planks that will form the hull. Most modern small boat plans use a method called “stitch and glue,” which relies on large sheets of marine-grade plywood. Carefully transfer the full-size patterns from your plans onto the plywood sheets. Double-check all your measurements before making any cuts. A jigsaw with a fine-toothed blade is the best tool for cutting the curved shapes of the planks.
For plank-on-frame construction, you will be cutting long, narrow strips of solid wood. These will need to be beveled along the edges so they fit tightly against each other as they bend around the frames. Use a block plane or a power planer to create these bevels.
Step 3: Assembling the Hull
This is where your boat starts to take shape. For stitch-and-glue construction, you will lay the cut plywood panels into the molds and temporarily “stitch” them together along the seams using short lengths of copper wire. Twist the wires tightly enough to pull the panels together, but leave them loose enough for minor adjustments. This process will pull the flat panels into a three-dimensional boat shape.
For traditional plank-on-frame boats, you will attach each plank to the boat’s frames (ribs) and stem. This is done with screws and adhesive. Starting from the bottom (the keel) and working your way up, you’ll attach one plank at a time, ensuring it follows the curve of the frames smoothly. You will need many clamps to hold the planks in place while the adhesive cures.
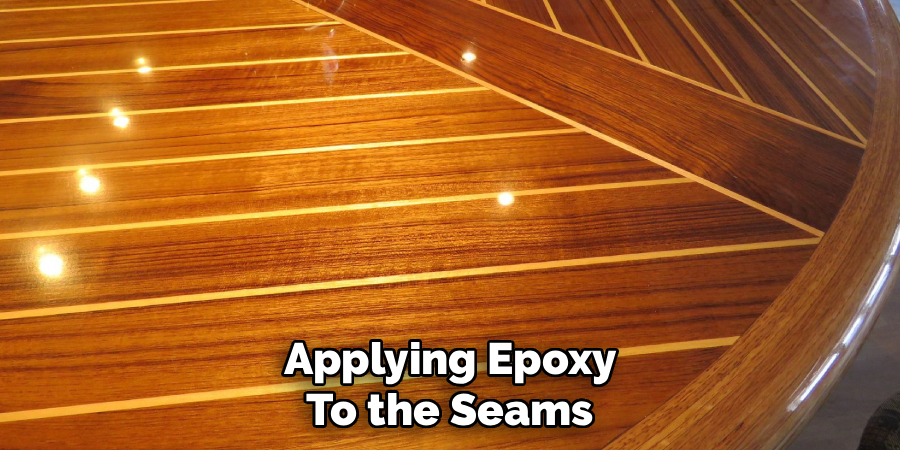
Step 4: Applying Epoxy to the Seams
Once the hull is stitched or planked together, the next step is to make the seams permanent and waterproof. This is done with epoxy. Mix the epoxy resin and hardener according to the manufacturer’s instructions in small batches, as it has a limited working time.
For a stitch-and-glue boat, apply epoxy “fillets” to the inside seams. A fillet is a continuous bead of thickened epoxy that creates a strong, rounded joint. After applying the fillets, you’ll lay fiberglass tape over them and saturate it with more epoxy. This combination of fillet and tape creates an incredibly strong and waterproof joint. Once the inside is complete, you will flip the boat, remove the copper wires, and repeat the process on the exterior seams.
Step 5: Adding the Transom and Stem
The transom is the flat surface at the back of the boat, and the stem is the foremost part of the bow. These pieces provide crucial structural integrity. They are typically made from solid wood or multiple layers of plywood laminated together for strength.
Cut the transom and stem according to your plans. Pay close attention to the angles, as they determine the final shape and performance of the boat. Attach these pieces to the hull using thickened epoxy and stainless steel or bronze screws. Ensure a tight, gap-free fit. You will need to clamp these parts securely in place while the epoxy cures, which can take up to 24 hours depending on the temperature and brand of epoxy. This is a critical structural step, so precision is essential.
Step 6: Installing the Inwales and Gunwales
The gunwales (pronounced “gunwales”) are the top edges of the boat’s sides. They consist of two main parts: the inwale (on the inside) and the outwale (on the outside). These pieces stiffen the hull, protect the top edge of the plywood or planks, and provide a finished look.
The inwales and outwales are typically long strips of flexible, strong wood like ash or oak. They need to be bent to follow the sheer line (the curve of the boat’s top edge). This can be challenging. For tight curves, you may need to steam or laminate thin strips of wood to make the bend.
Step 7: Fairing the Hull
Fairing is the process of smoothing the hull to create a perfectly smooth, fair curve. This is a time-consuming but vital step for both performance and appearance. An unfair hull with bumps and hollows will create drag in the water and look unprofessional.
Using a long sanding board (a flexible board with sandpaper attached), sand the entire exterior of the hull. The long board will bridge low spots and knock down high spots, revealing imperfections. Fill any low spots with an epoxy-based fairing compound, let it cure, and sand again.
Step 8: Fiberglassing the Exterior (Optional but Recommended)
For maximum durability and abrasion resistance, it’s highly recommended to sheathe the exterior of the hull in fiberglass cloth and epoxy. This is especially true for stitch-and-glue boats. This creates a tough, waterproof “plastic” shell over the wood.
Drape the fiberglass cloth over the faired hull, smoothing out all wrinkles. Mix a batch of un-thickened epoxy and pour it onto the cloth. Use a plastic spreader to work the epoxy into the cloth, saturating it completely. The cloth will become transparent as it absorbs the epoxy. You may need to apply several “fill coats” of epoxy after the initial saturation to completely fill the weave of the cloth. Sand lightly between coats to achieve a perfectly smooth finish.
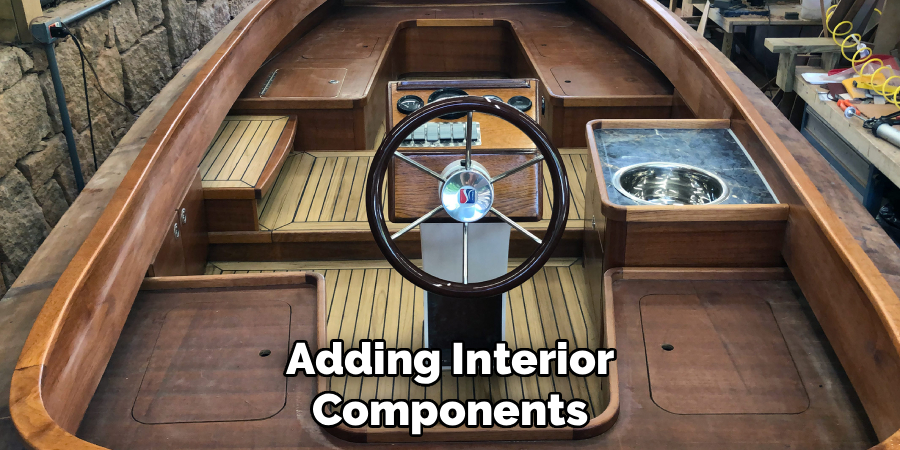
Step 9: Adding Interior Components
With the main hull structure complete, you can now flip the boat upright and begin working on the interior. This includes installing seats, thwarts (cross-braces), floorboards, and any storage compartments your design calls for.
Each of these components adds to the boat’s rigidity and usability. Cut the pieces from marine plywood or solid wood as specified in your plans. Install them using epoxy fillets and screws, just as you did with the hull seams. Take care to measure and fit each piece precisely. This is also your chance to add personal touches, like custom-shaped seats or unique storage solutions.
Step 10: Final Sanding, Painting, and Varnishing
The final step is to protect your boat from the elements and give it a beautiful finish. The key to a great finish is meticulous preparation. Sand the entire boat, inside and out, working your way up to a fine-grit sandpaper (around 220 grit). Vacuum all dust and wipe all surfaces with a clean cloth.
For surfaces you want to paint, apply several thin coats of a high-quality marine primer, followed by several coats of marine topcoat paint. For areas where you want the wood grain to show, apply at least five coats of a good marine varnish with UV inhibitors. Lightly sand between each coat of paint or varnish to achieve a professional, glass-smooth finish.
Conclusion
Building a wooden boat is more than a project; it’s an adventure. The journey from a stack of lumber and a set of plans to a finished vessel is filled with challenges and learning opportunities. The skills you acquire and the satisfaction of creating something beautiful and functional with your own hands are rewards that will last a lifetime. As you apply that final coat of varnish and prepare for your maiden voyage, you’ll not just be a boat owner; you’ll be a boat builder.
Hopefully, this guide on how to make wooden boat has given you a solid understanding of the basic steps involved in building a wooden boat.
Now, it’s time to gather your tools and begin your own journey on the water.
About
Mike May is a distinguished figure in the world of woodworking and timber design, with a decade of expertise creating innovative and sustainable indoor solutions. His professional focus lies in merging traditional craftsmanship with modern manufacturing techniques, fostering designs that are both practical and environmentally conscious. As the author of Woodimber, Mike delves into the art and science of timber-craft, inspiring artisans and industry professionals alike.
Education
RMIT University (Melbourne, Australia)
-
Associate Degree in Design (Timber): Focus on sustainable design, industry-driven projects, and practical craftsmanship.
-
Gained hands-on experience with traditional and digital manufacturing tools, such as CAD and CNC software.
Nottingham Trent University (United Kingdom)
-
Bachelor’s in Woodworking and Product Design (Honors): Specialized in product design with a focus on blending creativity with production techniques.
-
Participated in industry projects, working with companies like John Lewis and Vitsoe to gain real-world insights.
Publications and Impact
In Woodimber, May shares his insights on timber design processes, materials, and strategies for efficient production. His writing bridges the gap between artisan knowledge and modern industry needs, making it a must-read for both budding designers and seasoned professionals.