 (1)")

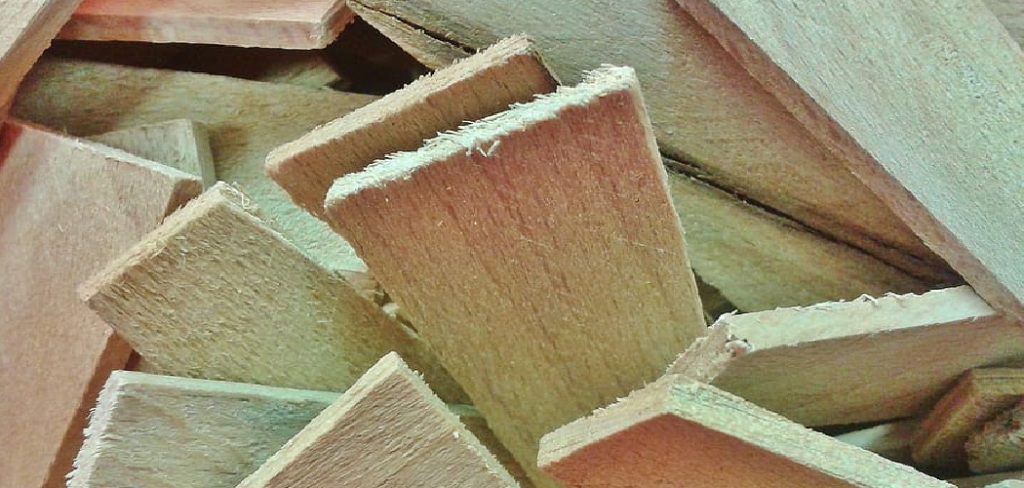
Every woodworker knows the familiar sight: piles of offcuts, leftover boards, and odd-shaped pieces accumulating in the corner of the workshop. What starts as a small stack can quickly become a chaotic mess, making it difficult to find what you need and creating a hazardous environment. But within that pile of “scrap” lies a treasure trove of potential for future projects. Proper storage is the key to unlocking that potential.
This guide on how to store scrap wood provides a comprehensive approach to organizing your scrap wood collection.
By transforming your clutter into a well-ordered system, you’ll not only reclaim valuable workshop space but also streamline your creative process.
What Will You Need?
Before you start, gathering a few essential items will make the process much smoother. You may not need everything on this list, as your specific solution will depend on your space and the amount of wood you have.
For Sorting & Preparation:
- Durable work gloves
- Safety glasses
- Tape measure
- Pencil or marker
- Dust mask
- Shop vacuum or broom and dustpan
For Building Storage Solutions (Optional):
- Plywood, MDF, or solid wood boards
- 2×4 lumber for framing
- Screws or nails
- Drill or impact driver
- Circular saw or miter saw
- Level
- Wall studs finder
- Heavy-duty shelf brackets
- PVC pipes or ABS pipes for vertical storage
- Casters (for mobile carts)
- Wood glue
10 Easy Steps on How to Store Scrap Wood
Follow these steps to transform your scrap wood chaos into an organized, functional system that works for you.
Step 1: Dedicate a Space
The first and most crucial step is to designate a specific area in your workshop for wood storage. This might seem obvious, but failing to commit to a location is why piles form in the first place. Look for a dry, climate-controlled spot away from direct sunlight and moisture. An unused wall, a corner, or the space under a workbench are all excellent candidates. Measure the length, width, and height of your chosen area.

These dimensions will dictate the size and type of storage system you can build or install. Consider accessibility—you need to be able to easily add and remove wood without having to move heavy equipment. By defining this zone, you create a boundary that helps contain the collection and sets the foundation for an organized system. Make sure the location you choose doesn’t obstruct walkways or emergency exits.
Step 2: Pull Everything Out and Clean
Now it’s time to face the pile. Pull every single piece of scrap wood out into an open area where you can see everything. This step is often the most intimidating, but it is non-negotiable for a true reset. As you clear the old storage spot, take the opportunity to do a deep clean. Sweep or vacuum up all the sawdust, wood chips, and debris that have accumulated. A clean slate prevents the transfer of dirt and potential pests to your newly organized wood.
This process also gives you a realistic view of exactly how much wood you have. You might be surprised by the volume and variety of pieces you uncover. This visual inventory is essential for the next step of sorting and will help you design a storage solution that truly meets your needs.
Step 3: Sort Your Scraps by Type and Size
With all your wood laid out, you can begin sorting. The goal is to create logical categories that will make finding pieces easy later. Start by sorting by wood type. Group hardwoods (like oak, maple, and walnut) separately from softwoods (like pine and fir). Then, separate sheet goods such as plywood, MDF, and OSB. Within these primary groups, you can sub-categorize. For example, you might have enough oak to warrant its own pile.
Next, sort each of these categories by size. Create three general-sized piles: large boards and sheets, medium-sized offcuts, and small, chunkier blocks. This initial multi-level sorting seems tedious, but it is the most effective way to understand your inventory. It prevents small, useful pieces from getting lost under large sheets and makes retrieval for a project incredibly efficient.
Step 4: Identify and Discard Unusable Pieces
As you sort, be realistic about what you will actually use. It’s tempting to keep every last sliver, but this hoarding mentality is what leads to clutter. Create a “discard” pile for wood that is no longer viable. This includes pieces that are heavily warped, cracked, rotten, or infested with insects. Also, consider tossing extremely small or oddly shaped offcuts that you know you will never find a use for.

A good rule of thumb is to ask yourself, “Do I have a specific project in mind for this piece, or can I realistically see myself using it in the next year?” If the answer is no, it might be time to let it go. These unusable scraps can often be used as kindling (if untreated) or simply thrown away. This culling process is liberating and frees up valuable space for the wood that truly matters.
Step 5: Process and Prepare Good Pieces
Now that you have your “keep” piles, it’s time to prepare them for storage. This step adds a level of refinement that pays dividends later. First, deny any boards that have old fasteners in them. This is a critical safety step that prevents damage to your saw blades and, more importantly, prevents injuries. Next, consider tidying up the pieces. Trim off any split or ragged ends to create clean, square edges.
For rough-sawn lumber, you might want to run one face and one edge over a jointer to make them flat and straight. Finally, mark the wood. Use a pencil or marker to label the species and dimensions on the end grain of each significant board. For example, “Oak – 1.5″ x 3.5″ x 32″.” This simple act eliminates guesswork and saves you from having to pull out and measure multiple boards to find the right one.
Step 6: Design Your Vertical Storage for Sheet Goods
Sheet goods like plywood, MDF, and large panels are best stored vertically to save floor space and prevent bowing. A simple and effective solution is a wall-mounted rack. You can build one using 2x4s to create a series of deep, vertical bays against a wall. The frame should be securely fastened to wall studs. Make sure the base of the rack has a slight incline, leaning back toward the wall, which uses gravity to keep the sheets stable and prevent them from tipping forward.
The floor of the rack should be made from a smooth material or have a sacrificial layer to prevent damage to the bottom edges of your sheets. If you have limited wall space, a rolling cart with vertical dividers is another excellent option. This provides the same organizational benefits but with the added flexibility of being mobile.
Step 7: Build Bins for Medium and Small Scraps
For the medium and small pieces, a bin system is often the most practical solution. A rolling scrap wood cart is a popular and highly functional project. You can build a simple rectangular box from plywood and divide it into several compartments using more plywood. Designate different sections for different types or sizes of wood. For instance, you could have one bin for hardwood blocks, another for dowel cutoffs, and a third for small plywood scraps.

Adding heavy-duty casters to the bottom of the cart makes it easy to move around the shop, so you can bring your scrap collection right to your workstation. If a large cart is too much, smaller, labeled bins that fit on a shelf or under a workbench can also work well. The key is compartmentalization, which keeps smaller pieces organized and visible.
Step 8: Create Horizontal Storage for Long Boards
Long, narrow boards require horizontal storage to keep them flat and prevent them from warping. Wall-mounted lumber racks are the industry standard for this task. You can purchase pre-made heavy-duty steel brackets or build your own wooden ones. A common DIY method involves creating sturdy L-shaped brackets from 2x4s and plywood gussets for reinforcement. Install these brackets in a series, securely anchored to the wall studs.
Ensure they are perfectly level with each other to provide even support along the entire length of the boards. Space the brackets every 16 to 24 inches for optimal stability. When placing boards on the rack, put the longest and heaviest ones on the bottom shelves. This method keeps your lumber off the floor, well-supported, and easy to access.
Step 9: Label Everything Clearly
Organization systems are only effective if they are easy to use. Labeling is the final touch that makes your new storage solution intuitive. For your horizontal rack, you can label the front of each shelf with the type of wood it holds (e.g., “Walnut,” “Pine,” “Poplar”). For your scrap bins, attach clear labels to the outside indicating their contents (“Hardwood Blocks,” “Plywood Cutoffs < 12 inches,” “Dowels”). You can use a label maker, stencils, or even just a permanent marker on masking tape.
This simple step saves you the mental energy of remembering where you put everything. It allows you to find the exact piece you need in seconds, streamlining your workflow and making your time in the shop more productive and enjoyable.
Step 10: Maintain the System
Your work isn’t done once the last board is in place. A storage system requires maintenance to remain effective. Make it a habit to put wood back in its designated spot immediately after cutting. Don’t let new offcuts pile up on your workbench. Take five minutes at the end of each work session to return scraps to their proper bin or rack.

Periodically—perhaps once every six months—go through your collection again. Cull pieces you haven’t used and reorganize any sections that have become messy. Regular maintenance is the difference between a long-term solution and a temporary fix. It ensures your workshop stays clean, safe, and organized for the long run.
5 Things You Should Avoid
To protect your wood and ensure your safety, avoid these common storage mistakes:
- Storing Wood Directly on Concrete Floors: Concrete wicks moisture from the ground, which can cause the bottom layer of your wood pile to warp, grow mold, or rot. Always elevate your wood on risers or shelves.
- Piling Wood Unevenly: A haphazard pile creates uneven pressure, leading to bowing and warping. It’s also a significant safety hazard, as the unstable pile could collapse and cause injury.
- Exposing Wood to Direct Sunlight or Moisture: UV rays can discolor and dry out wood, while moisture from rain or leaks can ruin it. Store your wood indoors in a climate-controlled environment away from windows and known damp spots.
- Mixing Treated and Untreated Wood: Pressure-treated wood contains chemicals that can be harmful if burned. Keep it separate from your regular scrap pile to avoid accidentally using it for an indoor project or as kindling.
- Forgetting About Pest Control: Wood piles can become attractive homes for termites, carpenter ants, and powderpost beetles. Keep the storage area clean, dry, and well-ventilated to make it less hospitable for pests.
Conclusion
Transforming a chaotic scrap pile into an organized wood library is one of the most rewarding upgrades you can make to your workshop.
By implementing a system of sorting, culling, and dedicated storage, you not only create a safer and more efficient workspace but also honor the value of every piece of lumber. A well-maintained system saves you time, reduces waste, and keeps your materials in prime condition for your next project.
Hopefully, this guide on how to store scrap wood has provided you with practical tips and techniques to help you get started on your own wood library. Happy organizing!
About
Mike May is a distinguished figure in the world of woodworking and timber design, with a decade of expertise creating innovative and sustainable indoor solutions. His professional focus lies in merging traditional craftsmanship with modern manufacturing techniques, fostering designs that are both practical and environmentally conscious. As the author of Woodimber, Mike delves into the art and science of timber-craft, inspiring artisans and industry professionals alike.
Education
RMIT University (Melbourne, Australia)
-
Associate Degree in Design (Timber): Focus on sustainable design, industry-driven projects, and practical craftsmanship.
-
Gained hands-on experience with traditional and digital manufacturing tools, such as CAD and CNC software.
Nottingham Trent University (United Kingdom)
-
Bachelor’s in Woodworking and Product Design (Honors): Specialized in product design with a focus on blending creativity with production techniques.
-
Participated in industry projects, working with companies like John Lewis and Vitsoe to gain real-world insights.
Publications and Impact
In Woodimber, May shares his insights on timber design processes, materials, and strategies for efficient production. His writing bridges the gap between artisan knowledge and modern industry needs, making it a must-read for both budding designers and seasoned professionals.