 (1)")

Hardwood floors have a quiet way of elevating a home—they radiate warmth, texture, and a sense of permanence. Yet keeping them gleaming can feel almost Sisyphean. Dust settles, dirt migrates in, and daily foot traffic relentlessly dulls their natural beauty. It’s frustrating, yes, but restoring that reflective, almost mirror-like quality doesn’t require hiring professionals or resorting to harsh chemicals that could do more harm than good.

With the right approach, patience, and some simple materials, you can bring out a shine that seems effortless yet precise. This guide on how to get hardwood floors to shine explores practical methods for making hardwood floors gleam, whether you’re tackling years of grime or simply hoping to enhance the natural luster of your wood. The goal is professional-quality results—without the professional price tag.
Materials You’ll Need
- Broom or vacuum cleaner
- Microfiber mop
- Warm water
- Hardwood floor cleaner or white vinegar
- Bucket
- Soft cloths or mop pads
7 Simple Guides on How to Get Hardwood Floors to Shine
Step 1: Clear and Prepare the Area
Start by removing all furniture, rugs, and objects from the room. It may feel tedious, but cleaning around obstacles almost guarantees uneven results—dust will cling to edges, corners, and hidden nooks. If moving heavy pieces isn’t feasible, work in sections, relocating items gradually.
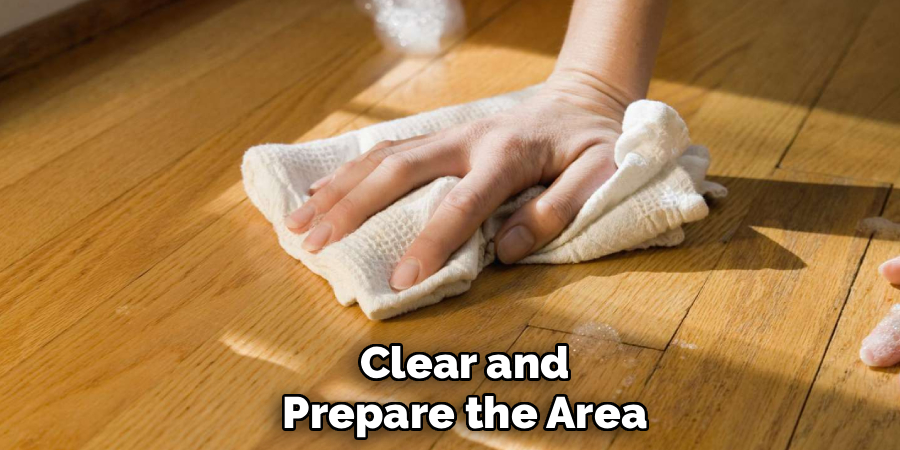
Corners and baseboards deserve special attention; dust and debris accumulate where you least expect them. Open windows to improve ventilation, which not only accelerates drying but also reduces the risk of moisture damage. Essentially, preparation is about minimizing surprises later. Skipping this step can mean repeating the entire process—a frustrating prospect.
Step 2: Remove Loose Dirt and Debris
A thorough sweep or vacuum is critical. Use a soft-bristle broom or a vacuum designed for hardwood to avoid scratches. Many standard vacuum beater bars are too aggressive and can leave micro-scratches, so either turn this feature off or use an appropriate attachment.
High-traffic areas tend to harbor the most dirt, but don’t neglect corners and along baseboards. Even a small dust accumulation left behind can muddy your efforts during wet cleaning. Investing time here prevents frustration—and protects the wood itself.
Step 3: Deep Clean with an Appropriate Solution
For cleaning, a pH-neutral hardwood floor product works well; follow the manufacturer’s instructions closely. A home-made alternative is one cup of white vinegar in a gallon of warm water. Whatever solution you use, the mop should be barely damp. Excess water is not just messy—it can seep between boards, warp wood, and degrade your floor’s finish over time.
Work in sections and follow the direction of the grain, moving from one end of the room toward the exit to avoid walking on freshly cleaned surfaces. Rinse your mop frequently, or you risk spreading dirt instead of removing it. This deep clean strips away the grime layer that dulls the wood, laying the groundwork for a polished, reflective surface.
Step 4: Dry the Floor Completely
After each section, wipe the floor thoroughly with clean, dry microfiber cloths. Standing water—even in small amounts—can penetrate seams, distort boards, and ruin finishes. Gaps between planks are particularly susceptible, so be methodical.
Allow at least 30 minutes for air drying, or longer if the room is humid. Fans or open windows can speed this process, but ensure you’re not creating uneven drying patterns. Proper drying is often underestimated, yet it’s essential for a successful polish.

Step 5: Apply Hardwood Floor Polish
Once dry, apply a polish or wax formulated for hardwood. Product instructions vary, so read carefully. Typically, pour a small amount onto the floor and spread it thinly using a microfiber mop or applicator pad, always following the grain. Thin layers prevent buildup, allow more even shine, and reduce the risk of streaking.
Work in manageable sections. Some polishes dry almost immediately, others take time. Regardless, keep pets and family off the floor. Even the slightest misstep during this phase can compromise the final result.
Step 6: Buff to a High Shine
After the polish has dried, buffing brings out its full potential. A clean, dry microfiber cloth or a buffing pad works well; circular motions across the surface encourage a reflective, professional-quality finish.
High-traffic areas often require extra attention—they tend to appear duller than the rest of the floor. Buffing also evens out streaks or patches from polish application. Rushing this step can mean a floor that looks clean but lacks depth and vitality in its shine.
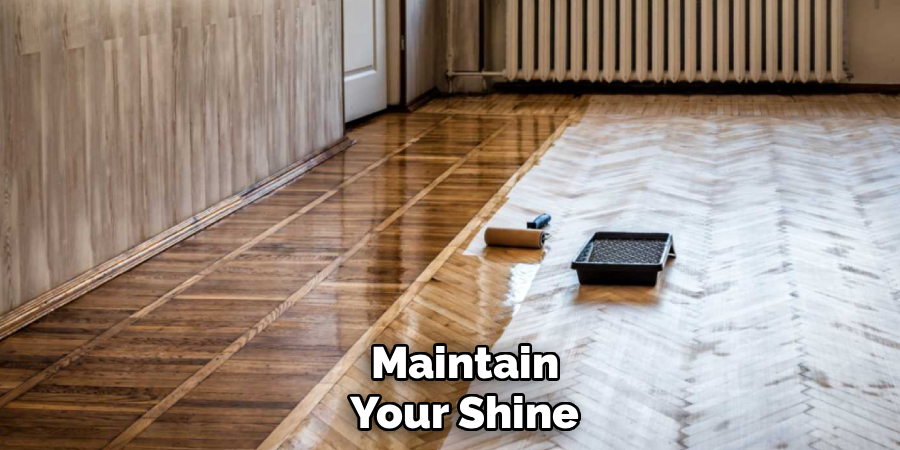
Step 7: Maintain Your Shine
Shine is fleeting without care. Doormats at entryways trap grit before it scratches the surface. Sweep or vacuum at least twice weekly, and clean spills immediately to prevent staining or moisture damage.
Furniture pads under chair and table legs protect against scratches. High heels or worn shoes can leave marks—avoid them when possible. Reapply polish every two to three months, or whenever the sheen begins to fade. These measures may seem small, but collectively they preserve your effort and prevent deep cleaning from becoming necessary too soon.

Following these steps on how to get hardwood floors to shine will have your floors looking brand new in no time! You’ll be able to enjoy the natural beauty of your hardwood floors for years to come with these simple maintenance practices.
Maintaining Hardwood Floors
Proper maintenance is essential to keeping your hardwood floors in pristine condition. Start by sweeping or vacuuming regularly to remove dirt and debris that can scratch the surface over time. Use a soft-bristled broom or a vacuum with a floor brush attachment to ensure gentle cleaning. For deeper cleans, use a damp mop with a wood-friendly cleaner—avoid soaking the mop, as excess moisture can damage the wood.
Protecting your floors from wear and tear is equally important. Place mats at entryways to minimize dirt being tracked inside and use felt pads under furniture legs to prevent scratches. Additionally, keep humidity levels in your home between 30% and 50% to reduce the risk of warping. With consistent care and attention, your hardwood floors will retain their beauty and charm for many years to come.
Common Mistakes to Avoid
Even well-intentioned homeowners can inadvertently damage hardwood floors. Avoid saturating the wood with water or using steam mops; these methods compromise the finish. Harsh chemicals—bleach, ammonia, abrasive powders—strip protection and dull the surface.
Never apply wax over polyurethane, and skip acidic vinegar solutions on waxed floors; they degrade the finish. Lastly, pay close attention to your floor manufacturer’s guidance—different finishes have distinct care requirements. Ignoring this can undo all your careful work.
Frequently Asked Questions
Q: How Often Should I Polish My Hardwood Floors?
A: Frequency depends on foot traffic and finish type. Generally, every two to three months maintains shine without creating buildup. Entryways and kitchens may need monthly attention, while formal rooms can go four to six months. Monitor your floor—if it starts looking dull despite regular cleaning, it’s time to polish again.
Q: Can Vinegar and Water Be Used on All Hardwood Floors?
A: Not always. This solution works on polyurethane-sealed floors but can damage waxed finishes. Unsure of your finish? Test in an inconspicuous area or consult the manufacturer. When in doubt, stick to pH-neutral cleaners designed for your specific flooring type.
Q: How Often Should Hardwood Floors Be Polished?
A: It depends on foot traffic and the type of finish. High-traffic areas like hallways or kitchens may need monthly attention, while formal rooms can go four to six months. Monitor your floor—if it starts looking dull despite regular cleaning, it’s time to polish again.
Q: What Are Some DIY Tips for Polishing Hardwood Floors?
A: If you’re looking to save money and do the polishing yourself, there are a few tips that can help make the process easier and more effective. First, always make sure to properly clean and vacuum your floors before applying any polish. This will ensure that no debris or dirt gets trapped under the polish, resulting in an uneven finish.
Conclusion
Gleaming hardwood floors can transform a home, signaling care, cleanliness, and understated sophistication. By following these seven steps on how to get hardwood floors to shine—preparation, careful cleaning, polish application, and consistent maintenance—you can achieve results that last for months. Consistency matters more than perfection; regular attention prevents the heavy buildup that necessitates laborious deep cleaning.
Set aside a few hours this weekend. Clear the room, gather your materials, and bring your floors back to life. The reflection, depth, and subtle warmth of properly polished hardwood are rewards that endure—both visually and in the quiet satisfaction of a well-cared-for home.
About
Mike May is a distinguished figure in the world of woodworking and timber design, with a decade of expertise creating innovative and sustainable indoor solutions. His professional focus lies in merging traditional craftsmanship with modern manufacturing techniques, fostering designs that are both practical and environmentally conscious. As the author of Woodimber, Mike delves into the art and science of timber-craft, inspiring artisans and industry professionals alike.
Education
RMIT University (Melbourne, Australia)
-
Associate Degree in Design (Timber): Focus on sustainable design, industry-driven projects, and practical craftsmanship.
-
Gained hands-on experience with traditional and digital manufacturing tools, such as CAD and CNC software.
Nottingham Trent University (United Kingdom)
-
Bachelor’s in Woodworking and Product Design (Honors): Specialized in product design with a focus on blending creativity with production techniques.
-
Participated in industry projects, working with companies like John Lewis and Vitsoe to gain real-world insights.
Publications and Impact
In Woodimber, May shares his insights on timber design processes, materials, and strategies for efficient production. His writing bridges the gap between artisan knowledge and modern industry needs, making it a must-read for both budding designers and seasoned professionals.