 (1)")

Finding enough space to store everything from garage tools to pantry staples is a universal challenge. Store-bought shelving units can be expensive, flimsy, or simply the wrong size for your space. The perfect solution is often a custom one you create yourself.
Building your own shelves allows you to maximize every inch of your wall space, creating a sturdy, tailor-made system that perfectly fits your needs and budget. This project might seem daunting, but it is one of the most practical and rewarding entry points into woodworking. Learning how to build wooden shelves for storage is a skill that empowers you to declutter your home, organize your life, and take pride in a functional piece you built with your own hands. This guide is designed for beginners, providing clear instructions to help you construct simple, strong shelves.
Why Building Wooden Shelves is the Ultimate Storage Solution
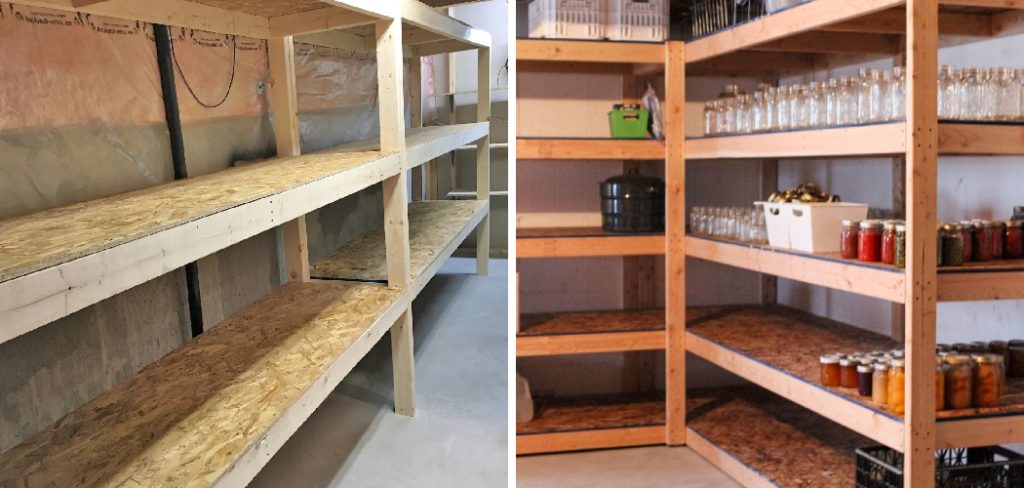
Building your own wooden shelves offers unmatched flexibility and durability compared to most pre-fabricated options. When you build them yourself, you are not limited to standard dimensions. You can design shelves that fit perfectly into an awkward alcove, run the full length of a garage wall, or are spaced precisely to accommodate specific items like large storage totes or small canning jars.
You also control the materials, allowing you to choose high-quality plywood or solid wood boards that can handle significantly more weight than the particleboard found in many flat-pack units. This DIY approach is incredibly cost-effective, providing a robust, long-lasting storage system for a fraction of the cost of retail shelving. The process itself is deeply satisfying, resulting in a practical piece of furniture that you can proudly say you made.
Step-by-Step Guide on How to Build Wooden Shelves for Storage
Step 1: Design Your Shelves and Plan Your Cuts
Before you buy any lumber, you need a solid plan. Decide on the location for your shelves and measure the available width, depth, and height. Determine how many shelves you need and how far apart they should be spaced to accommodate the items you plan to store.
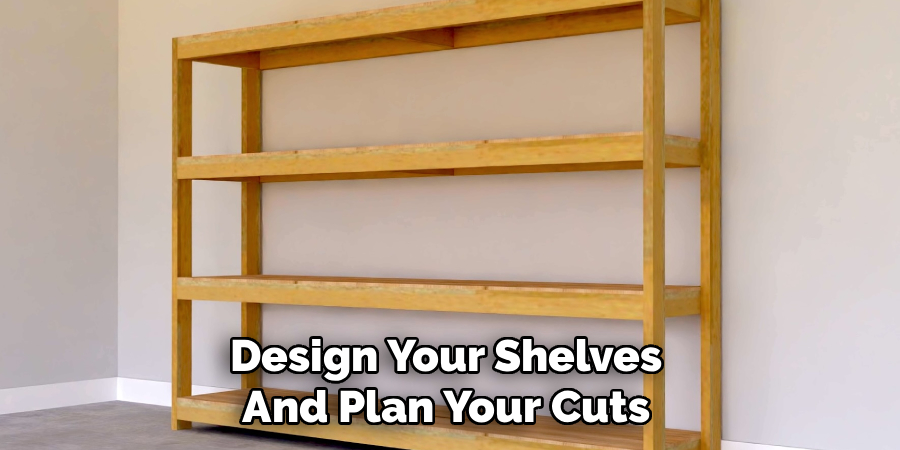
Sketch your design on paper, noting the dimensions of each piece: the vertical uprights, the horizontal shelves, and any support cleats. This plan becomes your cut list, which you will take to the hardware store. For a beginner-friendly design, plan on using 2x4s for the vertical supports and ¾-inch plywood or 1×12 pine boards for the shelves themselves. A detailed plan prevents waste and ensures a smooth assembly process.
Step 2: Gather Your Materials and Tools
With your cut list in hand, head to the hardware store. You will need lumber for your uprights and shelves, such as 2×4 studs and sheets of plywood. Many home improvement stores can make the large cuts for you, which is a great option if you do not own a circular saw.
You will also need wood screws (2.5-inch for the frame and 1.25-inch for attaching shelves), wood glue, sandpaper, and your choice of finish, like paint or polyurethane. Essential tools for this project include a tape measure, a pencil, a power drill with a driver bit, a level, and a saw if you are making your own cuts. Ensure you have safety glasses and gloves before you begin any work.
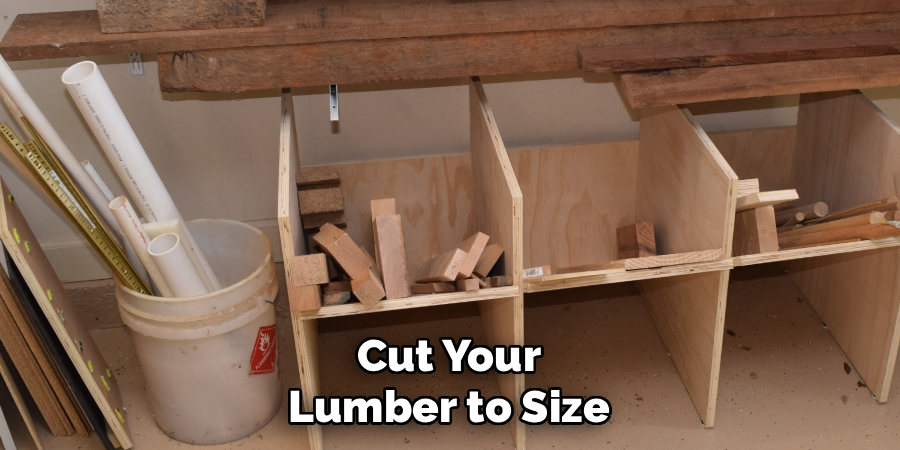
Step 3: Cut Your Lumber to Size
If you did not have your wood cut at the store, this is your first hands-on step. Using your cut list, carefully measure and mark each piece of lumber. A popular carpenter’s motto is “measure twice, cut once” for a reason. Double-check your measurements before making any cuts.
Use a circular saw or miter saw to cut your vertical 2×4 uprights and the horizontal 2×4 shelf supports to their final lengths. If you are using a large sheet of plywood for your shelves, use a straightedge as a guide for your circular saw to ensure a perfectly straight cut. Sand the cut edges of all your pieces to remove any splinters and create a smooth, clean surface for assembly.
Step 4: Assemble the Side Support Frames
The core strength of your shelving unit comes from its frame. You will start by building two ladder-like side frames. Lay two of your vertical 2×4 uprights on a flat surface. Take the shorter 2×4 pieces that will act as the horizontal supports for the shelves and position them between the uprights at the heights you planned earlier.
Use a square to ensure each corner is a perfect 90-degree angle. Apply a bead of wood glue to the ends of each horizontal support, press it into place, and then drive two 2.5-inch wood screws through the vertical upright into the end of each support piece. Repeat this process to build the second side frame.
Step 5: Shelves for Storage Securely
Once both side frames are assembled, it is time to connect them and create the full structure. This step is much easier with a helper to hold the frames upright. Stand the two ladder frames up, parallel to each other.
Connect them at the top and bottom using the remaining 2×4 support pieces for the back of the unit. Ensure the entire structure is square and level before securing these back supports with glue and 2.5-inch screws. This creates a sturdy, self-standing box frame. This framework provides the robust skeleton needed for anyone learning how to build wooden shelves for storage that will hold significant weight without sagging or wobbling.
Step 6: Install the Shelves onto the Frame
With your main frame fully assembled and stable, you can now install the shelves themselves. Take your pre-cut plywood or solid wood shelf boards and lay them on top of the horizontal 2×4 supports. The shelf should sit flush with the front and back of the frame.
To secure it, drive 1.25-inch wood screws down through the top of the shelf and into the 2×4 supports below. Space the screws every 8 to 12 inches for maximum stability, ensuring you drive them into the center of the support beams. This method of attaching the shelves from the top is simple and creates an incredibly strong unit ready for heavy loads.
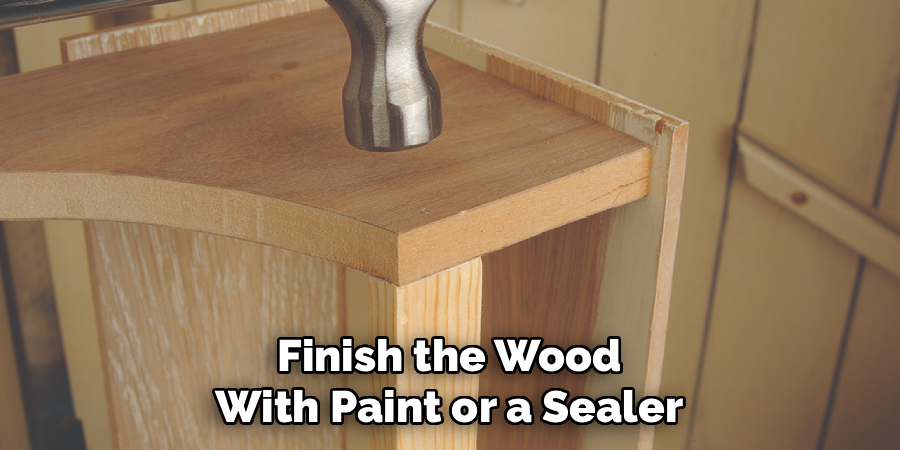
Step 7: Finish the Wood with Paint or a Sealer
The final step is to protect your new shelving unit and give it a finished look. If you plan to paint, apply a coat of primer first, as it helps the paint adhere better and provides a more uniform color. Once the primer is dry, apply two coats of your chosen paint.
If you prefer to showcase the natural wood grain, apply two to three coats of a clear polyurethane or a Danish oil finish. This protective topcoat will prevent the wood from absorbing moisture, make it easier to clean, and guard against stains and scratches, ensuring your shelves look great for years to come.

Frequently Asked Questions (FAQ)
What Is the Best Wood for Building Strong Storage Shelves?
The best wood depends on your budget and what you will be storing.
- Plywood: ¾-inch plywood is an excellent, cost-effective choice. It is very strong, resists sagging over long spans, and is easy to work with.
- Pine Boards: Common pine or fir boards (like 1x12s) are great for a more traditional look. They are affordable but may sag under heavy weight if the span is too long.
- Hardwoods: Oak or maple are extremely strong but are also much more expensive and harder to work with, making them overkill for most garage or pantry shelving.
How Far Apart Can Shelves Be Without Sagging?
The maximum span depends on the shelf material and the load.
- General Rule: For ¾-inch plywood or solid pine holding moderate weight, a span of 32 to 36 inches between supports is a safe maximum.
- Heavy Loads: If you are storing very heavy items like paint cans or engine parts, you should reduce the span to 24 inches or less. You can also add a 1×2 support cleat to the front edge of the shelf to increase its stiffness.
Do I Need to Anchor the Shelves to the Wall?
For tall or narrow shelving units, anchoring is highly recommended for safety.
- Safety: Anchoring prevents the unit from tipping over, which is a serious hazard, especially in homes with children or in earthquake-prone areas.
- Method: Simply use L-brackets to connect the top of the vertical uprights to the wall studs. Use a stud finder to locate the studs and secure the brackets with long screws.
How Can I Make My Shelves Look More Finished?
There are a few simple tricks to give your DIY shelves a professional look.
- Edge Banding: If you use plywood, you can apply iron-on wood veneer edge banding to cover the exposed layers for a solid-wood appearance.
- Fill Screw Holes: Use wood filler to cover all the screw holes before you sand and paint.
- Add Trim: Nailing a thin piece of decorative molding or a 1×2 board to the front edge of each shelf can hide the underlying frame and add a touch of style.
Can I Build These Shelves Without a Saw?
Yes, you can.
- Store Cuts: Most large home improvement stores have a cutting station and will cut your lumber and plywood to size for a small fee (or sometimes for free).
- Planning is Key: To use this service, you must have a precise and accurate cut list prepared before you go to the store. Double-check all your measurements to ensure the pieces will fit together perfectly when you get them home.
Conclusion
Building your own wooden shelves is a project that provides immense practical value and personal satisfaction. It is a straightforward introduction to woodworking that solves a common household problem: the need for more and better storage.
By following a clear plan—from measuring and cutting to assembling and finishing—you can create a custom shelving unit that is stronger, more affordable, and better suited to your space than any store-bought alternative. The key takeaways are to plan carefully, measure accurately, and focus on creating a square and level frame for a stable foundation.
Now that you have a comprehensive guide on how to build wooden shelves for storage, you are ready to reclaim your cluttered spaces. Take the leap, gather your tools, and build a solution that will help you stay organized for years to come.
About
Mike May is a distinguished figure in the world of woodworking and timber design, with a decade of expertise creating innovative and sustainable indoor solutions. His professional focus lies in merging traditional craftsmanship with modern manufacturing techniques, fostering designs that are both practical and environmentally conscious. As the author of Woodimber, Mike delves into the art and science of timber-craft, inspiring artisans and industry professionals alike.
Education
RMIT University (Melbourne, Australia)
-
Associate Degree in Design (Timber): Focus on sustainable design, industry-driven projects, and practical craftsmanship.
-
Gained hands-on experience with traditional and digital manufacturing tools, such as CAD and CNC software.
Nottingham Trent University (United Kingdom)
-
Bachelor’s in Woodworking and Product Design (Honors): Specialized in product design with a focus on blending creativity with production techniques.
-
Participated in industry projects, working with companies like John Lewis and Vitsoe to gain real-world insights.
Publications and Impact
In Woodimber, May shares his insights on timber design processes, materials, and strategies for efficient production. His writing bridges the gap between artisan knowledge and modern industry needs, making it a must-read for both budding designers and seasoned professionals.