 (1)")

Whether you are a seasoned woodworker with a collection of prized hardwoods or a homeowner who uses firewood to stay warm, proper wood storage is essential.
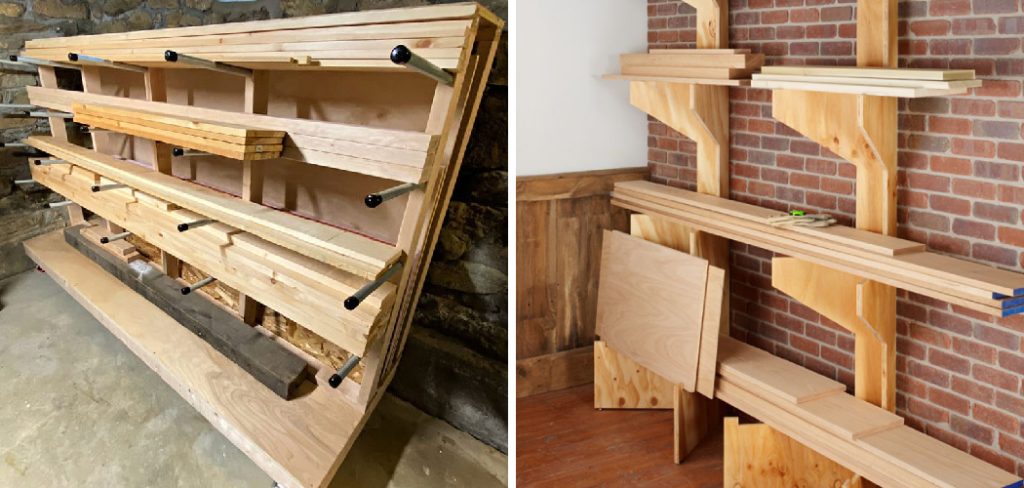
A pile of lumber left on the ground can quickly become a damp, rotting mess, inviting insects and mold. A well-designed rack elevates your wood, promoting air circulation that keeps it dry, clean, and ready for use. Building your own is a fantastic weekend project that adds organization to your garage, workshop, or backyard.
Learning how to build wood storage rack is a straightforward process that requires only basic tools and materials. You do not need to be a master carpenter to construct a sturdy, functional rack that will last for years. This guide is designed for beginners, providing clear, step-by-step instructions to help you create a custom storage solution that perfectly fits your space and your needs. Get ready to transform that messy pile of lumber into an organized and accessible supply.
Why a Wood Storage Rack is Essential
A dedicated wood storage rack is one of the most practical additions you can make to your home or workshop. Its primary benefit is protection. By elevating lumber or firewood off the ground, you prevent it from absorbing ground moisture, which is the leading cause of rot, mold, and insect infestation. This simple act of elevation significantly extends the life of your wood, protecting your investment.
Proper storage also promotes seasoning. Airflow is critical for drying wood effectively, and a rack allows air to circulate freely around all sides of each piece. This speeds up the drying process for firewood, making it burn hotter and cleaner. For lumber, it helps maintain stability and prevents warping. Furthermore, an organized rack makes your space safer and more efficient. You eliminate tripping hazards from scattered piles and can easily see and access the exact piece of wood you need without having to dig through a disorganized stack.
Step-by-Step Guide on How to Build a Wood Storage Rack
Step 1: Design Your Rack and Gather Materials
Before cutting any wood, you need a solid plan. Decide on the dimensions of your rack based on the space you have available and the amount of wood you need to store. A common size for a firewood rack is 4 feet high by 8 feet long, which can hold a half-cord of wood.
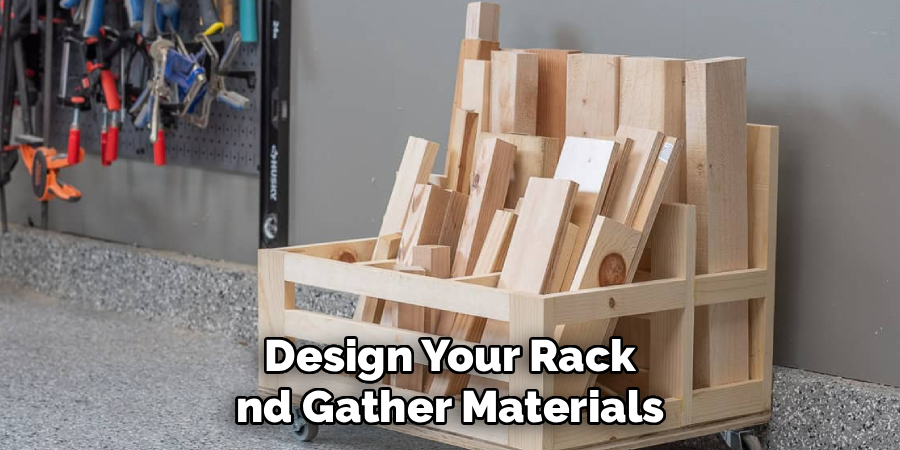
For lumber, you might want multiple tiers. Sketch out your design and create a cut list. For a basic rack, you will need several 2×4 boards for the frame and supports. You will also need 3-inch deck screws, a tape measure, a pencil, a circular saw or miter saw, and a power drill.
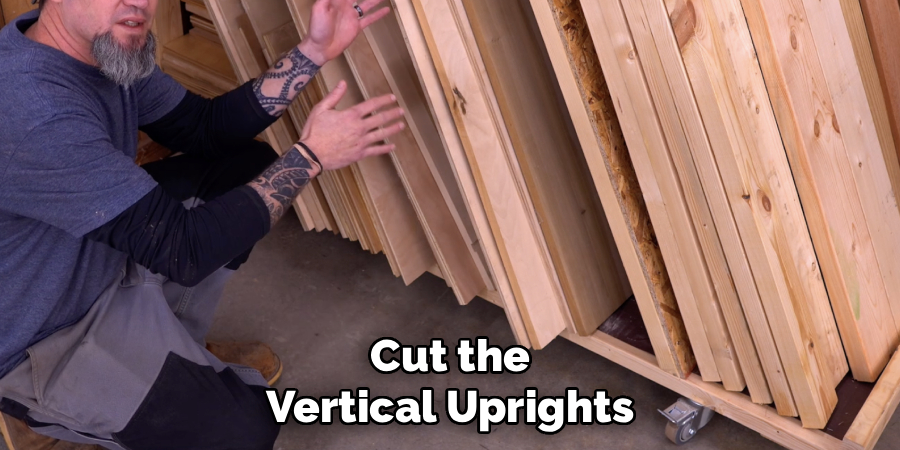
Step 2: Cut the Vertical Uprights
The vertical uprights form the main structure of your rack, bearing the weight of the wood. Using your cut list, measure and mark your 2×4 boards to the desired height of your rack. A height of 4 feet is a good standard as it keeps the wood accessible without becoming unstable. Use your circular saw or miter saw to make straight, precise cuts. It is crucial that all your uprights are exactly the same length to ensure the finished rack sits level and square. Cut four uprights for a standard rectangular rack—two for the front and two for the back.
Step 3: Construct the Base Frame
The base frame provides the foundation and keeps your wood off the ground. You will need to build two identical base pieces. For each base, cut two 2x4s to your desired depth, typically around 16 to 24 inches. Stand one of your vertical uprights on its end and attach one of the base pieces to it, forming an “L” shape. Use your drill and 3-inch deck screws to secure it, driving at least two screws through the base piece into the upright. Repeat this process to create four L-shaped leg assemblies, which will serve as the corners of your rack.
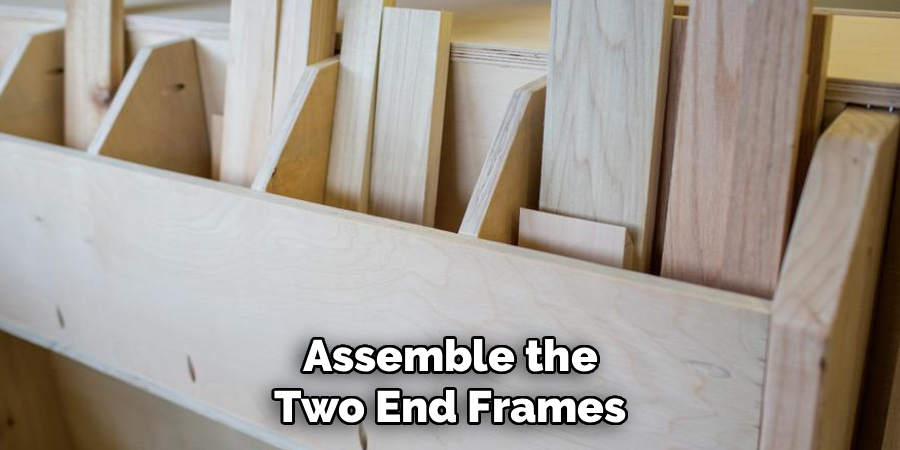
Step 4: Assemble the Two End Frames
Now you will connect the front and back legs to create the two end frames of the rack. Take one front L-shaped assembly and one back L-shaped assembly. Stand them up and connect them at the top with a horizontal 2×4 cut to the same length as your base pieces. This top cross-piece adds stability and helps keep the frame square. Use your drill and deck screws to attach the cross-piece securely to the top of both uprights. Repeat this process with the remaining two leg assemblies to create a second, identical end frame.
Step 5: Connecting the Frames
With your two end frames built, it is time to connect them to form the main body of the rack. Lay one end frame on the ground. Take a long 2×4 cut to the desired length of your rack (e.g., 8 feet) and attach it to the bottom-back corner of the frame. Attach another long board to the top-back corner. Now, bring your second end frame into position and attach it to the other end of the long boards. Carefully flip the structure over and attach the two long boards for the front of the frame. This process will create a sturdy, three-dimensional box structure.
Step 6: Add Middle Supports for Strength
If you are building a long rack (6 feet or more), adding middle supports is crucial to prevent the long horizontal boards from sagging under the weight of the wood. Cut two more vertical uprights to the same height as your corner legs. Measure to find the center point of your rack’s length and install one support on the back frame and one on the front frame. Secure them firmly to the top and bottom horizontal boards using deck screws. These supports will transfer the load to the ground and ensure your rack remains strong for years.
Step 7: Install Slats for the Wood to Rest On
Your frame is now complete, but you need a surface for the wood to rest on that allows for air circulation. Cut several 2x4s to span the depth of your rack. Lay these boards across the bottom horizontal frames, spacing them a few inches apart. This spacing is key to promoting airflow from underneath the pile. Secure each slat in place with deck screws at both ends. You do not need a solid floor; in fact, a slatted base is far superior for drying wood. This final construction step is a key part of how to build a wood storage rack that functions properly.
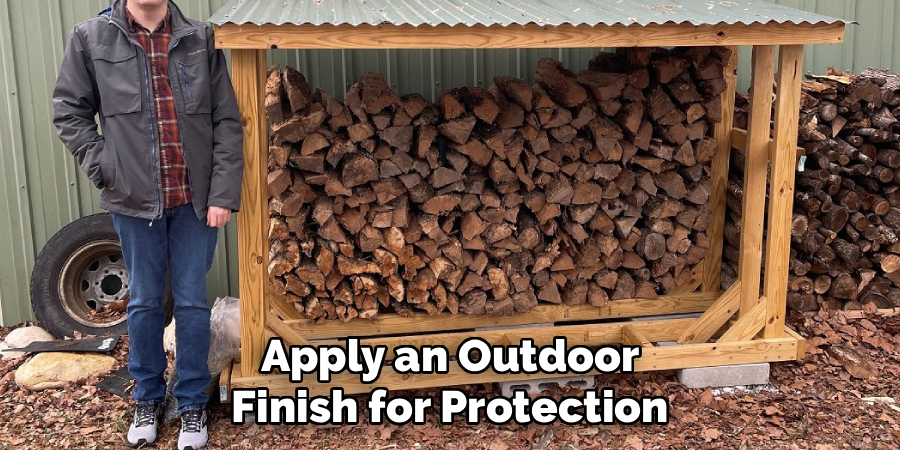
Step 8: Apply an Outdoor Finish for Protection
If your wood rack will be stored outdoors, it needs protection from the elements. Even though it is holding wood, the rack itself can rot if left untreated. Apply a coat of exterior stain, sealer, or outdoor paint to all surfaces of the rack. This will create a barrier against moisture and UV rays, preventing the wood from weathering and decaying. Pay special attention to the end grain of the boards, as this is where wood absorbs the most water. Allowing the finish to cure completely before loading it with wood will ensure maximum protection and longevity.
Frequently Asked Questions
What Is the Best Wood to Build a Storage Rack?
Pressure-treated lumber is the best choice for an outdoor wood storage rack.
- Durability: It is infused with chemicals that make it resistant to rot, decay, and insect damage, ensuring it will last for many years in the elements.
- Cost-Effective: Standard pressure-treated 2x4s are affordable and readily available at any home improvement store.
- Alternative: Cedar or redwood are naturally rot-resistant options, but they are significantly more expensive.
How Far off the Ground Should the Rack Be?
Your wood should be at least 4 to 6 inches off the ground.
- Airflow: This height allows for adequate air circulation underneath the pile, which is critical for drying.
- Pest Prevention: Elevating the wood makes it a less attractive home for insects and rodents.
- Moisture Barrier: It keeps the bottom layer of wood from wicking moisture up from the damp ground, which is the primary cause of rot.
Can I Build the Rack Against My House?
It is strongly advised not to place a wood rack directly against your house.
- Pest Issues: A woodpile can attract termites, carpenter ants, and rodents, and placing it against your home gives them a direct bridge inside.
- Moisture and Mold: The rack can trap moisture against your siding, leading to mold, mildew, and rot on your home’s exterior.
- Safety: Keep the rack at least a few feet away from any structures to ensure proper airflow and prevent these issues.
How Much Weight Can a 2×4 Rack Hold?
A properly constructed 2×4 rack is incredibly strong. When oriented vertically, a 2×4 can support hundreds of pounds. The key is in the design. By using sufficient vertical supports and strong screw connections, a rack built with 2x4s can easily hold a half-cord of dense hardwood like oak, which can weigh over 2,000 pounds. Ensure you use quality deck screws and do not skimp on the number of supports.
Do I Need to Cover My Wood Rack?
Covering the top of the rack is a good idea, but you should never cover the sides.
- Top Cover: A small roof or a tarp covering only the top 12-18 inches protects the pile from direct rain and snow.
- Side Airflow: The sides must remain open to allow air to flow through the pile. Tightly wrapping the entire pile in a tarp will trap moisture, prevent drying, and promote mold growth.
Conclusion
Building your own wood storage rack is a practical and empowering project that brings order and longevity to your firewood or lumber supply. By breaking the process down into simple, manageable steps—from cutting the pieces to assembling the frame and adding a protective finish—you can create a custom, durable solution in just a few hours. The key to success lies in a solid design, precise cuts, and strong connections. A well-built rack not only keeps your wood dry but also enhances the safety and efficiency of your space.
Now that you have a comprehensive guide on how to build wood storage rack, you have the skills and confidence to tackle this project. It is an investment of your time that will pay off for years to come every time you grab a perfectly seasoned piece of wood. So grab your tools, head to the lumber yard, and get ready to build a structure that is as useful as it is satisfying to create.
About
Mike May is a distinguished figure in the world of woodworking and timber design, with a decade of expertise creating innovative and sustainable indoor solutions. His professional focus lies in merging traditional craftsmanship with modern manufacturing techniques, fostering designs that are both practical and environmentally conscious. As the author of Woodimber, Mike delves into the art and science of timber-craft, inspiring artisans and industry professionals alike.
Education
RMIT University (Melbourne, Australia)
-
Associate Degree in Design (Timber): Focus on sustainable design, industry-driven projects, and practical craftsmanship.
-
Gained hands-on experience with traditional and digital manufacturing tools, such as CAD and CNC software.
Nottingham Trent University (United Kingdom)
-
Bachelor’s in Woodworking and Product Design (Honors): Specialized in product design with a focus on blending creativity with production techniques.
-
Participated in industry projects, working with companies like John Lewis and Vitsoe to gain real-world insights.
Publications and Impact
In Woodimber, May shares his insights on timber design processes, materials, and strategies for efficient production. His writing bridges the gap between artisan knowledge and modern industry needs, making it a must-read for both budding designers and seasoned professionals.