 (1)")

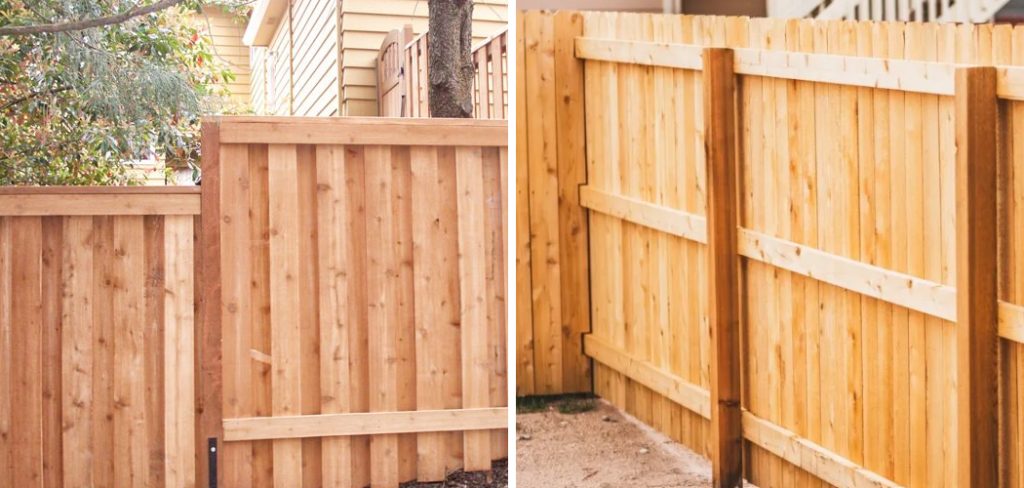
A classic wooden fence can transform your property, providing privacy, defining boundaries, and boosting curb appeal. It creates a safe enclosure for children and pets and can serve as a beautiful backdrop for your garden.
While the project might seem daunting, it is a completely achievable DIY task that can save you a significant amount of money on labor costs. Building a fence is not just about assembling materials; it’s about adding value and character to your home through your own efforts. Learning how to put up a fence with wooden posts is a rewarding experience that gives you a sturdy, long-lasting structure you can be proud of for years. This guide is designed for beginners, breaking down the process into simple, manageable steps to ensure your success.
Fences serve both practical and aesthetic purposes, offering privacy, security, and an enhanced visual appeal to your property. Whether you’re looking to keep pets safely enclosed, outline property boundaries, or simply add a decorative element to your yard, building your own fence can be a fulfilling and cost-effective solution. With the right tools, materials, and a little guidance, even first-time builders can create a durable and visually pleasing fence that meets their needs.
Why a Wooden Post Fence is a Great Choice
Choosing wooden posts for your fence is a decision that brings both aesthetic and practical benefits. Wood offers a natural, warm, and timeless look that complements any landscape or architectural style, from rustic farmhouse to modern suburban. Unlike metal, wood blends seamlessly into a garden environment. It’s also a highly versatile material.
You can easily cut it to size, shape it, and finish it with either stain or paint to perfectly match your home’s exterior color scheme. From a cost perspective, wooden posts are often more affordable than their vinyl or composite counterparts, making them an excellent choice for budget-conscious homeowners. A properly installed and maintained wooden fence provides a durable, beautiful boundary that enhances your property for decades.
Step-by-Step Guide on How to Put Up a Fence with Wooden Posts
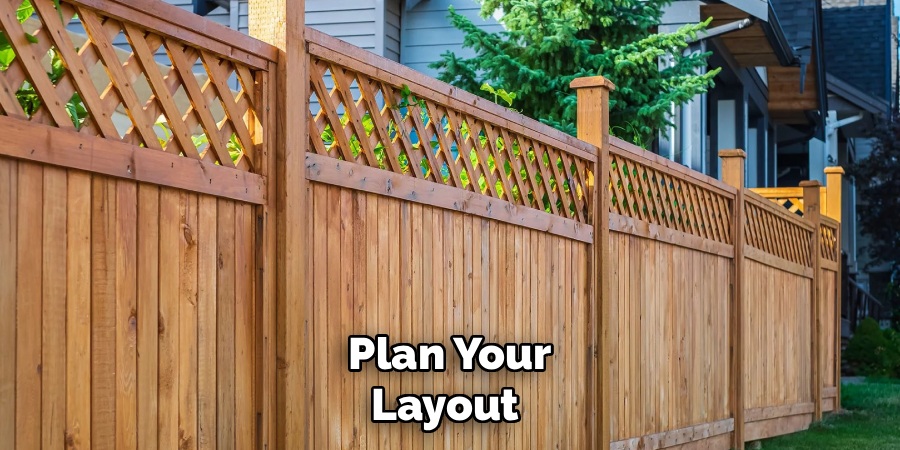
Step 1: Plan Your Layout and Check Local Regulations
Before you dig your first hole, you need a solid plan. Start by checking with your local municipality or homeowners’ association about any rules regarding fence height, style, or setback from property lines.
It is also crucial to call 811 to have underground utility lines marked; this free service prevents dangerous and costly accidents. Once you have clearance, use stakes and string to create a precise layout of your fence line. This visual guide will help you determine the exact placement of your corner posts and gate posts, which are the foundational anchors of the entire structure. Careful planning at this stage prevents major headaches later on.
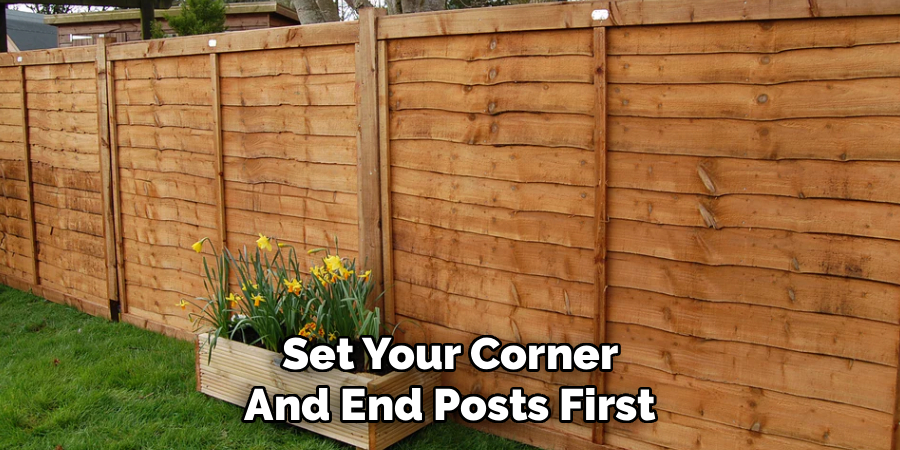
Step 2: Set Your Corner and End Posts First
Your corner and end posts are the most critical components of the fence, as they bear the most tension. These posts must be set perfectly straight and solid. Dig holes for these posts first. As a general rule, the hole depth should be about one-third the length of the post.
For a 6-foot-tall fence, you will use 8-foot posts and dig holes at least 2 feet deep. Place a few inches of gravel at the bottom of the hole for drainage, which helps prevent the wood from rotting. Set your post in the hole, and use a level to ensure it is perfectly plumb on two adjacent sides before you add concrete.
Step 3: Mix and Pour Concrete for the Anchor Posts
For maximum stability, setting your corner, end, and gate posts in concrete is non-negotiable. You can mix fast-setting concrete in a wheelbarrow or directly in the hole according to the package directions. Pour the concrete around the post, filling the hole completely.
As you pour, use a stick to poke the mixture to remove any air pockets. Double-check that the post is still perfectly plumb with your level before the concrete begins to set. Brace the post with scrap lumber stakes to hold it steady while the concrete cures, which typically takes at least 24 hours. A strong foundation is the most important part of learning how to put up a fence with wooden posts.
Step 4: Run a String Line for Post Alignment
Once your anchor posts are firmly set, you can establish a perfectly straight line for the rest of your posts. Tie a mason’s string line tightly between the outside faces of the corner posts. Position the string near the bottom of the posts, just a few inches above the ground.
This string line will serve as your guide, ensuring that all the intermediate “line” posts are installed in a perfectly straight row. Pull the string as taut as possible to prevent any sagging, which could result in a wavy fence line. For very long sections, it is a good idea to add a temporary center stake to support the string.
Step 5: Mark and Dig the Holes for Line Posts
With your string line in place, you can now mark the locations for your line posts. Most fence panels are 8 feet wide, meaning your posts should be spaced 8 feet apart from center to center. Use a tape measure and spray paint to mark these locations on the ground directly under your string line.
Use a post-hole digger or a power auger to dig the holes for these intermediate posts. Dig them to the same depth as your corner post holes. This consistency in depth is important for the stability and uniform height of the finished fence.
Step 6: Set the Line Posts and Check for Plumb
Place a line post in each hole, ensuring its face is just touching the guide string without pushing against it. Use a post-level to make sure each post is perfectly plumb. Unlike corner posts, line posts often do not require a full concrete footing unless your soil is very loose or your fence is very tall.
A common method is to backfill the hole with a mixture of soil and gravel, tamping it down firmly in 6-inch layers with a long piece of scrap wood. Continuously check the post with your level as you tamp to ensure it stays straight. This method provides excellent stability while saving time and money on concrete.
Step 7: Wooden Posts and Rails
After all your posts have been set and are stable, you can install the horizontal rails that will support the fence pickets. These rails typically come in 8-foot lengths and connect the posts. Mark the desired height for your top and bottom rails on each post, using a level to ensure your marks are consistent across the fence line.
Attach the rails to the posts using fence brackets for an easy, secure connection, or by toe-nailing them with long exterior-grade screws. A middle rail is highly recommended for fences taller than 5 feet to prevent the pickets from warping over time.
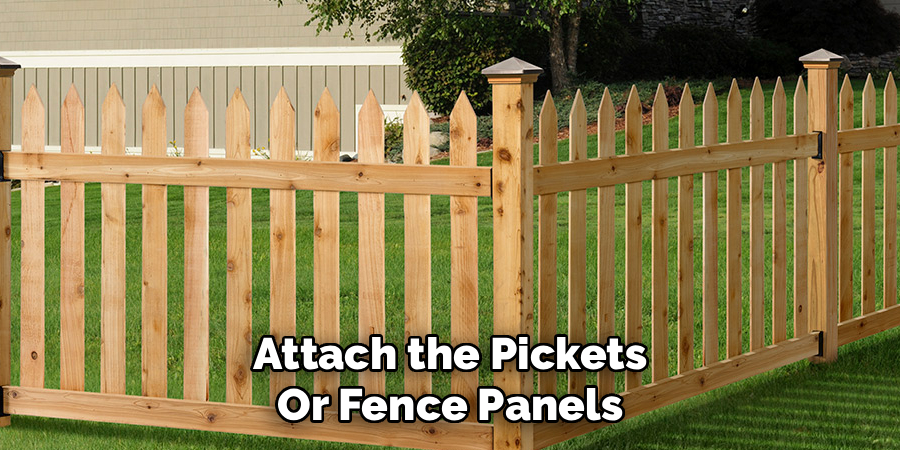
Step 8: Attach the Pickets or Fence Panels
With the frame of your fence now complete, you can begin installing the vertical pickets or pre-assembled fence panels. If you are using individual pickets, use a spacer block (a small piece of scrap wood) to maintain a consistent gap between each one. Start at one end and use a level to ensure your first picket is perfectly plumb, as all subsequent pickets will follow its line.
Attach the pickets to the rails using exterior-grade screws or nails. It is often faster to have one person hold the picket in place while another secures it. This is the final step where the project truly starts to look like a fence.

Frequently Asked Questions (FAQ)
How Deep Should a Fence Post Hole Be?
The general rule is that the hole should be one-third the length of the post.
- Example: For a 6-foot high fence, you should use an 8-foot post and dig the hole at least 2 feet deep.
- Frost Line: In cold climates, it is critical to dig below the frost line to prevent the posts from heaving up during winter freezes. Check your local building codes for the required depth in your area.
Do All Fence Posts Need to Be Set in Concrete?
No, not all posts require concrete.
- Anchor Posts: Corner posts, end posts, and gate posts must be set in concrete because they handle the most tension and stress.
- Line Posts: Intermediate posts in a fence line can often be set securely using tightly compacted gravel and soil. This method allows for better drainage and can be more than sufficient for standard fence heights in stable soil.
What Is the Easiest Way to Dig Post Holes?
The easiest method depends on your soil type and budget.
- Manual Post-Hole Digger: This clam-shell style tool is inexpensive and effective for soft, rock-free soil. It requires significant physical effort.
- Power Auger: Renting a one-man or two-man gas-powered auger from a local hardware store is the fastest and easiest way to dig multiple holes, especially in compacted or clay soil.
How Far Apart Should Wooden Fence Posts Be?
The standard spacing for fence posts is 8 feet from the center of one post to the center of the next.
- Reasoning: Most pre-cut rails and pre-assembled fence panels are sold in 8-foot lengths.
- Exceptions: You can place posts closer together (e.g., 6 feet apart) for a stronger fence, especially in high-wind areas, but this will increase your material costs. Never space them more than 8 feet apart, as the rails may sag over time.
What Kind of Wood Is Best for Fence Posts?
You must use wood that is rated for ground contact.
- Pressure-Treated Pine: This is the most common and affordable option. The wood is chemically treated to resist rot, decay, and insect damage.
- Cedar or Redwood: These woods are naturally resistant to rot and insects due to their natural oils. They are more expensive than pressure-treated pine but offer a beautiful look without chemicals.
Conclusion
Building your own fence is a project that delivers immense satisfaction and lasting value. It demystifies a major construction task and leaves you with a tangible improvement to your home and garden. The success of the project hinges on careful planning, accurate measurements, and, most importantly, setting strong, plumb posts. The posts are the backbone of the structure;
if they are solid, the rest of the job will fall into place smoothly. Remember to prioritize safety by calling 811 and to take your time with the foundational steps. Now that you have a comprehensive guide on how to put up a fence with wooden posts, you are well-equipped to build a beautiful, sturdy fence that you can enjoy for years to come.
About
Mike May is a distinguished figure in the world of woodworking and timber design, with a decade of expertise creating innovative and sustainable indoor solutions. His professional focus lies in merging traditional craftsmanship with modern manufacturing techniques, fostering designs that are both practical and environmentally conscious. As the author of Woodimber, Mike delves into the art and science of timber-craft, inspiring artisans and industry professionals alike.
Education
RMIT University (Melbourne, Australia)
-
Associate Degree in Design (Timber): Focus on sustainable design, industry-driven projects, and practical craftsmanship.
-
Gained hands-on experience with traditional and digital manufacturing tools, such as CAD and CNC software.
Nottingham Trent University (United Kingdom)
-
Bachelor’s in Woodworking and Product Design (Honors): Specialized in product design with a focus on blending creativity with production techniques.
-
Participated in industry projects, working with companies like John Lewis and Vitsoe to gain real-world insights.
Publications and Impact
In Woodimber, May shares his insights on timber design processes, materials, and strategies for efficient production. His writing bridges the gap between artisan knowledge and modern industry needs, making it a must-read for both budding designers and seasoned professionals.