 (1)")

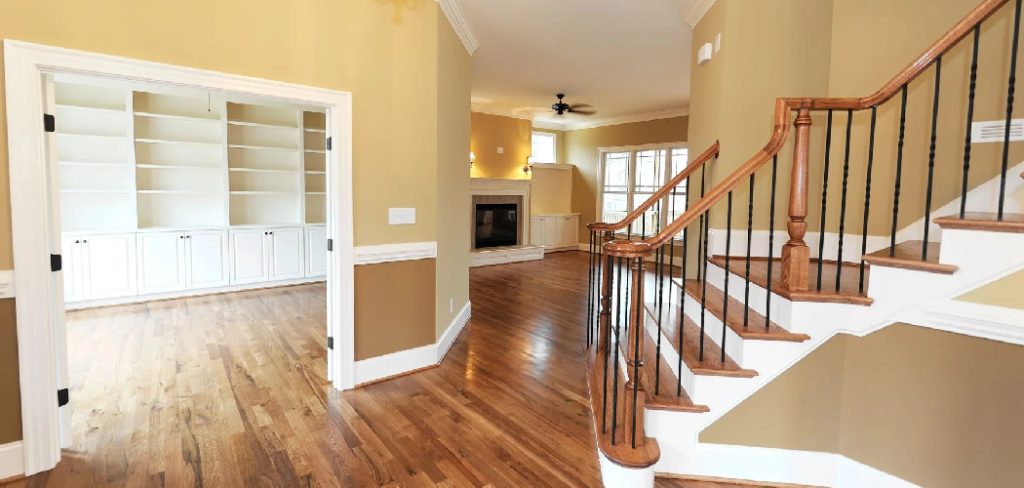
Staircases are often the first thing guests see when they enter a home, yet they are frequently overlooked in renovation plans. Old, worn-out carpet can make an entire entryway feel dated and dirty, trapping dust and allergens in high-traffic areas. Transforming those steps into sleek, hardwood treads is one of the most impactful upgrades you can make, instantly elevating the style and value of your property. While the project might seem intimidating at first glance, it is entirely achievable for a patient DIYer with basic tools.
By learning how to change carpet to wood on stairs, you take control of your home’s aesthetic without paying the exorbitant labor costs of a professional contractor. This guide breaks down the process into manageable stages, from ripping up the old fibers to staining the new oak. We will navigate the challenges of removing tack strips, measuring precise cuts, and achieving that flawless finish. Whether you want to match your existing hardwood floors or create a stunning contrast, this project will breathe new life into your home.
Why You Should Upgrade Your Staircase
The decision to swap soft carpeting for solid wood is about more than just trends; it is a practical investment in your home’s hygiene and durability. Carpet on stairs takes a beating. It is the hardest area in the house to vacuum effectively, meaning dirt, pet hair, and dander get ground deep into the fibers every time someone walks up or down. Over time, this creates a “traffic lane” of matted, discolored fabric that cleaning simply cannot fix.
Wood stairs, on the other hand, are incredibly easy to maintain. A quick sweep or wipe with a microfiber cloth keeps them looking pristine. They are hypoallergenic, durable, and can last for decades with minimal care. aesthetically, wood offers a clean, architectural look that complements both modern and traditional interiors. It also provides a neutral canvas, allowing you to add a stylish runner later if you want a splash of color or extra grip. Ultimately, revealing the wood structure beneath creates a sense of craftsmanship and solidity that carpet just can’t match.
Step-by-Step Guide on How to Change Carpet to Wood on Stairs
Step 1: Remove the Old Carpet and Padding
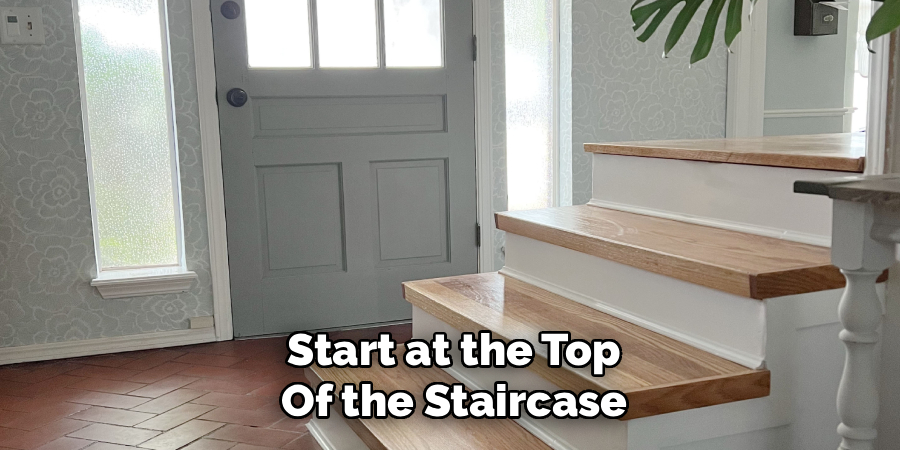
Your journey begins with demolition, which is often the messiest but most satisfying part of the process. Start at the top of the staircase and work your way down. Use a utility knife to slice the carpet into manageable strips, being careful not to gouge the wood underneath if you plan to salvage it. Pull the carpet firmly to detach it from the tack strips anchored at the corners.
Once the carpet is gone, you will see the foam padding underneath, usually held down by staples. Rip this up as well. Wear thick work gloves to protect your hands from the sharp tacks and staples that will be exposed. Roll up the debris as you go to keep your workspace safe and organized for the next phase.
Step 2: Remove Tack Strips and Staples
Once the soft materials are gone, you are left with a minefield of sharp metal. Tack strips are narrow pieces of wood with nails protruding upward, designed to grip the carpet. Use a small pry bar or a chisel and hammer to wedge under these strips and pop them off the stair treads. Be gentle to avoid damaging the subfloor or the stringers.
After the strips are removed, you will likely face hundreds of staples left behind from the padding. Use pliers or a specialized staple remover tool to pull every single one out. If a staple breaks off, hammer it flat so the surface is perfectly smooth. This tedious preparation is critical because any remaining metal will prevent your new wood treads from sitting flush.
Step 3: Assess and Prepare the Subfloor
With the bare structure exposed, you need to determine what you are working with. In some older homes, you might get lucky and find nice hardwood hidden beneath the carpet that just needs refinishing. However, most modern homes have stairs built from construction-grade plywood or pine, which are meant to be covered. If you have rough plywood, you will be installing new hardwood treads over it or replacing the treads entirely.
Clean the stairs thoroughly with a vacuum to remove all dust and splinters. Check for any squeaks by walking firmly on each step; if you hear a creak, drive a few screws through the existing tread into the stringer to secure it. A solid, silent base is essential before you begin the installation of your new surface.
Step 4: Measure and Cut the Overhang
Most existing stair treads have a rounded “nose” that hangs over the riser below. If you are installing new tread caps (retro treads) over the existing stairs, this nose is a problem because it prevents the new riser from sitting flush. You have a few options here. You can cut the nose off completely using a circular saw or a jigsaw, making the existing tread flush with the riser.
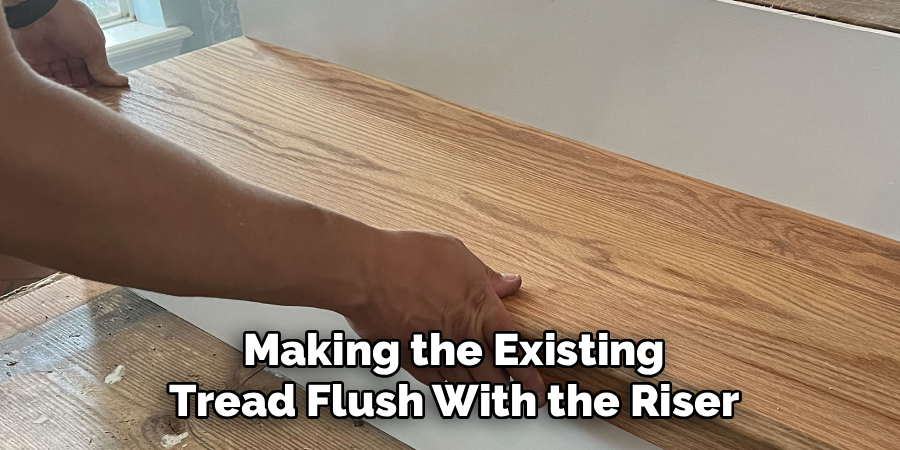
Alternatively, you can use thin plywood to build out the riser so it meets the edge of the nose. Cutting the nose is usually the cleaner, more professional method. Mark a straight line where the nose begins and carefully slice it off. This creates a square, 90-degree angle that makes measuring and fitting the new wood components much simpler.
Step 5: Stairs by Measuring Treads
Precision is everything when cutting expensive hardwood. Staircases are rarely perfectly square; walls often bow slightly, meaning a standard rectangular cut will leave unsightly gaps. To get a perfect fit for your new treads and risers, use a stair tread gauge or a sliding T-bevel. These tools allow you to capture the exact angle and length of each individual step.
Transfer these measurements directly onto your new wood tread. Remember the old carpenter’s adage: measure twice, cut once. It is far better to cut the wood slightly long and shave it down than to cut it too short and waste a piece. Number each tread and riser on the back to correspond with the specific step it is cut for, as they are not interchangeable.
Step 6: Install the New Risers First
The riser is the vertical board at the back of each step. It is generally easier to install these before the horizontal treads. Apply a generous amount of construction adhesive to the back of your pre-cut riser piece and press it firmly against the existing stair frame. Secure it with finish nails using a nail gun, placing the nails in the corners where they will be less visible or covered by the tread.
If you are painting your risers (white risers with wood treads is a classic look), it is often easier to paint them before installation. This saves you from having to tape off the treads later. Ensure the riser is level and sits tight against the stringers to avoid gaps that could trap dirt.
Step 7: Install the New Hardwood Treads
Now comes the transformation. Apply a strong construction adhesive in a zigzag pattern across the subfloor tread. Place your new hardwood tread onto the adhesive, sliding it tight against the riser you just installed. Press down firmly to spread the glue. Secure the tread with finish nails, shooting them into the back edge where the next riser will cover them, or use a few nails on the surface that you will later fill with wood putty.
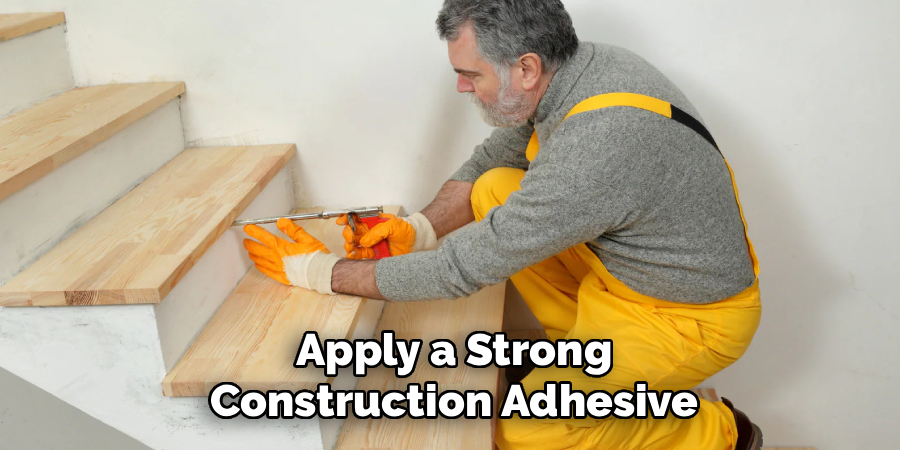
If you are learning how to change carpet to wood on stairs properly, you know that the adhesive does most of the work; the nails just hold it in place while the glue cures. Wipe away any excess glue immediately. Repeat this process up the entire staircase.
Frequently Asked Questions
Can I Put Wood Over Existing Stairs?
Yes, you absolutely can install new wood over existing stairs.
- Retro Treads: These are specifically designed “caps” made of solid wood that fit right over your existing construction-grade pine or plywood steps.
- Cost-Effective: This method is often cheaper and less structurally invasive than tearing out the entire staircase.
- Preparation: You usually need to cut off the existing “nose” (the overhang) of the old step so the new retro tread fits snugly and securely against the riser.
Is It Better to Staple or Glue Stair Treads?
You should actually use both for the best results.
- Construction Adhesive: This is the primary bonding agent. It prevents the wood from moving and, crucially, acts as a sound dampener to stop squeaking.
- Nails/Staples: Finish nails hold the tread in place tightly while the adhesive cures.
- Avoid Only Nailing: relying solely on nails can lead to loose treads and squeaky stairs over time as the wood expands and contracts.
What Is the Best Wood for Stairs?
Hardwoods are the superior choice for stairs due to durability.
- Red Oak: The most common choice. It is durable, takes stain very well, and is widely available at a reasonable price.
- White Oak: Slightly harder than red oak with a more neutral, less pinkish grain pattern. It is very popular for modern designs.
- Maple: Extremely hard and durable, but can be difficult to stain evenly (often looks blotchy). Best left natural or professionally finished.
- Pine: Avoid pine for treads if possible; it is a softwood and will dent and scratch very easily under foot traffic.
How Much Does It Cost to Convert Carpet Stairs to Wood?
The cost varies wildly depending on materials and labor.
- DIY Cost: If you do it yourself using oak retro treads, expect to spend between $100 to $200 per step for materials (treads, risers, stain, glue).
- Professional Cost: Hiring a contractor can cost between $300 to $500 per step or more.
- Variables: The price increases if you have a curved staircase, require landings, or choose exotic wood species like walnut or mahogany.
Do Wood Stairs Need a Runner?
A runner is not structurally necessary, but it offers significant benefits.
- Safety: Wood can be slippery, especially in socks. A carpet runner provides traction, making the stairs safer for children, pets, and seniors.
- Noise Reduction: Wood stairs amplify the sound of footsteps. A runner absorbs impact and quiets the house.
- Aesthetics: It allows you to add a splash of color or pattern while still showing off the beautiful wood edges you worked so hard to install.
Conclusion
Converting your staircase from carpet to wood is one of the most rewarding home improvement projects you can undertake. It demands precision, patience, and a fair amount of elbow grease, but the payoff is immediate. You eliminate a major source of allergens, simplify your cleaning routine, and add a timeless architectural feature to your home.
Whether you choose to refinish hidden hardwood or install brand-new oak treads, the result is a cleaner, more modern space. By following the steps outlined above—carefully removing the old materials, measuring twice, and securing your new treads properly—you can achieve a professional-quality finish. Now that you understand how to change carpet to wood on stairs, you have the knowledge to pick up that pry bar and start uncovering the potential of your home today.
About
Mike May is a distinguished figure in the world of woodworking and timber design, with a decade of expertise creating innovative and sustainable indoor solutions. His professional focus lies in merging traditional craftsmanship with modern manufacturing techniques, fostering designs that are both practical and environmentally conscious. As the author of Woodimber, Mike delves into the art and science of timber-craft, inspiring artisans and industry professionals alike.
Education
RMIT University (Melbourne, Australia)
-
Associate Degree in Design (Timber): Focus on sustainable design, industry-driven projects, and practical craftsmanship.
-
Gained hands-on experience with traditional and digital manufacturing tools, such as CAD and CNC software.
Nottingham Trent University (United Kingdom)
-
Bachelor’s in Woodworking and Product Design (Honors): Specialized in product design with a focus on blending creativity with production techniques.
-
Participated in industry projects, working with companies like John Lewis and Vitsoe to gain real-world insights.
Publications and Impact
In Woodimber, May shares his insights on timber design processes, materials, and strategies for efficient production. His writing bridges the gap between artisan knowledge and modern industry needs, making it a must-read for both budding designers and seasoned professionals.