 (1)")

Old wood carries a unique charm and character that modern materials simply can’t replicate. Whether you’ve inherited a vintage dresser, discovered reclaimed barn wood, or own antique furniture passed down through generations, knowing how to properly clean old wood is essential for preserving its beauty and extending its lifespan. Over time, wood accumulates dirt, grime, and oxidation that can dull its appearance and even compromise its structural integrity.

Many people make the mistake of using harsh chemicals or abrasive methods that strip away the wood’s natural patina or damage its finish. The good news is that with the right approach, you can safely restore old wood to its former glory without causing harm. In this comprehensive guide on how to clean old wood, we’ll walk you through everything you need to know about cleaning old wood, from understanding different wood types to mastering proven cleaning techniques that protect and preserve these treasured pieces.
Understand the Type of Wood and Finish
Before you begin any cleaning process, it’s crucial to identify what you’re working with. Different types of wood and finishes require different care approaches, and using the wrong method can lead to irreversible damage.
Start by examining the wood closely. Is it hardwood like oak, maple, or walnut, or is it a softer wood like pine or cedar? Hardwoods are generally more durable and can withstand slightly more aggressive cleaning, while softwoods are more porous and delicate. Look for any identifying marks, labels, or characteristics that might help you determine the wood species.
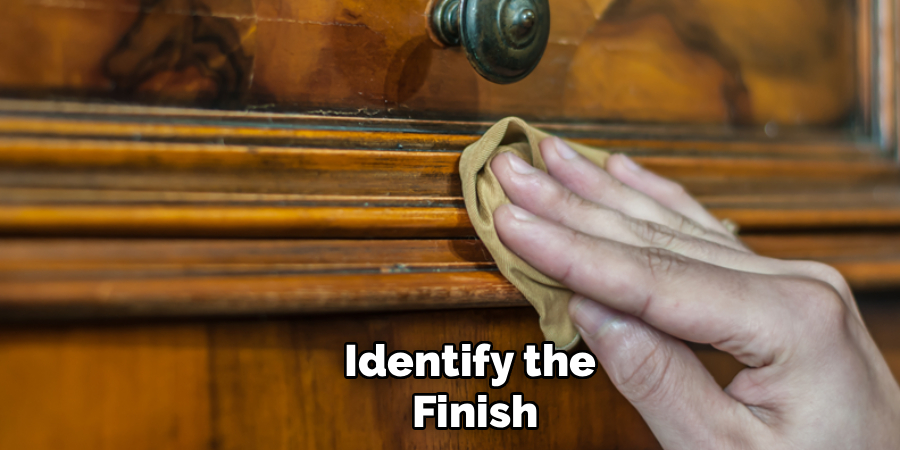
Next, identify the finish. Common finishes include varnish, lacquer, shellac, oil, wax, and paint. To test the finish, apply a small amount of denatured alcohol to an inconspicuous area with a cotton swab. If the finish softens or dissolves, it’s likely shellac. If it doesn’t react, try lacquer thinner in the same manner—this will affect lacquer but not varnish or polyurethane. Understanding your finish helps you choose cleaning products that won’t damage the protective coating.
Unfinished or raw wood requires an entirely different approach, as it’s more susceptible to water damage and staining. If you’re unsure about the finish, it’s always safer to start with the gentlest cleaning method and work your way up only if necessary.
Safety Precautions
Cleaning old wood often involves working with various cleaning solutions, dust, and potentially harmful substances that have accumulated over the years. Taking proper safety precautions protects both you and the wood you’re restoring.
Always work in a well-ventilated area, especially when using any cleaning solutions or solvents. Open windows and doors, and consider using a fan to improve air circulation. Some old wood may contain lead paint or other hazardous materials, particularly if it dates back several decades. If you suspect the presence of lead paint, have it tested before proceeding, and follow appropriate safety protocols.
Wear protective gear, including gloves to shield your hands from chemicals and splinters, safety glasses to protect your eyes from dust and debris, and a dust mask or respirator when sanding or working with particularly dirty pieces. Keep cleaning products away from children and pets, and never mix different cleaning solutions, as this can create dangerous chemical reactions.
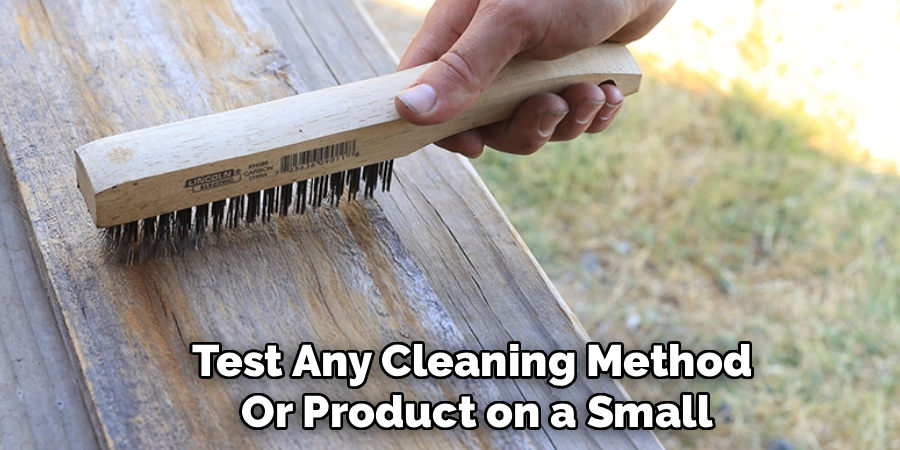
Test any cleaning method or product on a small, hidden area first. This precautionary step can save you from ruining a valuable piece of furniture or wood. Finally, protect your work surface with drop cloths or old sheets to prevent damage to floors or tables.
7 Simple Step-By-Step Guidelines on How to Clean Old Wood
Step 1: Remove Loose Dirt and Debris
Begin your cleaning process by removing all loose dirt, dust, and debris from the wood surface. This initial step prevents you from grinding particles into the wood during subsequent cleaning stages, which could cause scratches or abrasions.
Use a soft-bristled brush, such as a paintbrush or specialized dusting brush, to gently sweep away surface dust. Work in the direction of the wood grain to avoid scratching. For intricate carvings or detailed areas, a clean, dry toothbrush works perfectly for getting into crevices. Follow up with a vacuum cleaner equipped with a soft brush attachment to capture any remaining dust particles. This dry cleaning stage is particularly important for very old or delicate pieces that might be sensitive to moisture.
Pay special attention to corners, joints, and decorative elements where dust and grime tend to accumulate. If you encounter sticky residues or stubborn debris that won’t brush away, don’t force it at this stage—you’ll address these issues in the following steps.
Step 2: Prepare Your Cleaning Solution
The right cleaning solution makes all the difference in safely and effectively cleaning old wood. For most situations, a mild, pH-neutral solution is your best bet, as it cleans without stripping away the wood’s natural oils or damaging its finish.
Create a gentle cleaning mixture by combining one tablespoon of mild dish soap with one quart of warm water. Avoid using hot water, as extreme temperatures can damage wood finishes and cause warping. For particularly grimy wood, you can add one tablespoon of white vinegar to cut through grease and grime. The acidity of vinegar helps dissolve buildup while being gentle enough not to harm most finishes.
For unfinished wood or pieces that can’t tolerate moisture, consider using mineral spirits or a specialized wood cleaner instead. Always follow the manufacturer’s instructions when using commercial products. Whatever solution you choose, prepare only as much as you need for the current cleaning session, as homemade solutions lose effectiveness over time.

Step 3: Apply the Cleaning Solution
Now it’s time to actually clean the wood surface, but the key here is using minimal moisture. Wood and water don’t mix well—excessive moisture can raise the grain, damage finishes, cause warping, or lead to mold growth.
Dip a soft, lint-free cloth into your cleaning solution and wring it out thoroughly until it’s just barely damp—not wet. The cloth should feel slightly moist to the touch, but shouldn’t drip any water. Gently wipe the wood surface following the direction of the grain. Working with the grain rather than against it helps prevent scratches and ensures you’re lifting dirt out of the wood’s natural texture rather than pushing it deeper in.
Work in small sections, approximately two to three square feet at a time, and frequently rinse and re-wring your cloth to avoid spreading dirt around. For stubborn spots or sticky residues, let the damp cloth sit on the area for a minute or two to soften the grime before wiping. Never scrub aggressively, as this can damage the finish or the wood itself. Patience and gentleness are your best tools in this process.
Step 4: Dry the Wood Thoroughly
Immediately after cleaning each section, dry the wood completely with a clean, dry cloth. This step is absolutely critical—leaving moisture on wood, even for a short time, can cause significant damage.
Use a separate soft, absorbent cloth and wipe in the direction of the grain. Apply gentle pressure to ensure you’re absorbing any moisture that may have seeped into the grain or finish. Check corners, joints, and detailed areas where water might collect, and use a cotton swab if necessary to absorb moisture from tight spaces.
Allow the wood to air dry completely for at least an hour before proceeding to any additional steps. During this time, keep the piece in a well-ventilated area away from direct sunlight or heat sources, which can cause uneven drying and potential damage. The wood should feel completely dry to the touch with no cool or damp spots remaining before you move forward.

Step 5: Address Stubborn Stains and Buildup
Even after your initial cleaning, you may notice persistent stains, water rings, or areas of heavy buildup that require special attention. Different types of marks require different approaches, so identify what you’re dealing with before proceeding.
For water rings or white marks on finished wood, try rubbing the area gently with a paste made from equal parts white toothpaste (non-gel) and baking soda. Apply with a soft cloth, rub gently in the direction of the grain, then wipe clean and dry. For darker water stains that have penetrated the finish, you may need to use fine steel wool (0000 grade) dipped in mineral oil, rubbing very gently until the stain lightens.
Wax buildup, common on antique furniture, can be removed with mineral spirits. Dampen a cloth with mineral spirits and gently rub the waxy areas until the buildup dissolves. For sticky residue from tape or stickers, apply a small amount of vegetable oil or mayonnaise to the spot, let it sit for a few minutes, then wipe clean. Always test these methods on an inconspicuous area first, and remember that some stains may be permanent—attempting overly aggressive removal can cause more harm than good.
Step 6: Condition and Protect
Once the wood is completely clean and dry, it’s time to condition and protect it. This step replenishes the wood’s natural oils, enhances its appearance, and provides a protective barrier against future damage.
For finished wood, apply a high-quality furniture polish or wood conditioner according to the product instructions. Choose products specifically designed for your type of finish—oil-based polishes work well for oil finishes, while wax-based products are ideal for waxed or shellacked surfaces. Apply a small amount to a clean cloth and rub it into the wood using circular motions, then buff with a clean section of the cloth to bring out the wood’s natural luster.
For unfinished or raw wood, consider applying a wood oil like linseed oil or tung oil. These penetrate the wood fibers, providing protection from within while enhancing the natural grain. Apply the oil sparingly with a cloth, let it penetrate for 10-15 minutes, then wipe away any excess. Allow the oil to cure completely (usually 24-48 hours) before using the piece. Regular conditioning—approximately every three to six months, depending on the piece’s use and environment—keeps old wood looking its best.
Step 7: Final Inspection and Touch-Ups
Complete your cleaning process with a thorough inspection to ensure you haven’t missed any areas and that the wood looks its best. Walk around the piece and view it from different angles, as different lighting can reveal spots you might have overlooked.
Check all surfaces, edges, and detailed areas. If you notice any missed spots or streaks, address them now with a slightly damp cloth followed by immediate drying. Look for any areas where the finish may have been compromised during cleaning—if you see dull spots or areas where the protective coating seems thin, consider applying an additional layer of polish or conditioner to these areas.
Examine joints and seams for any moisture that may have collected, and use a dry cotton swab to absorb it if necessary. Finally, step back and admire your work. The wood should look clean, vibrant, and well-maintained, with its natural character and patina preserved. If you’ve cleaned a piece of furniture, ensure all drawers open smoothly and any hardware is clean and functional.
Following these steps on how to clean old wood furniture will not only help to remove dirt, grime and other buildup, but it can also prolong the life of your wooden pieces. Regular cleaning and maintenance can prevent damage and keep your furniture looking its best for years to come.
Common Mistakes to Avoid
When cleaning old wood, several common mistakes can cause damage that’s difficult or impossible to reverse. Avoid using excessive water or overly wet cloths, as moisture is wood’s enemy and can cause warping, staining, or finish damage. Never use harsh chemicals like bleach, ammonia-based cleaners, or all-purpose household cleaners, as these can strip finishes and discolor wood.
Don’t scrub aggressively or use abrasive materials like rough sponges or scouring pads, which can scratch surfaces and remove finishes. Resist the temptation to skip the testing phase—always test any cleaning method or product on a hidden area first. Finally, don’t rush the drying process or proceed to the next step before the wood is completely dry.
Preventive Tips for Maintaining Old Wood
Maintaining old wood is far easier than restoring neglected pieces, so establish a regular care routine. Dust your wood furniture weekly with a soft, dry cloth to prevent buildup that becomes harder to remove over time. Keep wood pieces away from direct sunlight, which can fade and damage finishes, and maintain consistent humidity levels in your home (ideally between 40-45%) to prevent cracking or warping.
Use coasters, placemats, and protective pads under objects to prevent water rings, heat damage, and scratches. Apply furniture polish or conditioner every three to six months to keep the wood nourished and protected. Address spills immediately by blotting (never wiping) with a soft cloth, then drying thoroughly. Avoid placing wood furniture near heating vents, radiators, or air conditioning units, as temperature fluctuations can cause damage. With consistent, gentle care, your old wood pieces will remain beautiful and functional for generations to come.
Frequently Asked Questions
Q: Can I Use Vinegar to Clean All Types of Old Wood?
A: While vinegar is a popular natural cleaning agent, it’s not suitable for all wood types and finishes. Diluted white vinegar (mixed with water in a 1:4 ratio) works well on sealed, finished wood as it cuts through grease and grime without leaving residue. However, avoid using vinegar on unfinished wood, waxed surfaces, or stone inlays, as its acidity can damage these materials. Vinegar can also dull certain finishes if used too frequently or in concentrations that are too strong. If you choose to use vinegar, always test it on an inconspicuous area first, dilute it properly, and never let it sit on the wood surface for extended periods. After cleaning with vinegar, always wipe the area with a damp cloth and dry thoroughly to remove any acidic residue.
Q: How Often Should I Clean Old Wood Furniture?
A: The frequency of deep cleaning depends on several factors, including the piece’s location, use, and environmental conditions. For everyday dusting, weekly maintenance with a soft, dry cloth is ideal to prevent buildup. However, deep cleaning with a damp cloth and cleaning solution should only be done two to three times per year for most pieces. High-traffic furniture like dining tables or desks may benefit from quarterly deep cleaning, while display pieces or items in low-traffic areas might only need attention once or twice annually. Between deep cleanings, maintain your wood with regular dusting and immediate attention to spills or marks. Over-cleaning can actually cause more harm than good by wearing down finishes and stripping natural oils, so resist the urge to clean too frequently. Pay attention to your wood—when it starts to look dull or shows visible dirt accumulation, it’s time for a cleaning session.
Conclusion
Cleaning old wood is both an art and a science that requires patience, the right techniques, and gentle care. By understanding your wood type and finish, using appropriate cleaning solutions, and following proper procedures, you can safely restore the beauty of cherished wood pieces without causing damage. Remember that the goal isn’t to make old wood look brand new, but rather to enhance its natural character while removing years of accumulated grime.
The techniques outlined in this guide will help you confidently tackle any old wood cleaning project, from antique furniture to reclaimed architectural elements. Start with gentle methods, always test in hidden areas, and take your time—rushing the process is one of the biggest mistakes you can make. Ready to bring your old wood pieces back to life? Gather your supplies, set aside an afternoon, and transform those tired, dirty surfaces into stunning focal points that showcase the timeless beauty of natural wood. Your careful attention today ensures these pieces will continue to be enjoyed for many years to come. Thanks for reading this guide on how to clean old wood.
About
Mike May is a distinguished figure in the world of woodworking and timber design, with a decade of expertise creating innovative and sustainable indoor solutions. His professional focus lies in merging traditional craftsmanship with modern manufacturing techniques, fostering designs that are both practical and environmentally conscious. As the author of Woodimber, Mike delves into the art and science of timber-craft, inspiring artisans and industry professionals alike.
Education
RMIT University (Melbourne, Australia)
-
Associate Degree in Design (Timber): Focus on sustainable design, industry-driven projects, and practical craftsmanship.
-
Gained hands-on experience with traditional and digital manufacturing tools, such as CAD and CNC software.
Nottingham Trent University (United Kingdom)
-
Bachelor’s in Woodworking and Product Design (Honors): Specialized in product design with a focus on blending creativity with production techniques.
-
Participated in industry projects, working with companies like John Lewis and Vitsoe to gain real-world insights.
Publications and Impact
In Woodimber, May shares his insights on timber design processes, materials, and strategies for efficient production. His writing bridges the gap between artisan knowledge and modern industry needs, making it a must-read for both budding designers and seasoned professionals.