 (1)")

Unsealed wood floors bring rustic charm and natural beauty to any home. Without a protective polyurethane layer, the raw wood remains directly exposed to spills, dirt, and daily wear.
Caring for these floors requires a completely different approach than maintaining modern, sealed hardwood. Moisture is the natural enemy of raw wood, meaning traditional wet mopping will cause warping, staining, and permanent damage.
This guide will teach you exactly how to clean wood floors that are not sealed safely and effectively. You will learn the best methods to lift dirt, remove stains, and nourish the wood so your floors remain beautiful for generations to come.
What are the Benefits of Proper Maintenance?
Taking the time to care for your unsealed floors correctly provides several significant advantages. Raw wood acts like a sponge, absorbing everything it comes into contact with. Proper cleaning prevents dirt from becoming permanently embedded in the wood grain.
Consistent maintenance also prevents long-term structural damage. By keeping moisture away from the boards, you stop warping, buckling, and wood rot in their tracks. Regularly cleaning and conditioning the wood enhances its natural patina, creating a rich, warm finish that only gets better with time. Ultimately, knowing how to clean wood floors that are not sealed saves you from expensive repairs and keeps your home looking spectacular.
What Will You Need?
Before you begin, gather the right supplies. You want materials that gently lift dirt without introducing moisture or scratching the surface.
Here is what you need to keep your unsealed floors pristine:
- A soft-bristle broom
- A vacuum cleaner with a hard-floor attachment (no beater bars)
- Dry microfiber cloths or a dry microfiber mop
- Mineral spirits (odorless) or liquid cleaning wax formulated for unsealed wood
- Fine steel wool (grade 000 or 0000) for stubborn spots
- Clean, lint-free cotton rags
- Natural paste wax (optional, for conditioning)
10 Easy Steps on How to Clean Wood Floors That Are Not Sealed
Cleaning raw wood requires patience and a gentle touch. Follow these ten steps to clean your floors thoroughly without causing any accidental damage.
Step 1: Clear the Floor Completely
Start by removing all furniture, rugs, and obstacles from the room. Unsealed wood often hides dust and grit underneath heavy items like sofas and bookshelves. Lift furniture rather than dragging it to prevent scratching the vulnerable raw wood.
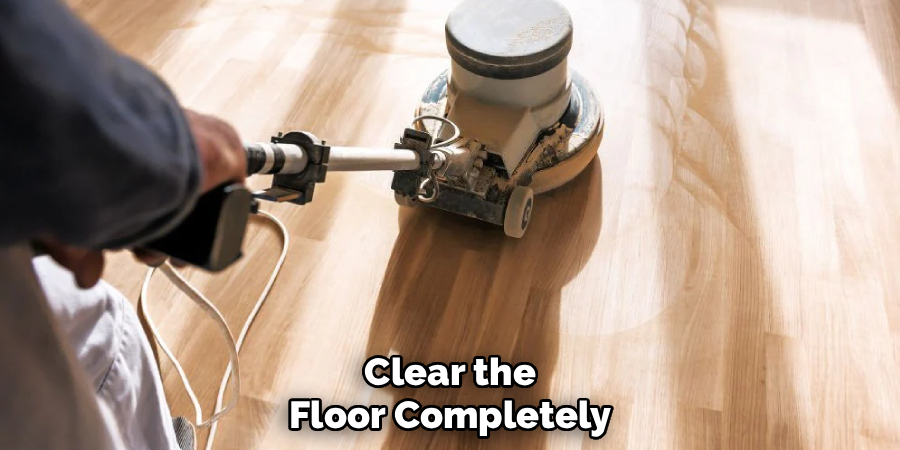
Taking the time to clear the space gives you uninterrupted access to every square inch of the floor. This preparation step ensures you do not miss any hidden dirt traps and allows your cleaning agents to work uniformly across the entire surface.
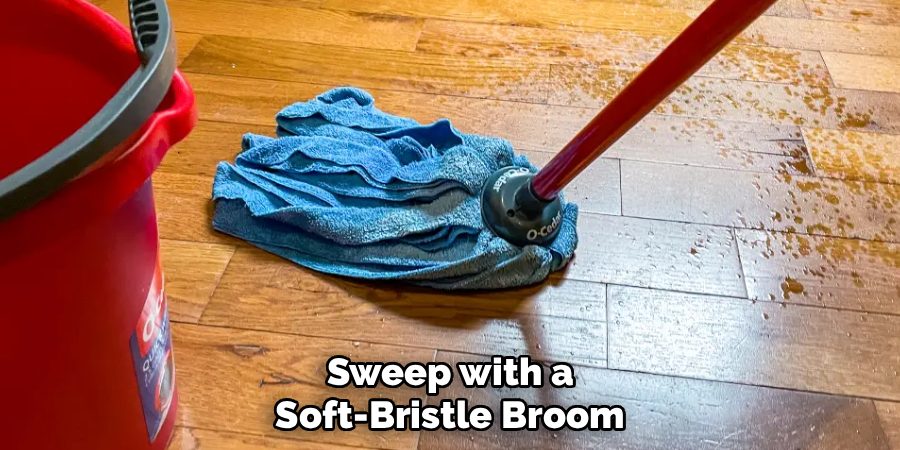
Step 2: Sweep with a Soft-Bristle Broom
Take your soft-bristle broom and gently sweep the entire floor. Focus on gathering large debris, pet hair, and loose dirt. Always sweep in the direction of the wood grain so you do not push dirt deeper into the tiny grooves of the raw wood. A soft-bristle broom is essential because stiff plastic bristles can actually scratch unsealed timber. Sweep everything into a central pile and use a dustpan to remove the debris carefully.
Step 3: Vacuum the Crevices Thoroughly
Even after sweeping, fine dust will remain trapped between the floorboards and deep within the wood grain. Use your vacuum cleaner to suck up this hidden grit. You must use a hard-floor attachment with soft brushes. Never use a vacuum with an active rotary brush or beater bar, as these will leave permanent scratch marks on your floor. Move slowly over the floor, paying special attention to corners, baseboards, and the gaps between individual planks where dust loves to settle.
Step 4: Use a Dry Microfiber Mop
To capture the finest dust particles that the broom and vacuum left behind, run a dry microfiber mop over the floor. Microfiber naturally attracts dust through static electricity, making it highly effective for raw wood. Push the mop in long, smooth strokes, making sure to overlap your passes slightly. Shake the mop head out frequently in the trash or outside to prevent spreading dust around. This dry dusting step is crucial because leaving any loose dirt on the floor will create a muddy paste when you apply your liquid cleaners.
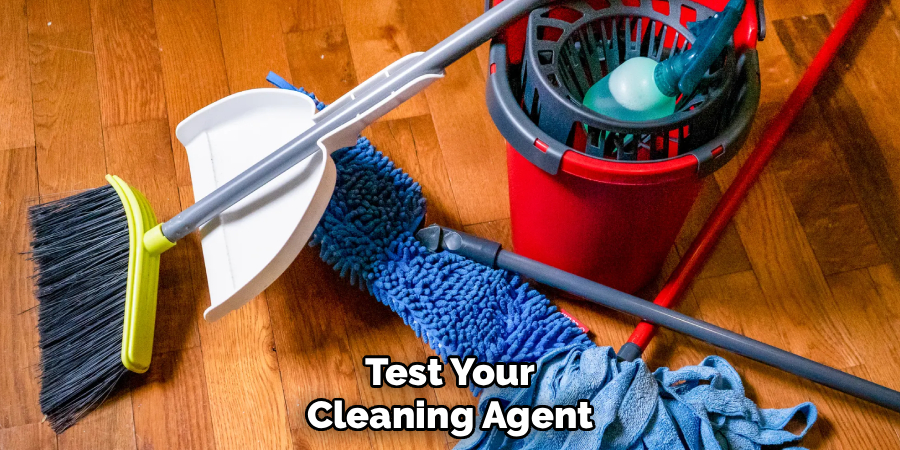
Step 5: Test Your Cleaning Agent
Before applying any cleaner to the center of your room, you must test it in an inconspicuous area. Find a hidden spot, perhaps inside a closet or under where a heavy piece of furniture usually sits. Apply a small amount of your odorless mineral spirits or specialized unsealed wood cleaner using a soft cloth. Wait a few minutes to ensure the cleaner does not discolor the wood or leave an unwanted residue. Once you confirm the product is safe, you can proceed with confidence.
Step 6: Apply Mineral Spirits to a Cloth
Since you cannot use water, mineral spirits act as your primary cleaning agent. Mineral spirits effectively lift grease, grime, and old wax without raising the grain of the wood. Dampen a clean, soft cotton cloth with the odorless mineral spirits. The cloth should be slightly damp, never dripping wet. Working in small, manageable sections (about three feet by three feet), gently rub the damp cloth over the wood. You will likely see the cloth turn dark as it pulls years of embedded dirt out of the porous wood surface.
Step 7: Treat Stubborn Spots and Stains
If you encounter sticky spots, scuff marks, or dark stains, you will need to apply a bit more pressure. Take a small piece of ultra-fine steel wool (grade 0000) and dip it lightly into the mineral spirits. Gently rub the stained area, strictly following the direction of the wood grain. Never scrub in circles, as this will cross-cut the grain and leave visible damage. The mild abrasiveness of the steel wool, combined with the solvent, will lift out most tough stains without harming the surrounding floor.
Step 8: Wipe Away Excess Moisture Immediately
As you finish cleaning each small section, immediately take a completely dry, clean cloth and wipe the area down. Although mineral spirits evaporate quickly and do not warp wood like water does, leaving excess liquid on the surface can dull the finish.
Wiping the floor removes the suspended dirt and any remaining solvent. Change your dry clothes frequently as they absorb the dirty residue. This ensures you are actually removing the grime rather than just pushing it around the floorboards.
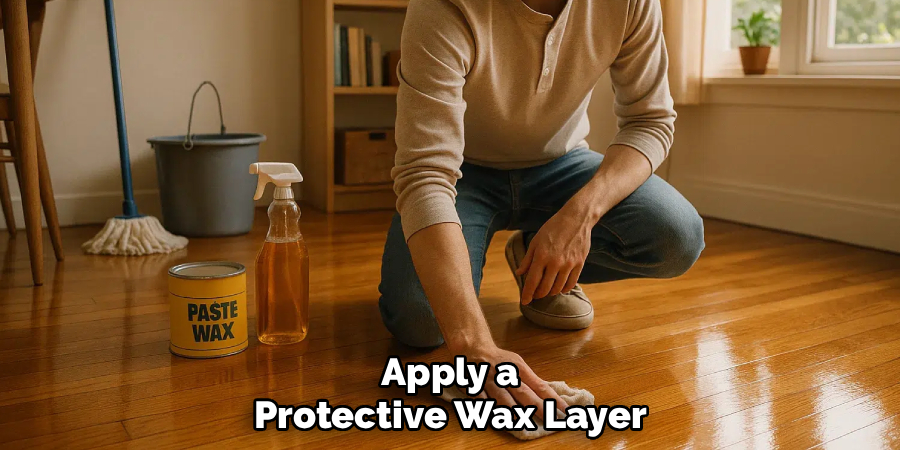
Step 9: Apply a Protective Wax Layer
Once the entire floor is clean and fully dry, you should condition the wood. Unsealed wood benefits tremendously from a layer of natural paste wax or liquid floor wax. This wax provides a temporary barrier against spills and dirt, acting as a breathable shield for the raw timber. Apply the wax according to the manufacturer’s instructions, usually by rubbing a thin, even layer into the wood using a clean cloth. Work the wax into the grain thoroughly, taking care not to apply too much, which can make the floor slippery.
Step 10: Buff the Floor to a Soft Shine
The final step is to buff the waxed floor. After allowing the wax to dry to a hazy finish (usually about 20 to 30 minutes, depending on the product), use a clean microfiber cloth or a floor buffer with a soft pad to polish the wood. Buffing works the wax deep into the pores and creates a beautiful, soft satin sheen. Buff in the direction of the grain until the floor looks rich and feels smooth to the touch. Your unsealed wood floor is now clean, nourished, and protected.
5 Things You Should Avoid
Protecting your unsealed wood floors is just as much about knowing what not to do. Avoid these common mistakes to prevent irreversible damage:
- Never use water or wet mops. Water is highly destructive to raw wood. It will soak into the pores, causing the planks to swell, warp, cup, and eventually rot.
- Avoid steam cleaners. Forcing high-temperature steam into unsealed wood is a guaranteed way to ruin the flooring. The intense heat and moisture will quickly penetrate the grain and destroy the structural integrity of the boards.
- Do not use harsh chemical cleaners. Ammonia, bleach, and acidic cleaners like vinegar will permanently stain and dry out raw wood, leaving it brittle and discolored.
- Skip the abrasive scrubbing pads. Heavy-duty scouring pads, stiff brushes, and low-grade steel wool will gouge the soft surface of unsealed timber.
- Never let spills sit. If you drop food or spill a drink, wipe it up immediately with a dry cloth. Leaving liquid on raw wood for even a few minutes can result in a permanent stain.
Conclusion
Learning how to clean wood floors that are not sealed requires a shift in your normal cleaning habits. By ditching the water and embracing dry sweeping, vacuuming, and solvent-based cleaning, you can protect the natural beauty of your raw timber.
Remember that prevention is your best tool. Place high-quality mats at all entrances to catch dirt before it reaches your floors, and clean up accidental spills the moment they happen.
Stick to this gentle, moisture-free routine, and your unsealed wood floors will provide a warm, stunning foundation for your home for decades to come.
About
Mike May is a distinguished figure in the world of woodworking and timber design, with a decade of expertise creating innovative and sustainable indoor solutions. His professional focus lies in merging traditional craftsmanship with modern manufacturing techniques, fostering designs that are both practical and environmentally conscious. As the author of Woodimber, Mike delves into the art and science of timber-craft, inspiring artisans and industry professionals alike.
Education
RMIT University (Melbourne, Australia)
-
Associate Degree in Design (Timber): Focus on sustainable design, industry-driven projects, and practical craftsmanship.
-
Gained hands-on experience with traditional and digital manufacturing tools, such as CAD and CNC software.
Nottingham Trent University (United Kingdom)
-
Bachelor’s in Woodworking and Product Design (Honors): Specialized in product design with a focus on blending creativity with production techniques.
-
Participated in industry projects, working with companies like John Lewis and Vitsoe to gain real-world insights.
Publications and Impact
In Woodimber, May shares his insights on timber design processes, materials, and strategies for efficient production. His writing bridges the gap between artisan knowledge and modern industry needs, making it a must-read for both budding designers and seasoned professionals.