 (1)")

Approaching a genuinely old piece of furniture often inspires a specific kind of anxiety. The surface might be hidden beneath decades of accumulated grime, yet the fear of irreparably damaging the underlying finish paralyzes many well-intentioned owners. Modern consumer culture conditions us to reach for an aerosol can at the first sign of dust. Such reflexes, however, frequently lead to aesthetic disaster when applied to historical objects.
Preserving an heirloom requires stepping back from aggressive commercial solvents and adopting a more analytical, restrained methodology. The objective here is not to make the piece look brand new. Instead, we aim to uncover the original character that time has obscured. This article outlines exactly how to clean up antique wood furniture safely. It explores the mechanics of evaluating delicate finishes, selecting appropriately gentle solvents, and applying protective wax that respects the material’s history.
Assessing the Antique’s Condition
Before introducing any liquid to a wooden surface, one must conduct a thorough physical examination. The current state of the object dictates the entire trajectory of your intervention. Rushing into the cleaning phase without understanding what materials you are actually dealing with might easily result in stripped color or dissolved topcoats. This preliminary analysis demands patience.
Identifying the Wood Finish
Determining the nature of the existing finish is arguably the most consequential step in this process. Older pieces were not sealed with the indestructible plastic polyurethanes common today. They typically rely on shellac, lacquer, penetrating oils, or simple beeswax. You can perform a subtle test in an inconspicuous area, perhaps the inside edge of a table leg.
A cotton swab dampened with denatured alcohol will quickly dissolve shellac. If lacquer thinner softens the surface, you are likely dealing with a lacquer finish. Understanding this chemical reality helps prevent the accidental application of a cleaner that might melt the historical protective layer right off the wood.
Checking for Structural Damage
Beyond the chemical makeup of the finish, the physical integrity of the timber requires evaluation. Moisture is the eternal enemy of compromised wood. Inspect the piece closely for lifting veneer, flaking polish, or the tiny, characteristic exit holes that suggest active woodworm. If you discover sections where the glue holding the veneer has failed, introducing water—even a damp cloth—could exacerbate the swelling and cause the wood to detach entirely. Such structural vulnerabilities must be stabilized by a conservator before any surface cleaning commences.
Gathering the Right Cleaning Supplies
The modern cleaning aisle is packed with products promising instant brilliance. Most of these chemical cocktails are fundamentally inappropriate for antique surfaces. They often contain harsh ammonia, synthetic silicones, and abrasive particulates that aggressively erode fragile patinas. Assembling a proper kit requires looking past commercial marketing and relying on simple, unadulterated ingredients.
Essential Cleaning Solutions
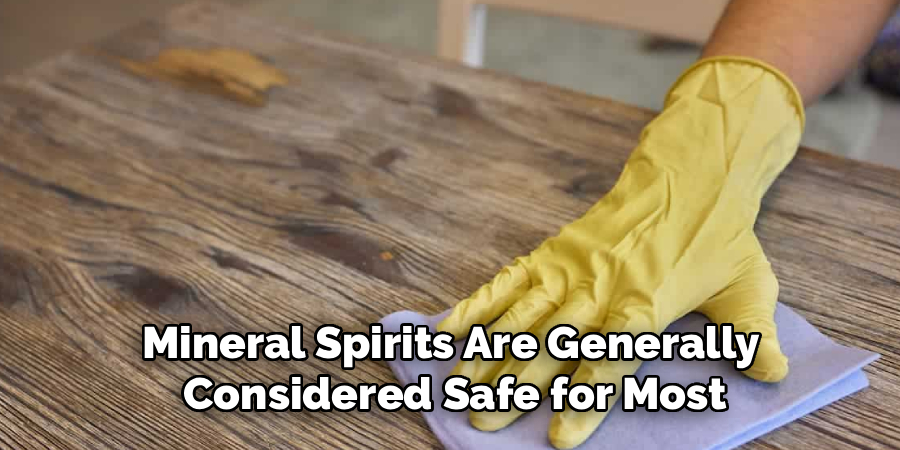
Your primary agents should be strikingly basic. A mild dish soap, entirely devoid of heavy degreasers or artificial scents, serves as the foundation. Distilled water is highly recommended over tap water, as the latter might contain heavy minerals that leave chalky deposits on dark wood. For cutting through heavily polymerized grease that soap cannot touch, clear mineral spirits are generally considered safe for most cured finishes, provided they are used with extreme moderation. Finally, a high-quality furniture paste wax—preferably one containing carnauba—will provide the necessary final barrier.
Proper Application Tools
The physical tools you employ are just as critical as the liquids. Rough paper towels or synthetic sponges can leave microscopic scratches across a soft shellac finish. Instead, gather a generous supply of ultra-soft cotton rags or clean microfiber cloths. For areas of severe, sticky build-up, fine #0000 grade steel wool can be utilized. You might also want to keep a handful of wooden toothpicks and cotton swabs nearby. These are exceptionally useful for extracting decades of compressed dirt from intricate carvings and tight joinery without damaging the surrounding flat surfaces.
Preparing Your Workspace for Restoration
The physical environment in which you work subtly influences the quality of the outcome. Cleaning old timber is a messy, occasionally pungent affair. Attempting to manage this process in a cramped or poorly lit living room usually leads to overlooked grime and frustrated efforts.
Lighting and Ventilation
Visibility is your primary diagnostic tool. Working under a strong, directional work light allows you to see the microscopic topography of the wood. It highlights sticky residues that might be invisible under soft, ambient room lighting. Furthermore, if your intervention requires the use of mineral spirits, adequate airflow is non-negotiable. Solvent fumes accumulate rapidly. Position your workspace near an open window or utilize a mechanical fan to maintain a steady exchange of fresh air.
Protecting the Piece and Surroundings
The underside of a heavy oak chest can easily gouge a modern hardwood floor during the cleaning process. Conversely, standing an antique on a hard concrete garage floor risks splintering its delicate feet. Lay down a thick moving blanket to cushion the contact points. Over this, place a canvas drop cloth to absorb any stray droplets of dirty water or solvent.
How to Clean Up Antique Wood Furniture: Step-by-Step Guide
This phase represents the core physical intervention. The methodology here relies on incremental escalation. You begin with the least invasive tactic and only increase the chemical strength if the dirt actively resists removal. Proceeding slowly ensures that you only lift the superficial grime, leaving the desirable, historical oxidation intact.
Step 1: Dusting the Surface Thoroughly
Dust is rarely just inert gray fluff. It often contains microscopic silica particles that behave exactly like sandpaper when dragged across a soft finish. Attempting to wash a dusty piece of furniture essentially creates an abrasive mud. Begin by lightly sweeping the entire object with a dry, clean microfiber cloth or a soft, natural-bristle brush. The goal is to lift the loose particulate matter into the air or onto your cloth without pressing it down into the wood grain.
Step 2: Testing the Cleaning Solution
The golden rule of historical preservation dictates that all liquid agents must be tested before widespread application. Select a hidden corner—perhaps the back panel or the interior lip of a drawer. Apply a single drop of your diluted soap solution and wipe it gently. Examine the cloth. If the fabric shows the dark brown or amber color of the finish itself rather than just gray dirt, stop immediately. This indicates the finish is water-soluble or severely degraded, and a dry-cleaning approach might be the only viable path forward.
Step 3: Washing with a Mild Soap Solution
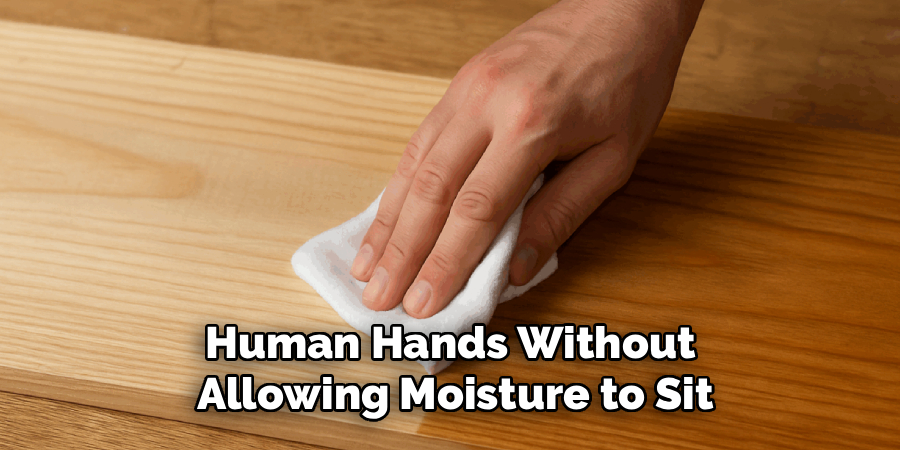
Assuming the test is successful, prepare a highly diluted mixture of warm water and a few drops of mild soap. Submerge your soft cloth and wring it out with considerable force. The cloth must be barely damp. It should feel cool to the touch but yield no actual droplets when squeezed. Gently wipe the surface following the direction of the wood grain. Work in small, isolated patches. The objective is to dissolve the water-soluble sugars and starches left behind by human hands without allowing moisture to sit on the surface for more than a few seconds.
Step 4: Removing Stubborn Grime and Build-Up
Water and soap frequently fail to dislodge the heavy, polymerized waxes and airborne cooking oils that accumulate on furniture over a century. When you encounter these sticky, darkened patches, mineral spirits become necessary. Lightly dampen a clean cloth or a small pad of #0000 steel wool with the solvent. Rub the sticky area with an exceptionally light touch. Let the chemical properties of the mineral spirits do the work rather than applying physical pressure. The grime should begin to dissolve and lift away, revealing the clean finish beneath.
Step 5: Drying the Wood Immediately
Moisture left pooling on a vintage surface will almost inevitably force the finish to bloom, creating a milky, cloudy discoloration that is incredibly difficult to reverse. As soon as you finish wiping a small section with either the damp soapy cloth or the mineral spirits, follow up instantly with a dry cotton towel. Absorb any residual liquid entirely. The wood should feel dry and room-temperature beneath your palm before you move on to the next section.
Step 6: Restoring Moisture with Mineral Oil
Occasionally, once the dirt is stripped away, the underlying wood appears parched and structurally dry. This usually happens when the original finish has entirely worn off, leaving the raw timber exposed to the air. To rejuvenate these specific, localized areas, one might apply a very sparse amount of clear mineral oil. Rub it gently into the thirsty fibers, allow it to sit for ten minutes to penetrate the cellular structure, and then aggressively buff away any excess.
Step 7: Applying Paste Wax for Protection
Cleaning strips away dirt, but it also removes whatever incidental protective barriers existed on the piece. The wood must be resealed to prevent future degradation. Take a clean cotton rag and apply a thin, almost transparent layer of high-quality furniture paste wax over the entirely dry surface. Allow this wax to sit until it hazes over, which typically takes about ten to fifteen minutes. Once cloudy, take a fresh cloth and buff the surface vigorously. This friction heats the wax slightly, forcing it to harden into a soft, warm sheen that repels dust and diffuses light beautifully.
Identifying and Treating White Water Rings
Vintage dining tables and dressers frequently bear the scars of careless use. White rings, typically left by sweaty drinking glasses or hot mugs, are remarkably common. These blemishes look severe, but they usually indicate that moisture has merely become trapped within the uppermost layers of the finish, rather than having penetrated the actual wood fibers.
The Mayonnaise Trick
While it sounds distinctly like a folk remedy, applying full-fat mayonnaise to a white water ring often yields surprisingly effective results. The mayonnaise contains an emulsion of oils. If you smear a thick layer over the stain and leave it to sit overnight, these oils slowly seep into the porous finish, physically displacing the trapped water molecules. Wiping the surface clean the next morning frequently reveals that the cloudy ring has vanished entirely.

Using Gentle Heat
If oil displacement fails, evaporation might succeed. Place a completely dry, thick cotton towel directly over the water ring. Turn the household iron to a low, dry heat setting—ensure the steam function is absolutely disabled. Briefly and lightly pass the warm iron over the towel for a few seconds. The gentle heat draws the trapped condensation up out of the finish and into the absorbent fabric. Check the progress frequently to avoid blistering the shellac.
Polishing Hardware and Metal Accents
Antique furniture rarely consists of just wood. Drawer pulls, brass escutcheons, and copper hinges contribute heavily to the overall visual impact of the piece. These metal components tarnish heavily over time, turning a dull, oxidized brown that detracts from the newly cleaned wood.
Removing Hardware for Cleaning
Attempting to polish brass while it remains attached to the furniture is a tactical error. Metal polishes are highly abrasive and chemically aggressive. Smearing this black, toxic slurry onto your carefully restored wood will instantly ruin the surrounding finish. Always use a properly sized screwdriver to carefully extract the historical screws. Remove the hardware entirely, clean it on a separate workbench, and only reattach it once the metal is completely dry and buffed.
Gentle Metal Cleaning Techniques
For historical brass, aggressive commercial chemical dips can strip away the metal’s natural age, leaving it looking garishly bright and artificially new. A more measured approach involves natural, mild acids. Creating a thick paste from lemon juice and baking soda, rubbing it onto the tarnished metal with a soft toothbrush, and rinsing it in warm water usually removes the heaviest oxidation while leaving a respectable, muted patina intact.
What to Avoid When Cleaning Antiques
Knowing what to omit from your cleaning routine is perhaps more important than knowing what to include. The consumer market encourages a kind of aggressive sanitization that is fundamentally incompatible with antique preservation. A single poor chemical choice can wipe out a hundred years of character in seconds.
Skipping the Silicone Polishes
The aerosol dusting sprays found in most modern homes are a menace to historical wood. These products rely heavily on silicone oils to create an instant, artificial shine. While they look glossy initially, silicone creates a permanent, impenetrable synthetic barrier on the surface. If the piece ever requires legitimate professional refinishing in the future, this silicone layer makes it nearly impossible for new lacquers or varnishes to adhere properly.
The Dangers of Over-Scrubbing
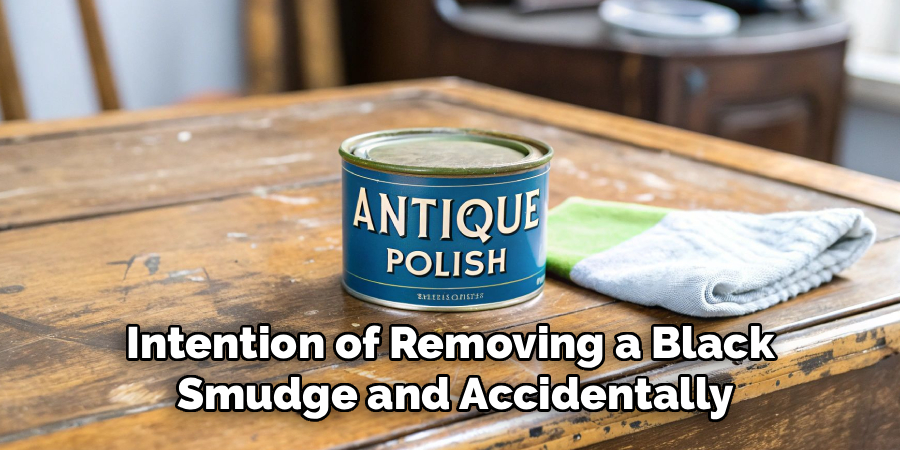
It is incredibly easy to lose perspective when scrubbing a stubborn stain. You might start with the intention of removing a black smudge and accidentally scrub right through the amber finish, exposing the pale, raw wood underneath. This creates a glaring visual defect that requires professional color-matching to disguise. The goal is to remove the dirt, not the history. If a dark spot refuses to lift with gentle solvent application, it is usually safer to accept it as part of the object’s historical narrative rather than risking structural damage.
Long-Term Maintenance for Heirloom Pieces
Once the exhaustive cleaning process is complete, the focus shifts to environmental management. The physical longevity of a wooden antique depends largely on how it interacts with the atmosphere in your home. A passive, consistent maintenance routine prevents the need for another deep intervention for decades.
Climate and Sunlight Control
Wood is a hygroscopic material; it continuously absorbs and releases moisture in response to its surroundings. Placing an antique chest directly next to a roaring heating vent or a damp exterior wall forces the timber to expand and contract violently, leading to cracked panels and split veneer. Furthermore, direct, unfiltered ultraviolet light acts as a slow bleaching agent. Positioning your furniture away from harsh sunlight and maintaining a relatively stable indoor humidity level extends the life of the finish exponentially.
Routine Care Schedule
The daily care of your restored piece should involve profound neglect. Heavy chemical cleaning is no longer required. A simple, dry dusting with a microfiber cloth once a week prevents the accumulation of abrasive particles. Beyond this, applying a fresh, microscopic coat of paste wax once or perhaps twice a year is entirely sufficient to maintain the protective barrier and keep the wood looking deeply nourished.
Conclusion
The preservation of old objects is an exercise in restraint. The impulse to scrub away every flaw must be actively suppressed. By approaching the task methodically—testing solvents, utilizing minimal moisture, and relying on gentle mechanical action—you protect the structural integrity of the timber. Understanding how to clean up antique wood furniture is not merely a household chore; it is a quiet act of historical conservation.
It requires recognizing that the dents, the faded patches, and the darkened recesses are not defects to be erased, but rather the accumulated evidence of a long and useful life. Armed with these techniques, you can safely bring the obscured beauty of an heirloom back to the surface, securing its place in your home for the next generation.
About
Mike May is a distinguished figure in the world of woodworking and timber design, with a decade of expertise creating innovative and sustainable indoor solutions. His professional focus lies in merging traditional craftsmanship with modern manufacturing techniques, fostering designs that are both practical and environmentally conscious. As the author of Woodimber, Mike delves into the art and science of timber-craft, inspiring artisans and industry professionals alike.
Education
RMIT University (Melbourne, Australia)
-
Associate Degree in Design (Timber): Focus on sustainable design, industry-driven projects, and practical craftsmanship.
-
Gained hands-on experience with traditional and digital manufacturing tools, such as CAD and CNC software.
Nottingham Trent University (United Kingdom)
-
Bachelor’s in Woodworking and Product Design (Honors): Specialized in product design with a focus on blending creativity with production techniques.
-
Participated in industry projects, working with companies like John Lewis and Vitsoe to gain real-world insights.
Publications and Impact
In Woodimber, May shares his insights on timber design processes, materials, and strategies for efficient production. His writing bridges the gap between artisan knowledge and modern industry needs, making it a must-read for both budding designers and seasoned professionals.