 (1)")

Aged, rustic textures exert a strange pull over modern interior design sensibilities. They tend to ground otherwise sterile, contemporary spaces. We crave the physical warmth of historical lumber in our homes, yet sourcing genuine antique beams usually depletes project budgets alarmingly fast. True salvaged barn wood is increasingly scarce. This market reality naturally drives up prices, erecting a significant barrier for the average homeowner.
You do not, however, need to purchase century-old planks to achieve that highly specific aesthetic. Understanding exactly how to make the wood look old using everyday materials can completely shift the atmosphere of a room. This process essentially involves forcing chemical reactions and mechanical wear that would ordinarily take decades to unfold naturally. We will explore the precise methods required to manipulate raw timber, allowing you to bypass the antique dealer entirely.
Why Learn How to Make the Wood Look Old?
The motivation to artificially age lumber extends far beyond simple frugality. Sourcing genuine reclaimed wood often involves unpredictable variables. You might encounter hidden lead paint, active insect infestations, or structural decay that renders the board unusable. Controlling the aging process yourself mitigates these risks. You dictate the exact degree of weathering. You decide whether the board requires a subtle, sun-bleached fade or a dark, heavy patina.
Sustainable Crafting
Purchasing newly milled, fast-growing lumber and distressing it yourself might represent a more sustainable approach to home decor. Reclaimed wood is a finite resource. By intentionally distressing cheap, modern lumber, you reduce the strain on authentic architectural salvage. This practice allows genuine historical materials to be preserved for structural restorations rather than being chopped up for casual craft projects. It yields a high-end visual result without cannibalizing actual history.
Personalized Decor
Mastering this technique gives you total control over the final product. Every room processes natural light differently. A gray-washed board that looks stunning in a brightly lit kitchen might appear unpleasantly gloomy in a dark hallway. Creating your own patina means you can adjust the concentration of your chemical stains to match your specific environmental lighting. The satisfaction derived from building a unique, site-specific statement piece cannot be overstated.
Selecting the Best Wood for Antiquing
Not all lumber responds to artificial distressing in the same manner. The foundational material you choose will largely determine the success or failure of the entire endeavor. Different species possess vastly different cellular structures. These variations dictate how the fibers react to blunt force and how the grain absorbs liquid compounds.
Softwoods Are Your Best Friend
For antiquing purposes, softwoods generally reign supreme. Species such as eastern white pine, cedar, and spruce are highly recommended. Their cellular density is relatively low. This structural looseness means they dent quite easily when struck with chains or hammers, recording physical trauma with realistic depth. Furthermore, the open grain of softwoods absorbs water-based stains and chemical washes deeply. The resulting oxidation tends to be rich and highly saturated. Pine, in particular, is inexpensive and widely available, making it the ideal blank canvas for experimental distressing.
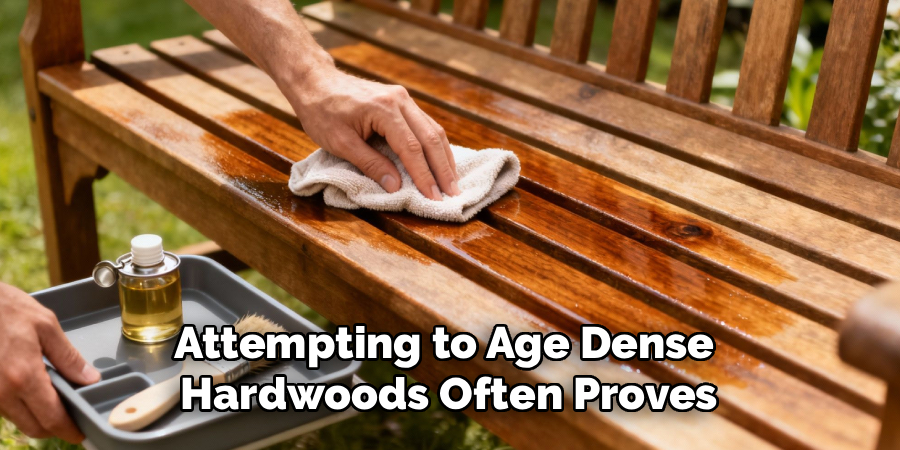
Avoiding Dense Hardwoods
Conversely, attempting to age dense hardwoods often proves frustrating. Oak, maple, and hickory possess a tightly packed cellular matrix designed by nature to resist damage. Striking a piece of kiln-dried maple with a heavy chain might produce nothing more than a superficial scratch. The sheer physical effort required to convincingly dent these species is exhausting. Furthermore, their tight grain structures often repel chemical stains, resulting in a blotchy, superficial finish that looks painted on rather than naturally aged. It is generally advisable to leave premium hardwoods in their natural state.
Gathering Your Distressing and Staining Tools
Preparation is a fundamental requirement for a successful antiquing project. You must assemble your materials before the physical work begins, as the chemical staining phase is somewhat time-sensitive. Organizing your supplies into distinct categories helps maintain focus during a messy process.
Tools for Physical Damage
Creating realistic wear requires tools capable of inflicting random, varying degrees of blunt force trauma. A heavy metal chain, roughly a foot in length, serves as an excellent primary instrument. When slapped against the board, its irregular links create varied indentations. An ordinary claw hammer is necessary for softening sharp factory edges. A stiff wire brush is perhaps the most critical mechanical tool, used to tear away the softer summer wood fibers. Finally, a small handful of heavy-duty screws or roofing nails will be needed to simulate historical insect damage.
Stains and Chemical Agents
The chemical phase of this project avoids commercial gel stains entirely. Instead, you will rely on household chemistry to force a rapid oxidation reaction within the wood itself. You will need a jug of basic white vinegar and several pads of fine steel wool, specifically grade #0000. Black tea bags are required to introduce necessary tannins into the lumber. For the final finishing stage, dark furniture paste wax and a few disposable foam paintbrushes will complete your inventory.
Prepping Your Workspace and Ensuring Safety
Distressing wood is inherently chaotic. The process generates flying splinters, microscopic dust particles, and pungent acidic fumes. Establishing a controlled environment protects both your physical health and your surrounding property. Whenever possible, this work should be conducted outdoors. If the weather prohibits outdoor work, a highly ventilated garage is the next best alternative.
Essential Safety Gear
Physical safety cannot be ignored when swinging heavy metal objects at timber. Protective safety glasses are an absolute requirement. Wood chips will inevitably fly in unpredictable trajectories during the chain-striking phase. Thick leather work gloves will protect your hands from the wire brush and prevent painful blisters. Additionally, wearing a basic particulate dust mask while wire brushing prevents you from inhaling airborne cellulose fibers.
Protecting Your Surfaces
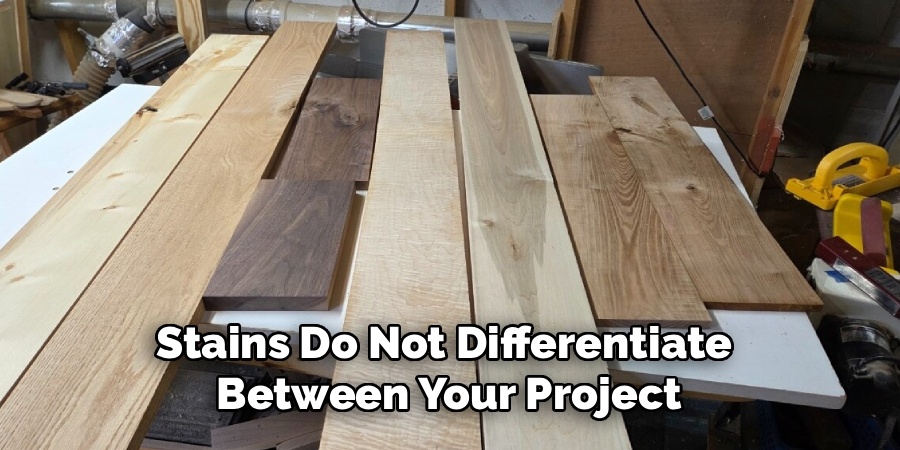
Chemical stains do not differentiate between your project board and your concrete driveway. The iron-vinegar solution you will create is highly reactive and can leave permanent, dark rust stains on masonry or flooring. Lay down heavy-duty canvas drop cloths beneath your sawhorses. Plastic sheeting can work in a pinch, but it tends to become dangerously slippery when wet with vinegar.
How to Make the Wood Look Old: Step-by-Step Instructions
Transforming pristine lumber into a weathered relic requires a sequential methodology. You cannot apply a chemical stain and expect an authentic result if the board still retains its perfectly square, machine-milled edges. The physical violence must precede the chemical bath. Work patiently through these stages.
Step 1: Sanding the Sharp Edges
Modern sawmills produce boards with precise, ninety-degree angles. Nature, however, abhors a straight line. Decades of handling, weather exposure, and friction naturally round off the corners of historical lumber. You must replicate this baseline wear before adding specific damage. Using coarse sixty-grit sandpaper, aggressively rub down every sharp edge and corner of the board. The goal is to create an uneven, slightly undulating profile. Areas that would hypothetically receive the most human touch should be rounded over more deeply.
Step 2: Creating Dents and Dings
Once the edges are softened, the blunt force application begins. Grip one end of your heavy chain and strike the flat surface of the wood. Vary your angle of attack. Authentic damage is never uniform. Tap the freshly sanded edges lightly with the head of your hammer to create shallow compressions. It helps to concentrate the heaviest damage near the outer boundaries of the board, as the center of a plank typically suffers less direct impact in real-world scenarios.
Step 3: Simulating Wormholes
Antique wood frequently displays the meandering paths of powderpost beetles and other boring insects. Replicating this texture adds a microscopic level of detail that tricks the eye. Gather three or four screws in your hand, holding them so the sharp points face downward. Tap the heads of the clustered screws lightly with your hammer, driving the points a fraction of an inch into the wood. Pull them out and repeat this process in random, isolated patches. Avoid covering the entire board in holes, which might suggest a deliberate pattern rather than a natural occurrence.
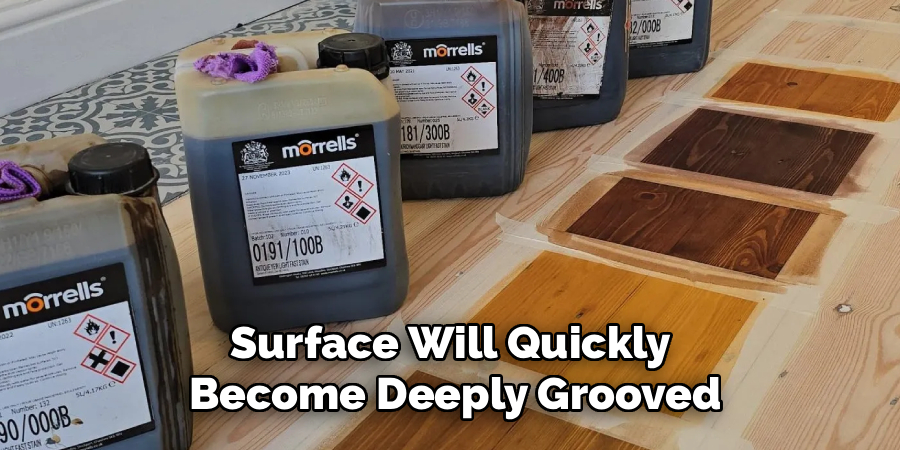
Step 4: Wire Brushing the Grain
This step profoundly alters the tactile feel of the lumber. Trees grow in seasonal cycles, producing softer wood in the spring and denser, harder wood in the late summer. Natural weathering degrades the soft spring wood first, leaving the hard summer wood ridges standing proud. To accelerate this phenomenon, press your stiff wire brush into the board and pull it forcefully along the direction of the grain. This action physically rips the softer fibers out of the matrix. The surface will quickly become deeply grooved and highly textured.
Step 5: Applying a Black Tea Wash
With the physical topography established, the chemical process commences. The oxidation method relies on the presence of tannic acid within the wood. While woods like oak contain vast amounts of natural tannins, softwoods like pine are severely deficient. We must introduce tannins artificially. Brew an incredibly strong batch of standard black tea, utilizing perhaps five or six bags for a single cup of boiling water. Allow it to steep until it is completely cool. Brush this dark liquid heavily over the entire board, ensuring it pools into the freshly made dents and wormholes. Allow the wood to dry completely before proceeding.
Step 6: Brushing on the Iron Vinegar Solution
This stage produces the dramatic visual shift. At least twenty-four hours prior to this step, you should have submerged a pad of fine steel wool into a glass jar filled with white vinegar. The acetic acid in the vinegar dissolves the iron, creating an iron acetate solution. Strain this murky liquid to remove any remaining steel fibers. Brush the iron acetate directly over the dried tea wash. The reaction is often immediate. The iron acetate bonds violently with the tea tannins, turning the pale wood a deep, striking gray-brown. The color will continue to shift and deepen as the board dries.
Step 7: Adding Depth with Dark Wax
The chemical reaction creates excellent overall color, but authentic age requires shadowed depth. Once the oxidized board is entirely dry to the touch, load a clean cloth with dark brown furniture paste wax. Rub this wax vigorously into the surface. The dark pigments will naturally catch in the wire-brushed grooves, the hammer dents, and the simulated wormholes. Buff the excess wax away with a clean rag. This final layer accentuates the physical topography you created in the earlier steps, lending a heavy, historical realism to the piece.
Creating Faux Finishes with Paint
While the iron oxidation method produces an exposed-grain barn wood effect, some interior designs call for a painted aesthetic. Simulating a piece of furniture that has been painted and subsequently chipped by decades of heavy use requires a different approach. Layering paint to mimic decay is an exercise in controlled failure.
The Vaseline Chipping Trick
To create convincing chipped paint, you must prevent the new paint from adhering to specific areas. Petroleum jelly acts as an excellent resist agent. Before painting your raw or stained board, smear tiny amounts of Vaseline onto the corners and edges where natural chipping would occur. Paint directly over the entire board, ignoring the greasy patches. Once the paint has dried, use a stiff putty knife to lightly scrape the surface. The paint resting over the Vaseline will peel away effortlessly, revealing the bare wood underneath and creating an illusion of extreme, natural wear.
Dry Brushing for Texture
Dry brushing highlights existing texture rather than creating chipped areas. Dip the very tip of a stiff paintbrush into a light-colored chalk paint. Wipe almost all of the paint off onto a paper towel until the bristles feel practically dry. Very lightly drag this dry brush over the surface of your wire-brushed wood. The minimal paint left on the bristles will only catch on the highest ridges of the grain. This technique deposits a dusty, faded residue that suggests years of sun bleaching and ambient dust accumulation.
Troubleshooting Common Antiquing Mistakes
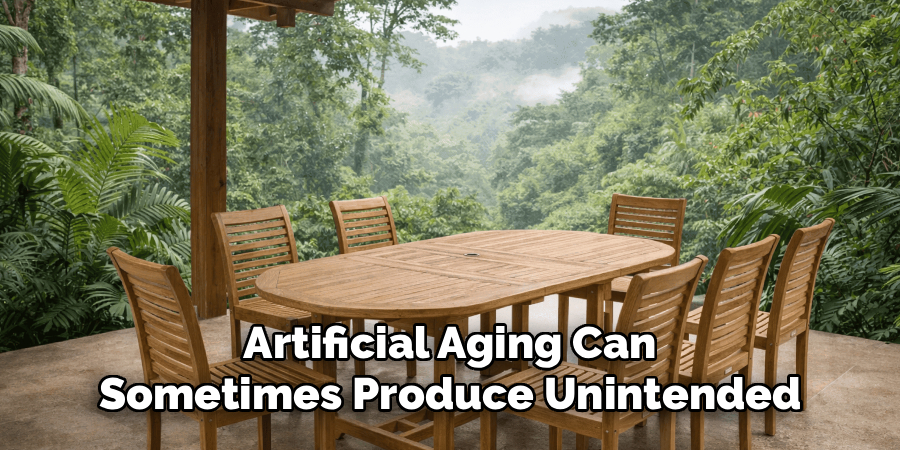
Even with careful execution, artificial aging can sometimes produce unintended visual artifacts. Because you are dealing with organic materials and raw chemistry, the results are never perfectly predictable. Recognizing when an aesthetic error has occurred allows you to correct the trajectory before the final sealer is applied.
The Finish Looks Too Uniform
The human brain excels at recognizing patterns. If you apply hammer strikes with mechanical rhythm, the resulting damage will look manufactured. Authentic age is inherently chaotic. If your board appears too uniform, you must aggressively break the pattern. Take a coarse file and gouge out a large, irregular chunk from one edge. Concentrate a heavy dose of dark wax in a single, asymmetrical corner. Introducing a random element of severe wear usually resolves the feeling of artificiality.
The Stain Turned Too Dark
Sometimes the iron acetate reacts far more aggressively than anticipated, turning the wood an opaque, charcoal black rather than a nuanced silver-gray. If this occurs, do not panic. Wait for the wood to dry entirely. Take a medium-grit sanding block and gently hand-sand the flat surfaces of the board. This abrasion will remove the heaviest oxidation from the high spots of the grain, exposing the lighter wood beneath while leaving the deep, dark color in the recesses.
Sealing and Protecting Your Vintage Masterpiece
Leaving oxidized wood unsealed is generally unwise. Environmental moisture can reactivate the iron acetate, potentially causing the color to shift further or rub off onto clothing. Furthermore, raw wood readily absorbs oils from human hands, which can create ugly, localized stains over time. Applying a protective topcoat is necessary, but the choice of product is critical.
Choosing a Matte Clear Coat
Applying a high-gloss polyurethane over your carefully distressed board will instantly destroy the vintage illusion. Glossy finishes reflect light sharply, signaling to the brain that the surface is modern and encased in plastic. You must seek out a dead-flat or ultra-matte water-based clear coat. These specific formulas contain flattening agents that absorb light. They protect the wood from spills while allowing the surface to maintain the dry, chalky appearance characteristic of ancient timber.
Using Clear Furniture Wax
If the piece will not face heavy daily wear—such as a decorative wall sign or a picture frame—a high-quality clear paste wax serves as an excellent alternative to liquid urethanes. Wax provides a very subtle, hand-rubbed sheen that feels soft to the touch. It nourishes the dry cellulose fibers without creating a hard plastic barrier. It requires occasional reapplication, but it maintains the organic integrity of the distressed finish perfectly.
Conclusion
The pursuit of historical textures does not have to involve endless searching through architectural salvage yards. By deliberately damaging the cellular structure of raw pine and manipulating basic chemical reactions with household ingredients, you can conjure the weight of history out of thin air. The techniques outlined here require patience, a willingness to embrace chaos, and a critical eye for realistic detail. Knowing how to make the wood look old is ultimately an exercise in observation. It demands that we look closely at how nature breaks down materials over time, and then thoughtfully recreate that beautiful decay within our own workspaces.
About
Mike May is a distinguished figure in the world of woodworking and timber design, with a decade of expertise creating innovative and sustainable indoor solutions. His professional focus lies in merging traditional craftsmanship with modern manufacturing techniques, fostering designs that are both practical and environmentally conscious. As the author of Woodimber, Mike delves into the art and science of timber-craft, inspiring artisans and industry professionals alike.
Education
RMIT University (Melbourne, Australia)
-
Associate Degree in Design (Timber): Focus on sustainable design, industry-driven projects, and practical craftsmanship.
-
Gained hands-on experience with traditional and digital manufacturing tools, such as CAD and CNC software.
Nottingham Trent University (United Kingdom)
-
Bachelor’s in Woodworking and Product Design (Honors): Specialized in product design with a focus on blending creativity with production techniques.
-
Participated in industry projects, working with companies like John Lewis and Vitsoe to gain real-world insights.
Publications and Impact
In Woodimber, May shares his insights on timber design processes, materials, and strategies for efficient production. His writing bridges the gap between artisan knowledge and modern industry needs, making it a must-read for both budding designers and seasoned professionals.