 (1)")

Stripping stain from wood can breathe new life into old furniture, trim, or flooring. Whether you’re restoring a vintage dresser or preparing bare wood for a fresh finish, removing old stain is often the critical first step. The process might seem daunting at first, but with the right materials and techniques, you can achieve professional-quality results without hiring a contractor.
This comprehensive guide on how to strip stain from wood walks you through everything you need to know about stripping stain from wood. From gathering your materials to applying the final touches, you’ll learn how to safely and effectively remove old finishes while preserving the natural beauty of the wood underneath. By following these seven straightforward steps, you’ll be well-equipped to tackle any stain removal project with confidence.
Materials You’ll Need
Before you begin, make sure you have all the necessary materials for stripping a stain from wood. Here’s a list of what you’ll need:
- Safety glasses or goggles
- Dust mask or respirator
- Chemical strippers (gel or liquid)
- Paintbrushes
- Scraper or putty knife
- Sandpaper (coarse and fine grit)
- Clean rags or towels
- Mineral spirits or denatured alcohol
7 Simple Step-By-Step Guidelines on How to Strip Stain from Wood
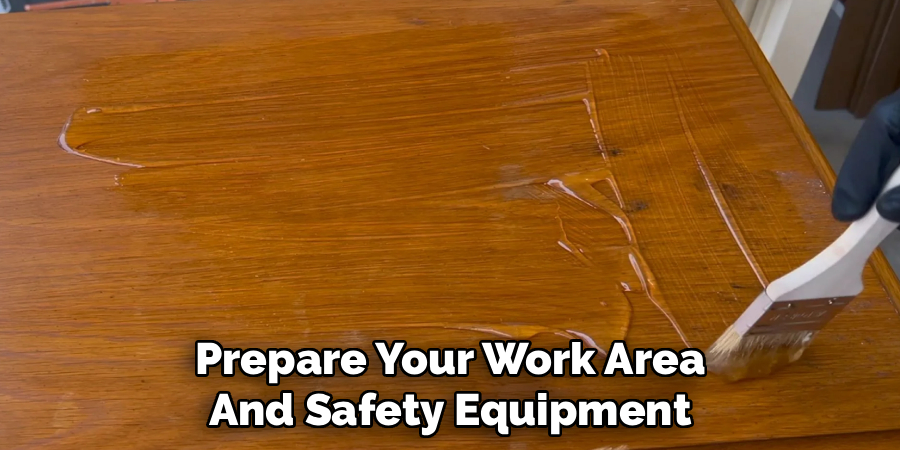
Step 1: Prepare Your Work Area and Safety Equipment
Setting up your workspace properly is essential for both safety and efficiency. Choose a well-ventilated area, preferably outdoors or in a garage with open doors and windows. Chemical strippers release fumes that can be harmful when inhaled, so adequate airflow is non-negotiable.
Lay down thick drop cloths or plastic sheeting to protect floors and surfaces from drips and spills. Put on your safety gear before handling any chemicals—nitrile gloves provide better protection than latex, safety goggles shield your eyes from splashes, and a respirator mask filters out harmful vapors. If you’re working with an assembled piece of furniture, consider disassembling removable parts like drawers, doors, or hardware to make the stripping process more manageable. Remove all metal fixtures, as chemical strippers can cause discoloration or damage to hardware.
Step 2: Test the Stripper on a Small Area
Never apply a chemical stripper to an entire piece without testing first. Different wood types and stain formulations react differently to stripping agents, and a test patch helps you gauge how long the stripper needs to work and how the wood will respond.
Select an inconspicuous area—perhaps the underside of a table or the back of a cabinet—and apply a small amount of stripper according to the manufacturer’s instructions. Wait the recommended time, then attempt to scrape away the softened stain. This test reveals whether you’ve chosen the right product strength and gives you realistic expectations for the full project. If the stain doesn’t budge easily, you may need a stronger formula or a longer dwell time. If the wood appears damaged or discolored, consider switching to a gentler product.
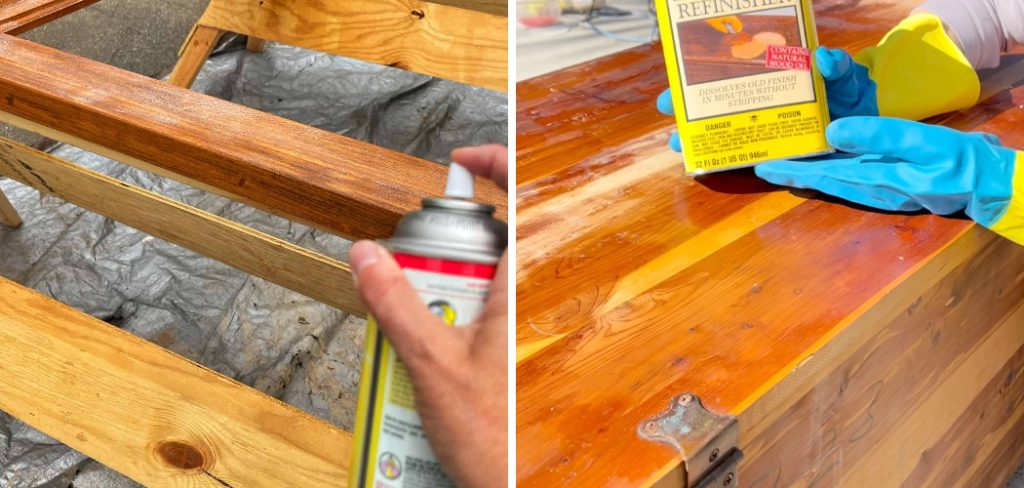
Step 3: Apply the Chemical Stripper Generously
Once you’re confident in your product choice, it’s time to apply the stripper to the entire surface. Pour a generous amount of stripper into a disposable container—never work directly from the original can, as this can contaminate the unused product.
Using an old paintbrush, apply a thick, even coat of stripper in the direction of the wood grain. Don’t spread it too thin; a heavy application works more effectively. For vertical surfaces, choose a gel-based stripper that clings rather than running. After application, some products benefit from being covered with plastic wrap or wax paper, which prevents the stripper from drying out and allows it to penetrate deeper into the stain. Check the manufacturer’s recommendations for optimal dwell time—typically anywhere from 15 minutes to several hours, depending on the stain’s age and thickness.
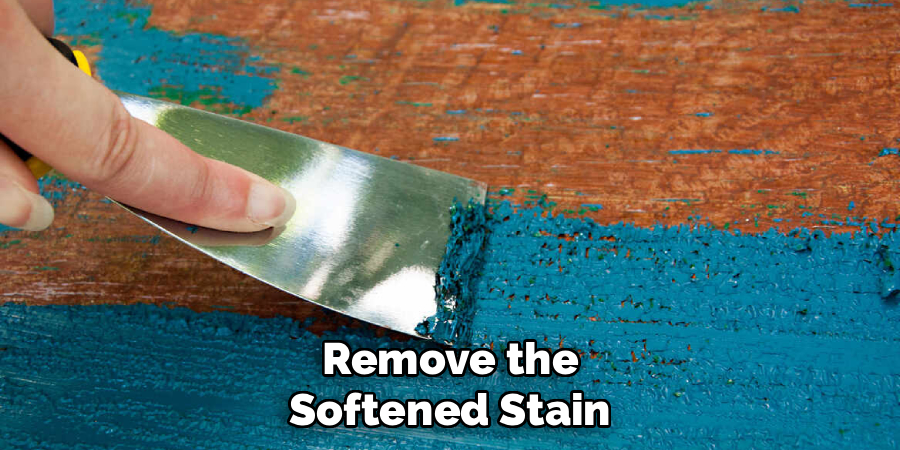
Step 4: Remove the Softened Stain
After the stripper has had sufficient time to work, the stain should appear wrinkled, bubbled, or visibly softened. This is your cue to begin removal. Using a plastic scraper held at a shallow angle, gently push the softened stain away from the wood surface, working in the direction of the grain to avoid scratching.
Collect the removed stain in a disposable container as you work—never let it fall onto your drop cloth where you might step in it or spread it around. For intricate areas like carvings, spindles, or tight corners, use smaller tools such as old toothbrushes, cotton swabs, or even wooden skewers. If you encounter stubborn patches where the stain hasn’t fully lifted, don’t force it. Instead, reapply stripper to those specific areas and allow additional dwell time. Patience during this step prevents damage to the wood and yields better overall results.

Step 5: Clean the Wood with Steel Wool and Solvent
After removing the bulk of the stain, residue often remains in the wood’s pores and grain lines. This step addresses those stubborn remnants. Dip medium-grade steel wool into mineral spirits or the solvent recommended by your stripper’s manufacturer, then gently scrub the wood surface following the grain direction.
The combination of mechanical abrasion and chemical action helps lift embedded stain particles that scraping alone cannot remove. For lighter cleaning or final passes, switch to fine-grade steel wool to avoid scratching. Pay special attention to end grain and areas with deep grain patterns, as these tend to trap more stain. Wipe away dissolved residue frequently with clean rags, rotating to fresh sections as they become saturated. This process may reveal areas that need additional stripping—it’s normal to repeat steps three through five in particularly stubborn spots.
Step 6: Neutralize and Rinse the Wood Surface
Many chemical strippers require neutralization to stop their chemical action and prepare the wood for refinishing. Check your product’s instructions carefully, as some formulas are self-neutralizing while others require specific neutralizing agents or simply water.
If neutralization is needed, apply the recommended solution with clean rags, working it into all surfaces that contacted the stripper. For water-based neutralizers, use damp—not soaking wet—cloths to avoid raising the wood grain excessively. After neutralization, wipe down the entire piece with clean water or the recommended solvent to remove any remaining chemical residue. This step is crucial because leftover stripper can interfere with the new stain or finish adhesion. Some woods, particularly oak and other open-grain varieties, may require several rinse cycles to fully clear their pores.
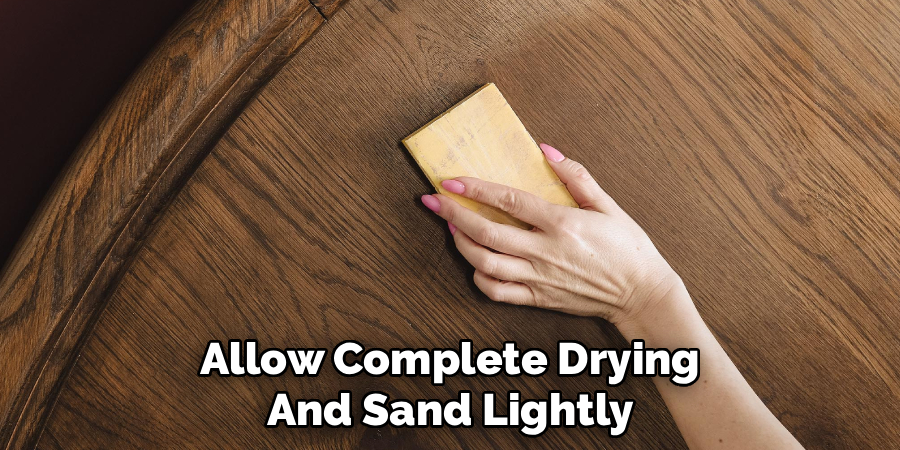
Step 7: Allow Complete Drying and Sand Lightly
Once cleaned and neutralized, your wood needs time to dry thoroughly before any new finish can be applied. Depending on humidity and temperature, drying may take anywhere from 24 to 72 hours. Rushing this step can trap moisture under new finishes, leading to problems like clouding, poor adhesion, or premature failure.
When the wood feels completely dry to the touch, perform a final light sanding using fine-grit sandpaper (180 to 220-grit). This smooths any raised grain caused by the stripping process and creates an ideal surface for stain or finish acceptance. Always sand in the direction of the grain, using even pressure and smooth strokes. After sanding, remove all dust with a tack cloth or slightly damp rag, and your wood is ready for its new finish.
Following these steps on how to strip stain from wood can help you achieve a refreshed and renewed look for your wooden furniture or surfaces. But before you start the process, it’s important to consider the type of wood and finish you are working with.
Common Mistakes to Avoid
One of the most frequent errors is working in poor ventilation, which can lead to headaches, dizziness, or more serious health issues. Always prioritize airflow and wear appropriate respiratory protection. Another common mistake is applying stripper too thinly—a generous coat works much more effectively than a thin layer that dries before it can work. Many beginners also scrape too aggressively, gouging the wood surface in their eagerness to remove the stain quickly.
Remember that chemical strippers do the heavy lifting; your scraper should encounter minimal resistance when the product has worked properly. Finally, don’t skip the neutralization and drying steps in an attempt to save time, as this almost always compromises the quality of your refinishing results.
Frequently Asked Questions
Q: Can I Strip Stain from Wood Without Chemicals?
A: Yes, several alternative methods exist for removing stains without chemical strippers, though they typically require more time and physical effort. Sanding is the most common non-chemical approach—using progressively finer grits, you can sand through the stained layer to reach bare wood beneath.
Heat guns can also soften some stains and finishes for scraping, though this method requires caution to avoid scorching the wood. Citrus-based or soy-based “green” strippers offer less toxic alternatives to traditional chemical formulas, though they often work more slowly. For light stains or small projects, these alternatives can be effective, but for heavy, old, or polyurethane-sealed stains, chemical strippers remain the most efficient option.
Q: How Do I Know When All the Stain Has Been Removed?
A: Determining complete stain removal requires careful inspection under good lighting. Bare wood should display consistent color without darker patches or streaks that indicate remaining stain. Run your hand over the surface—it should feel uniformly smooth without sticky or waxy areas where finish residue remains.
One helpful test involves dampening a small area with mineral spirits; this temporarily reveals the wood’s true color and highlights any remaining stain that might not be visible on dry wood. If you’re uncertain, err on the side of additional cleaning rather than proceeding to refinishing, as any remaining stain or finish will interfere with new products and create an uneven final appearance.
Conclusion
Stripping stain from wood is a rewarding process that opens up endless refinishing possibilities. While it requires patience and attention to detail, the results are well worth the effort. You now have the knowledge to safely and effectively remove old stains, preparing your wood for whatever finish you envision next.
Ready to transform that tired piece of furniture or restore those beautiful wood floors? Gather your materials, set aside a weekend, and put these steps into action.
The satisfaction of revealing pristine wood beneath layers of old finish is unmatched, and you’ll gain valuable skills that serve you well for future restoration projects. Start with a smaller piece to build confidence, then move on to more ambitious undertakings as your expertise grows. Thanks for reading this guide on how to strip stain from wood.
About
Mike May is a distinguished figure in the world of woodworking and timber design, with a decade of expertise creating innovative and sustainable indoor solutions. His professional focus lies in merging traditional craftsmanship with modern manufacturing techniques, fostering designs that are both practical and environmentally conscious. As the author of Woodimber, Mike delves into the art and science of timber-craft, inspiring artisans and industry professionals alike.
Education
RMIT University (Melbourne, Australia)
-
Associate Degree in Design (Timber): Focus on sustainable design, industry-driven projects, and practical craftsmanship.
-
Gained hands-on experience with traditional and digital manufacturing tools, such as CAD and CNC software.
Nottingham Trent University (United Kingdom)
-
Bachelor’s in Woodworking and Product Design (Honors): Specialized in product design with a focus on blending creativity with production techniques.
-
Participated in industry projects, working with companies like John Lewis and Vitsoe to gain real-world insights.
Publications and Impact
In Woodimber, May shares his insights on timber design processes, materials, and strategies for efficient production. His writing bridges the gap between artisan knowledge and modern industry needs, making it a must-read for both budding designers and seasoned professionals.