 (1)")

Acrylic paint is one of the most versatile and beginner-friendly mediums available to artists and DIY enthusiasts.
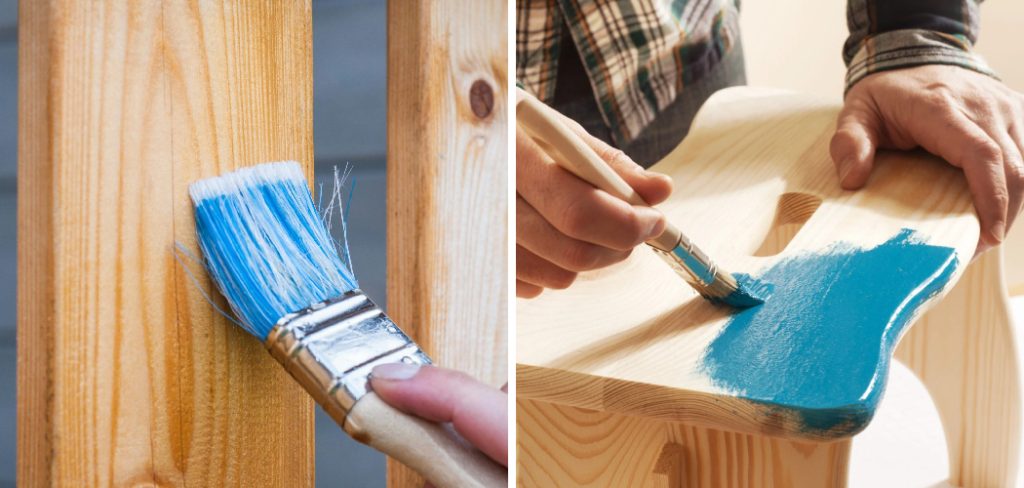
Whether you are looking to spruce up a set of garden planters, add a pop of color to a birdhouse, or transform a wooden sign for your vegetable patch, acrylics offer vibrant colors and quick drying times. However, wood is a porous and sometimes unpredictable surface. Without the proper preparation and technique, your beautiful design might peel, fade, or soak unevenly into the grain.
Learning how to paint wood with acrylic properly is the key to creating long-lasting, professional-looking projects. By following a few essential steps—like sanding, sealing, and priming—you can ensure your artwork withstands the test of time, even outdoors. This guide is designed specifically for beginners and home gardeners who want to bring their creative visions to life on timber. We will walk you through the entire process, from selecting the right wood to applying the final protective varnish. Get ready to unlock the potential of your wooden crafts and add a personal touch to your home and garden.
Why Learning How to Paint Wood with Acrylic is Essential for DIYers
Understanding the nuances of applying acrylics to wood opens up a world of creative possibilities for your home and garden. Wood provides a warm, natural texture that complements the plastic-like finish of acrylics beautifully, but it behaves very differently than canvas or paper. Wood expands and contracts with humidity, absorbs moisture, and releases natural oils or tannins that can discolor your paint over time.
By mastering the correct methods, you prevent common issues like “bleed-through,” where the wood grain ruins your image, or “raising the grain,” where the moisture in the paint makes the wood feel rough and fuzzy. Properly painted wood projects are not only more aesthetically pleasing but also more durable. This is especially critical for garden items exposed to sun and rain. A solid foundation ensures your hand-painted plant markers or decorative fences remain bright and cheerful season after season, rather than peeling away after the first rainstorm. It turns a temporary craft into a lasting piece of decor.
Step-by-Step Guide on How to Paint Wood with Acrylic
Step 1: Select and Prepare Your Wood Surface
The success of your painting project begins long before you open a tube of paint. You need to choose a piece of wood that is suitable for painting. Softwoods like pine or plywood are inexpensive and readily available at craft stores, making them excellent choices for beginners. Hardwoods like maple offer a smoother surface but are costlier.
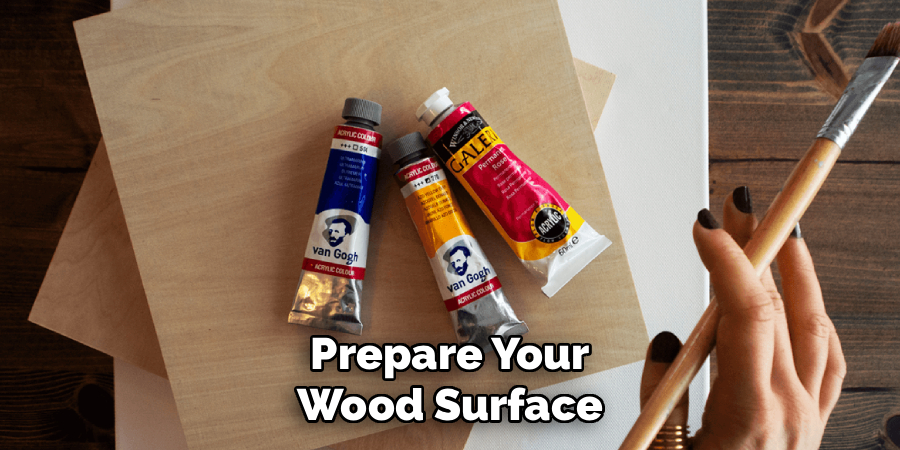
Once you have your timber, inspect it for rough patches, splinters, or knots. If the wood is dirty or greasy, clean it thoroughly with a damp cloth and a mild soap solution. Allow the wood to dry completely, as any trapped moisture will cause the acrylics to warp or lift later. A clean, dry base is non-negotiable for good adhesion.
Step 2: Sand the Surface for a Smooth Finish
Sanding is perhaps the most crucial preparatory step in wood painting. Even if the wood looks smooth to the naked eye, it likely has microscopic fibers that will stand up when wet paint is applied, creating a rough texture. Start with a medium-grit sandpaper, such as 140-grit, to remove any major imperfections or previous finishes.
Sand in the direction of the wood grain to avoid scratching the surface. Follow this with a fine-grit sandpaper, around 220-grit, to polish the wood until it feels silky to the touch. This process creates “tooth” for the primer to grab onto while ensuring your brush strokes glide effortlessly. Wipe away all sanding dust with a tack cloth or slightly damp rag.
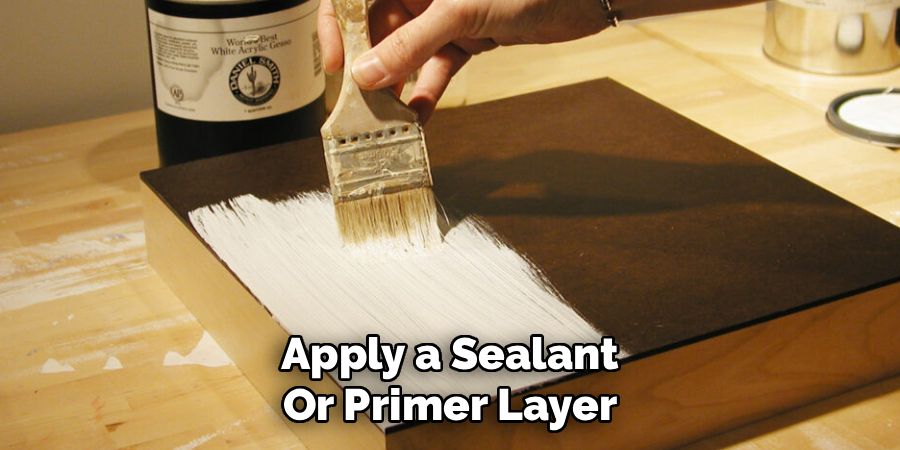
Step 3: Apply a Sealant or Primer Layer
Applying raw acrylic directly to bare wood is a common rookie mistake. The porous wood will suck the moisture right out of the paint, leaving it dull and blotchy. To prevent this, you must apply a barrier. For decorative art projects, a clear acrylic medium or a dedicated wood sealer works wonders. If you want a bright, opaque background, use a high-quality white gesso or wood primer.
Brush the primer on evenly, covering the entire surface. This step seals the pores, prevents natural wood tannins from staining your artwork yellow over time, and provides a uniform white base that makes your acrylic colors pop vividly. Let this layer dry completely before moving on.
Step 4: Transfer Your Design to the Wood
Unless you are planning a freehand abstract piece, it is helpful to have a guide to follow. Once your primer is dry, you can lightly sketch your design onto the wood using a pencil or charcoal. Be gentle, as hard pencil lines can sometimes show through lighter paint colors. Alternatively, you can use graphite transfer paper. Place the transfer paper dark-side down on the wood, lay your printed design on top, and trace over the lines with a stylus or pen. This transfers a clean, precise outline to your surface. This step removes the anxiety of painting and allows you to focus purely on color application and technique without worrying about proportions.
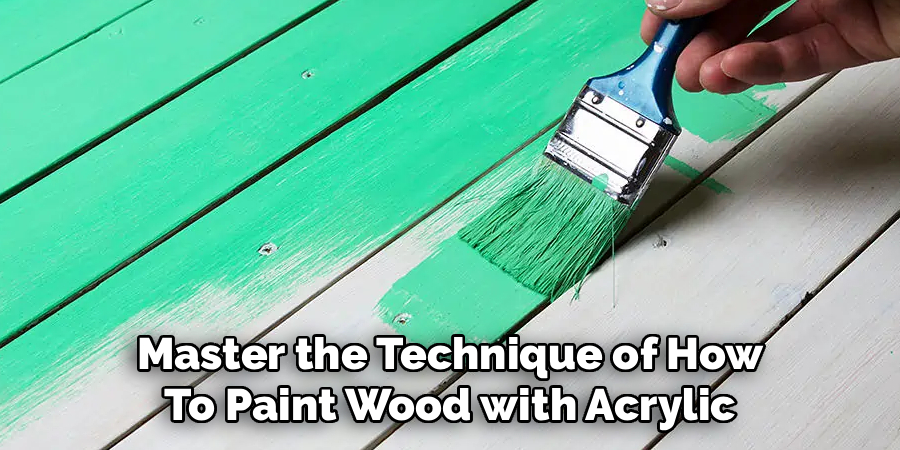
Step 5: Master the Technique of How to Paint Wood with Acrylic
Now comes the fun part: applying the color. Squeeze your acrylic paints onto a palette. If the paint feels too thick, you can thin it slightly with water or a flow medium, but be careful not to make it too watery, or it will degrade the binder. Start by blocking in the main background colors and large shapes. Use synthetic brushes, which are best suited for acrylics, and apply the paint in thin, even layers. It is much better to apply two or three thin coats than one thick, gloopy one. Thick layers take forever to dry and can crack. Allow each color to dry before painting next to it to avoid muddying your hues.
Step 6: Add Details and Highlights to Your Art
Once your base layers are dry and solid, you can start adding the finer details that bring your piece to life. Switch to smaller, finer brushes for lines, dots, and intricate patterns. Acrylics dry quickly, which is a huge advantage here because you can layer lighter colors over darker ones without them blending, provided the bottom layer is dry. You can also use techniques like dry-brushing to create texture or glazing (mixing paint with a transparent medium) to alter the tone of the underlying colors. Take your time with this step. If you make a mistake, simply let it dry and paint over it—acrylics are incredibly forgiving in this regard.
Frequently Asked Questions (FAQ)
Do I Need to Wet the Wood Before Painting?
Generally, no, you should not wet the wood before painting with acrylics.
- Warping Risk: Adding water to bare wood can cause the fibers to swell, leading to warping or cracking as it dries.
- Grain Raising: Water raises the wood grain, making the surface rough and fuzzy, which ruins your smooth sanding job.
- Adhesion: Acrylics adhere best to a dry, sealed surface. Use a primer or gesso instead of water to prepare the surface.
Can I Use Acrylic Paint on Outdoor Furniture?
Yes, you can, but it requires specific preparation.
- Durability: Standard artist acrylics are not formulated to withstand foot traffic or heavy wear on furniture.
- Sealing: You absolutely must seal the paint with a heavy-duty, exterior-grade polyurethane or varnish.
- Better Option: For furniture, “outdoor acrylics” or latex-acrylic house paints are often better choices as they are tougher and more flexible than tube acrylics.
Why Is My Acrylic Paint Peeling Off the Wood?
Peeling usually points to a preparation issue.
- Dirty Surface: If the wood had dust, oil, or wax on it, the paint cannot bond.
- No Sanding: Painting over a glossy or smooth surface without sanding gives the paint nothing to grip.
- Moisture: If the wood was damp inside when you painted it, the moisture trying to escape will push the paint off.
What Is the Best Brush for Acrylic on Wood?
Synthetic brushes are the industry standard for acrylics.
- Material: Look for brushes made of nylon or polyester. They are durable and springy.
- Texture: They hold their shape well against the resistance of wood and don’t become soggy in water like natural hair brushes do.
- Variety: Keep a mix of flat brushes for coverage and round brushes for details.
How Long Does Acrylic Paint Take to Dry on Wood?
Acrylics are known for fast drying times.
- Touch Dry: Thin layers can dry to the touch in 10 to 20 minutes.
- Thick Layers: Thicker applications may take an hour or more.
- Cure Time: While it feels dry quickly, the paint takes a few days to fully “cure” or harden completely. Wait at least 24 hours before applying a varnish.

Conclusion
Painting on wood is a deeply satisfying way to create custom decor for your home and garden. It merges the rustic charm of timber with the limitless color palette of modern art supplies. The key to a project that looks professional and lasts for years lies entirely in the preparation. By taking the time to sand your surface, prime it correctly, and seal your final design, you transform a simple piece of lumber into a durable canvas.
Don’t be afraid to experiment with different wood types and painting styles. Whether you are making vegetable markers, welcome signs, or birdhouses, the skills you have learned here will serve you well. Now that you have a solid understanding of how to paint wood with acrylic, you are ready to head to your workspace and start creating something beautiful. Grab your brushes, pick your favorite colors, and let your imagination run wild on the grain.
About
Mike May is a distinguished figure in the world of woodworking and timber design, with a decade of expertise creating innovative and sustainable indoor solutions. His professional focus lies in merging traditional craftsmanship with modern manufacturing techniques, fostering designs that are both practical and environmentally conscious. As the author of Woodimber, Mike delves into the art and science of timber-craft, inspiring artisans and industry professionals alike.
Education
RMIT University (Melbourne, Australia)
-
Associate Degree in Design (Timber): Focus on sustainable design, industry-driven projects, and practical craftsmanship.
-
Gained hands-on experience with traditional and digital manufacturing tools, such as CAD and CNC software.
Nottingham Trent University (United Kingdom)
-
Bachelor’s in Woodworking and Product Design (Honors): Specialized in product design with a focus on blending creativity with production techniques.
-
Participated in industry projects, working with companies like John Lewis and Vitsoe to gain real-world insights.
Publications and Impact
In Woodimber, May shares his insights on timber design processes, materials, and strategies for efficient production. His writing bridges the gap between artisan knowledge and modern industry needs, making it a must-read for both budding designers and seasoned professionals.