 (1)")

Nothing elevates the look of a room quite like crisp, freshly painted trim. Whether you are dealing with baseboards, crown molding, or window casings, well-painted woodwork frames your walls and adds a touch of architectural elegance to your home. However, painting trim can be intimidating for beginners. It requires a steady hand, the right preparation, and a bit of patience to avoid messy drips or brush marks on your walls. Many homeowners shy away from this task, fearing they will ruin the lines or spend days scrubbing paint off the floor.
Fortunately, mastering how to paint wood molding is a skill anyone can learn with the right guidance. By following a few professional techniques, you can achieve a smooth, durable finish that rivals the work of a hired contractor. This guide strips away the complexity, offering a clear path from prep work to the final coat. We will cover everything from choosing the right brush to the secret of perfect tape lines. Get ready to transform your living space and give your home that polished, high-end look you have been dreaming of.
Why Freshly Painted Molding Transforms a Room
Wood molding acts as the visual outline of your space. Over time, these architectural details take a beating from vacuum cleaners, furniture scuffs, and settling dust. White trim often yellows with age, while stained wood can start to look dated or dark. A fresh coat of paint does more than just cover up imperfections; it revitalizes the entire room. Bright white trim can make wall colors pop and ceilings feel higher, while dark, moody trim can add modern sophistication and drama.
Beyond aesthetics, painting your molding seals the wood and protects it from moisture and wear. This is especially important for baseboards in high-traffic areas or crown molding in humid bathrooms. Investing the time to refresh these details offers one of the highest returns on investment for DIY home improvement projects. It is a cost-effective way to modernize a space without tearing down walls or buying new furniture. The result is a cleaner, brighter, and more cohesive home environment that feels well-maintained and intentionally designed.
Step-by-Step Guide on How to Paint Wood Molding
Step 1: Clean and Degrease the Wood Surface
The most critical step in any painting project happens before you even open the can. Wood molding, especially baseboards, accumulates a surprising amount of dust, pet hair, and grime over time. If you paint over this debris, it will be trapped forever in the finish, leading to a bumpy and unprofessional look.
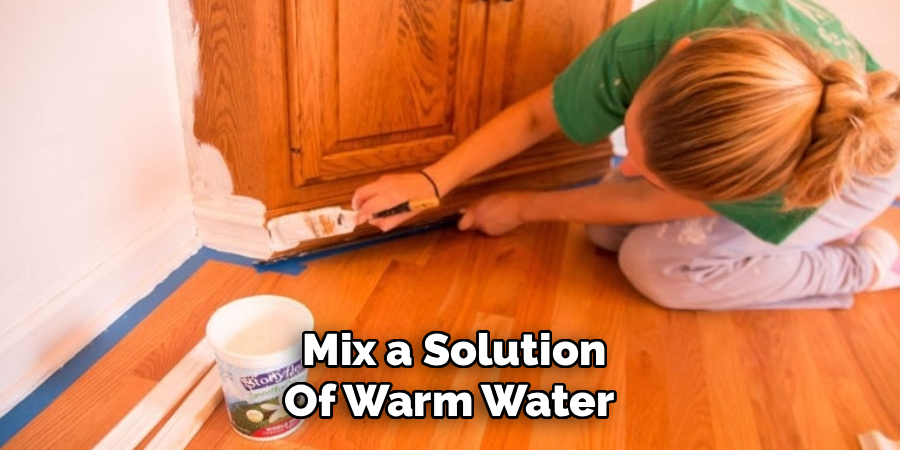
Mix a solution of warm water and a small amount of mild dish soap or a dedicated degreaser like TSP (trisodium phosphate) substitute. Dip a sponge or microfiber cloth into the mixture and scrub the molding thoroughly. Pay special attention to the top edges where dust settles and any corners where dirt collects. Rinse with clean water and let the wood dry completely. This ensures your primer and paint bond securely to the surface.
Step 2: Repair Holes and Imperfections
Once the molding is clean and dry, inspect it closely for any damage. You will likely find nail holes, small dents, or cracks where the wood joints meet. These imperfections will show through the paint if not addressed. Take a small amount of lightweight spackling compound or wood filler and press it into the holes using a putty knife or your finger.
Overfill the hole slightly, as the compound shrinks when it dries. For cracks between the molding and the wall, use apaintable acrylic caulk. Run a thin bead of caulk along the gap and smooth it with a wet finger. Allow all repairs to dry completely according to the product instructions before moving on. This attention to detail is what separates a quick fix from a quality renovation.
Step 3: Sand the Surface for Adhesion
Sanding is the step that most beginners want to skip, but it is non-negotiable for a durable finish. If the molding has a glossy finish or an old layer of varnish, new paint will struggle to stick to it and may peel off later. Use a medium-grit sandpaper or a sanding sponge (around 120-grit) to scuff up the entire surface of the molding.
You do not need to strip the wood down to bare timber; you simply want to dull the shine and create a “tooth” for the new paint to grab onto. Sanding sponges are particularly useful for molding because they conform to the curves and profiles of the wood. Wipe away the sanding dust with a tack cloth to leave a perfectly clean surface ready for priming.
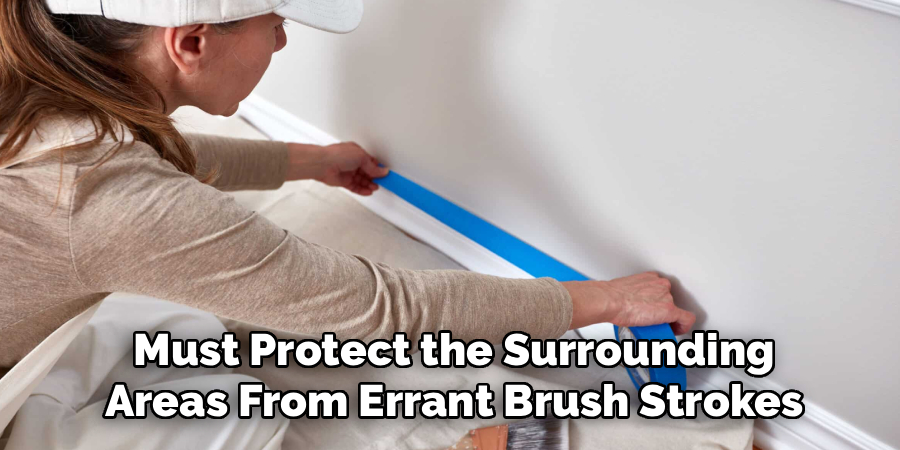
Step 4: Protect Your Walls and Floors
Now you must protect the surrounding areas from errant brush strokes. Apply painter’s tape along the wall just above the molding and along the floor just below it. Press the tape down firmly with a putty knife or your fingernail to prevent paint from bleeding underneath. If you are painting baseboards over carpet, slide thick masking paper or a wide putty knife between the carpet and the wood to push the fibers down and away.
Lay down drop cloths to catch any splatters. Taking the time to mask off properly allows you to paint faster later because you won’t have to worry about being surgically precise with every stroke. This preparation is a huge part of learning how to paint wood molding efficiently.
Step 5: Apply a High-Quality Primer
Primer acts as the bridge between the wood and your topcoat. It blocks stains from wood tannins, covers dark colors, and provides a uniform base for the paint. If you are painting over raw wood or stained varnish, use an oil-based or shellac-based primer for the best stain-blocking power. For previously painted surfaces, a high-quality water-based bonding primer is usually sufficient. Stir the primer well and apply a thin, even coat using an angled sash brush.
Focus on getting into the crevices and profiles of the molding without letting the primer pool or drip. Don’t worry if the coverage looks streaky or uneven at this stage; the goal is adhesion, not full color. Let the primer dry completely before sanding lightly with fine-grit paper.
Step 6: Choose the Right Paint and Brush
Selecting the correct tools makes a massive difference in the final finish. For wood molding, you generally want a semi-gloss or high-gloss finish. These sheens are durable, easy to scrub clean, and highlight the architectural details of the trim. Avoid flat or matte paints, as they scuff easily and look dull on woodwork. As for the brush, invest in a high-quality 2 to 2.5-inch angled sash brush. The angled tip allows you to cut in clean lines against the wall and control the flow of paint precisely. Synthetic bristles (nylon/polyester blend) are best for latex or acrylic paints, while natural bristles are reserved for oil-based paints. A good brush holds more paint and releases it smoother than a cheap one.
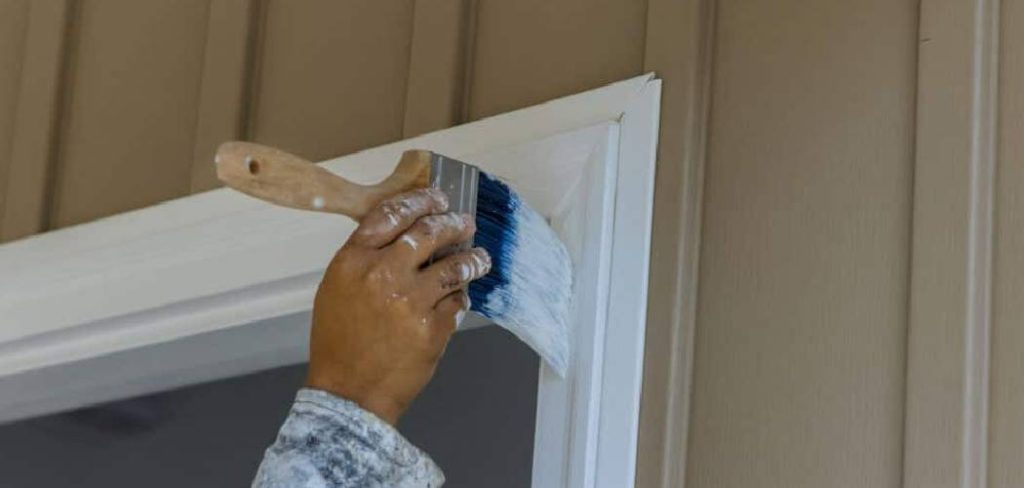
Step 7: Apply the First Coat of Paint
Dip your brush about an inch into the paint and tap it against the side of the can to remove excess; do not wipe it on the rim, as this removes too much paint. Start painting in long, smooth strokes, working in sections of about two to three feet. Apply the paint to the center of the molding first, then carefully work your way to the edges near the tape.
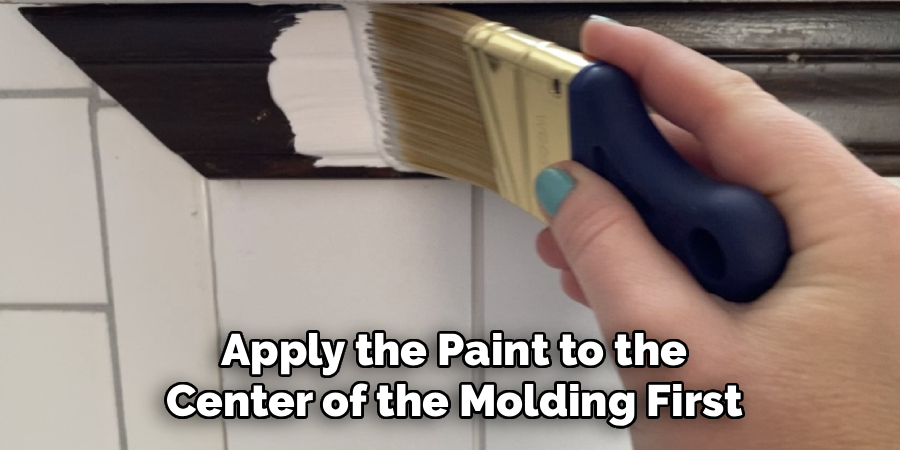
Always brush back into the wet edge of the previous section to blend the strokes seamlessly. Avoid overworking the paint by going back over it repeatedly, as this can cause brush marks to stiffen as it dries. If you see a drip, catch it immediately with a light stroke. Keep a wet rag handy for any accidental smudges on the wall or floor.
Frequently Asked Questions
What Is the Best Paint Finish for Wood Molding?
Semi-gloss is the industry standard for wood molding.
- Durability: It is hard enough to resist scuffs and kicks, making it perfect for baseboards.
- Cleanability: The slick surface allows you to wipe away dust and grime easily with a damp cloth.
- Aesthetic: It provides a nice contrast against eggshell or matte walls, making the trim pop. High-gloss is also an option for a more dramatic, traditional look but shows more imperfections.
Do I Have to Sand Before Painting?
Yes, you really should sand before painting molding.
- Adhesion: Paint needs a mechanical bond. Glossy trim is too slick for new paint to stick to long-term.
- Smoothness: Sanding removes old drips, dirt nubs, and rough patches.
- Liquid Sandpaper: If you absolutely cannot sand (e.g., intricate details), you can use a chemical deglosser or “liquid sandpaper,” though manual sanding is generally superior for adhesion.
Can I Paint Molding Without Tape?
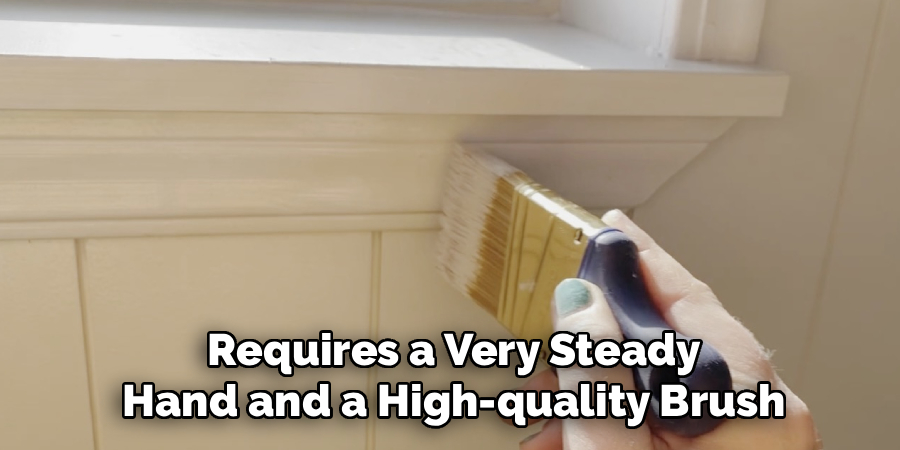
You can, but it requires a very steady hand and a high-quality brush.
- Cutting In: This technique involves carefully drawing a straight line of paint with the brush bristles.
- Speed vs. Accuracy: Pros often skip tape to save time, but for beginners, tape is safer and produces cleaner results.
- Edging Tools: Plastic paint shields can be used as a movable barrier, which is faster than taping but requires practice to avoid smearing.
How Long Should I Wait Between Coats?
Wait times depend entirely on the type of paint you are using.
- Latex/Acrylic: Typically dries to the touch in 1 hour and can be recoated in 4 hours.
- Oil-Based: Takes much longer, often requiring 24 hours before a second coat.
- Humidity: High humidity or cool temperatures will extend drying times significantly. Always check the back of the paint can for specific manufacturer instructions.
How Do I Fix Paint Bleeding Under the Tape?
Paint bleed happens, but it is fixable.
- Prevention: To prevent bleed, seal the tape edge with a tiny amount of the wall color first, then paint the trim color. This seals the gap.
- The Fix: If paint has already bled onto the wall, wait for it to dry completely. Then, tape off the trim (the part you just painted) and touch up the wall with the original wall paint color. Use a small artist’s brush for precision.
Conclusion
Painting your wood molding is a transformative project that brings a crisp, clean elegance to any room. While it demands careful preparation and a bit of patience, the payoff is substantial. By cleaning thoroughly, sanding for adhesion, and applying thin, even coats, you ensure a professional-quality finish that will stand up to daily wear and tear. It is the details—like caulking cracks and sanding between coats—that elevate the work from a simple DIY attempt to a renovation success.
Now that you are equipped with the knowledge of how to paint wood molding, you can tackle those scuffed baseboards and yellowing door frames with confidence. Grab your angled brush and your painter’s tape, and get ready to give your home the fresh, polished update it deserves. Whether you choose classic white or a bold accent color, your newly painted trim will frame your life beautifully for years to come.
About
Mike May is a distinguished figure in the world of woodworking and timber design, with a decade of expertise creating innovative and sustainable indoor solutions. His professional focus lies in merging traditional craftsmanship with modern manufacturing techniques, fostering designs that are both practical and environmentally conscious. As the author of Woodimber, Mike delves into the art and science of timber-craft, inspiring artisans and industry professionals alike.
Education
RMIT University (Melbourne, Australia)
-
Associate Degree in Design (Timber): Focus on sustainable design, industry-driven projects, and practical craftsmanship.
-
Gained hands-on experience with traditional and digital manufacturing tools, such as CAD and CNC software.
Nottingham Trent University (United Kingdom)
-
Bachelor’s in Woodworking and Product Design (Honors): Specialized in product design with a focus on blending creativity with production techniques.
-
Participated in industry projects, working with companies like John Lewis and Vitsoe to gain real-world insights.
Publications and Impact
In Woodimber, May shares his insights on timber design processes, materials, and strategies for efficient production. His writing bridges the gap between artisan knowledge and modern industry needs, making it a must-read for both budding designers and seasoned professionals.