 (1)")

There is a timeless charm to furniture that looks like it has weathered a century of love and use. That chipped, worn, white finish—often called “shabby chic” or “farmhouse style”—brings instant warmth and character to any room. Whether it is a thrift store picture frame, an old wooden chair, or a brand-new crate from the craft store, giving it a distressed makeover is one of the most satisfying DIY projects you can tackle. You do not need to be a professional artist or have a garage full of power tools to achieve this look.

The beauty of this technique lies in its imperfection; mistakes simply add to the authentic, aged vibe. Learning how to paint distressed white wood allows you to transform inexpensive pieces into custom decor that feels high-end and curated. This guide is designed for complete beginners, walking you through every stage of the process from preparation to the final protective coat. By the end, you will have the confidence to take a plain piece of lumber and turn it into a rustic masterpiece that looks like it came straight from a vintage flea market.
Why the Distressed White Look is Timeless
The appeal of distressed white wood goes far beyond current design trends. It taps into a sense of nostalgia and comfort that makes a house feel like a home. Unlike sleek, modern furniture that can feel cold or sterile, distressed pieces have a story to tell. They invite you to touch them, use them, and not worry about making a scratch. This style fits seamlessly into a variety of aesthetics, from coastal cottages and French country interiors to industrial lofts and boho-chic apartments.
Furthermore, mastering this technique is an incredibly practical skill. It is the ultimate upcycling hack, allowing you to salvage damaged or outdated furniture that might otherwise end up in a landfill. A coat of white paint and some strategic sanding can hide a multitude of sins while highlighting the beautiful details of a piece. It is cost-effective, eco-friendly, and offers a creative outlet that results in a functional piece of art. Whether you are refreshing a single accent piece or overhauling an entire dining set, the distressed white look offers a high-impact transformation for a low investment of time and money.
Step-by-Step Guide on How to Paint Distressed White Wood
Step 1: Prepare Your Workspace and Materials
Before you unscrew a single lid, you must set up a proper workspace to ensure a clean and safe process. Ideally, work outdoors or in a well-ventilated garage to minimize fume inhalation and dust buildup. Lay down a drop cloth or old newspapers to protect your floor from paint splatters and sanding debris. Gather all your necessary supplies beforehand so you are not scrambling in the middle of the project. You will need sandpaper in various grits, a dark base paint or stain if your wood is light, white paint (chalk paint works best for beginners), paintbrushes, a candle or petroleum jelly for the resist technique, and a clear sealer. Having everything organized allows you to focus entirely on the creative process.

Step 2: Clean and Sand the Wood Surface
The success of your distressed finish starts with a clean foundation. Old furniture often has layers of wax, polish, or grime that can prevent paint from adhering properly. Scrub the entire piece with a mixture of warm water and mild dish soap, or use a degreasing cleaner for tougher spots. Once the wood is dry, give it a light sanding with medium-grit sandpaper. You are not trying to strip it down to bare wood, but rather to scuff up the existing finish to give the new paint something to grip. Wipe away all the sanding dust with a tack cloth or a damp rag. This preparation ensures that your paint layers will bond securely where you want them to, preventing unwanted peeling later on.
Step 3: Apply a Dark Base Coat (Optional)
If you are working with light-colored wood like pine or unfinished MDF, you might want to apply a dark base coat first. This step is crucial if you want the distressed areas to show a contrast against the white topcoat. Without a dark base, sanding through the white paint will just reveal light wood, which can look washed out. Apply a dark wood stain or a coat of dark gray or brown paint to the entire piece. You do not need to be perfect here since most of this layer will be covered up. Let this base coat dry completely before moving on. This underlying darkness is the secret to creating depth and making the piece look genuinely aged rather than just poorly painted.
Step 4: Apply Wax for the Resist Technique
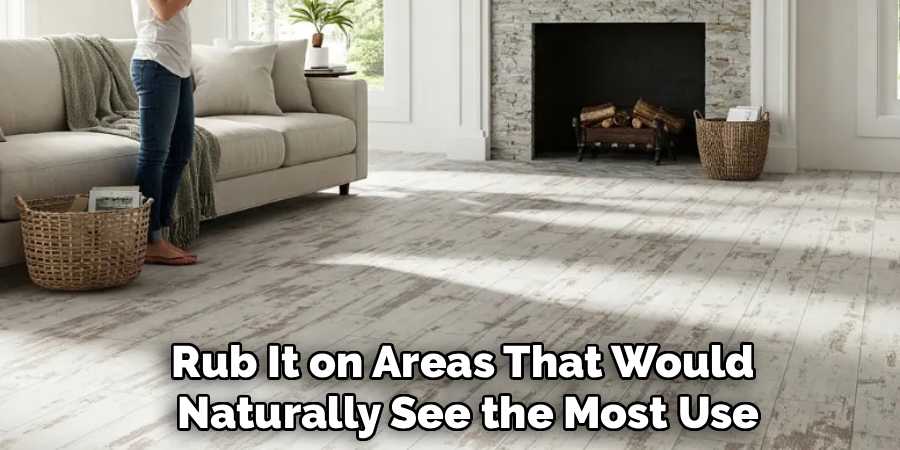
This is the fun part where you decide exactly where the “wear and tear” will happen. Take a stick of wax, like an old candle, or a dab of petroleum jelly, and rub it on areas that would naturally see the most use. Focus on the corners, edges, raised details, and handles. The wax creates a resist layer that prevents the top coat of paint from sticking to the wood or the dark base coat beneath. Be random with your application to keep it looking organic. You can apply heavy wax in some spots for large chipped areas and lighter touches elsewhere for subtle wear. This strategic waxing is a key technique in learning how to paint distressed white wood convincingly.
Step 5: Apply the White Topcoat
Now it is time to apply your white paint over the entire piece, painting right over the waxed areas. Chalk-style paint is excellent for this because it dries to a matte, velvety finish that sands easily, but latex paint can also work if you prep correctly. Use a brush rather than a roller to add texture; the brush strokes add to the hand-painted, vintage feel. Depending on the coverage of your paint and the look you want, you may need one or two coats. If you want a very rustic look, a single coat that lets some darkness peek through is perfect. If you want a cleaner look, apply two coats. Let the paint dry completely, which usually takes a few hours depending on the brand and humidity.
Step 6: Sand to Reveal the Distress
Once the white paint is bone dry, grab your sandpaper or a sanding block to start the distressing process. Sand over the areas where you applied the wax in the earlier step. The paint over the wax will flake off effortlessly, revealing the dark wood or stain underneath. You can also sand other areas to create worn spots, applying more pressure on edges and corners. Use a medium-grit sandpaper for heavy distressing and a fine-grit paper for smoothing out the brush strokes and blending the edges of the chipped paint. Step back frequently to assess your work. It is easy to get carried away, so stop often to ensure the distressing looks balanced and natural rather than forced or symmetrical.
Step 7: Clean and Seal the Finish
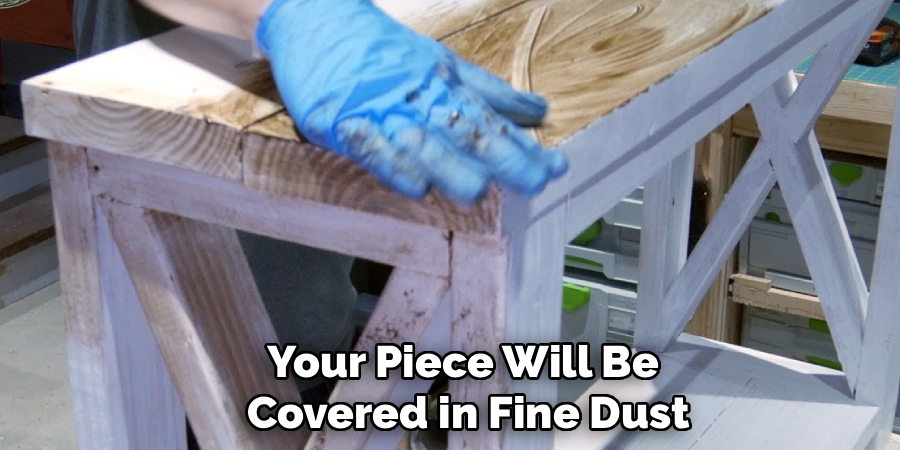
After all the sanding is done, your piece will be covered in fine dust. Remove every speck of it using a vacuum with a brush attachment followed by a wipe-down with a tack cloth. This step is vital because any leftover dust will get trapped in your sealer and ruin the smooth finish. To protect your hard work and the paint job, apply a clear topcoat. For a truly authentic farmhouse look, use a clear furniture wax. Buff it in with a soft cloth for a subtle sheen. Alternatively, for higher-traffic pieces like tables, use a matte water-based polycrylic sealer for durability. This final layer creates a professional, finished look and ensures your distressed masterpiece can withstand daily life.
Frequently Asked Questions
What Type of Paint Is Best for Distressing?
Chalk-style paint is widely considered the best option for beginners and pros alike.
- Ease of Use: It adheres to almost any surface without heavy priming.
- Sanding: It distresses beautifully, turning into a fine powder rather than peeling off in rubbery strips like latex paint often does.
- Finish: It dries to a lovely matte finish that mimics vintage furniture perfectly.
Can I Distress Wood Without Using Wax?
Yes, you absolutely can distress wood without the wax resist method.
- Wet Distressing: Before the top coat of paint is fully dry, use a damp sponge or cloth to wipe away paint from the edges and corners.
- Dry Sanding: Simply paint the piece fully, let it dry, and then use coarser sandpaper to muscle through the top layer of paint to reveal the wood beneath. This takes more elbow grease but works well.
Do I Need to Seal the Paint After Distressing?
Sealing is highly recommended to protect your work.
- Durability: Unsealed chalk paint is porous and will absorb stains, oils, and dirt from hands or spills.
- Protection: A sealer locks in the paint and prevents it from chipping further than you intended.
- Aesthetics: Wax or polycrylic deepens the color slightly and gives the piece a finished, professional look.
How Do I Make the Wood Look Old If It Is Brand New?
If you are starting with fresh lumber, you need to add character before painting.
- Physical Distress: Use a hammer, a bag of screws, or a chain to beat up the wood, creating dents and dings.
- Staining: Always stain the raw wood a dark color first so that when you sand back the white paint, you reveal “aged” dark wood instead of pale, new pine.
Why Is My Paint Peeling Off in Large Chunks?
Peeling usually happens for one of two reasons regarding preparation.
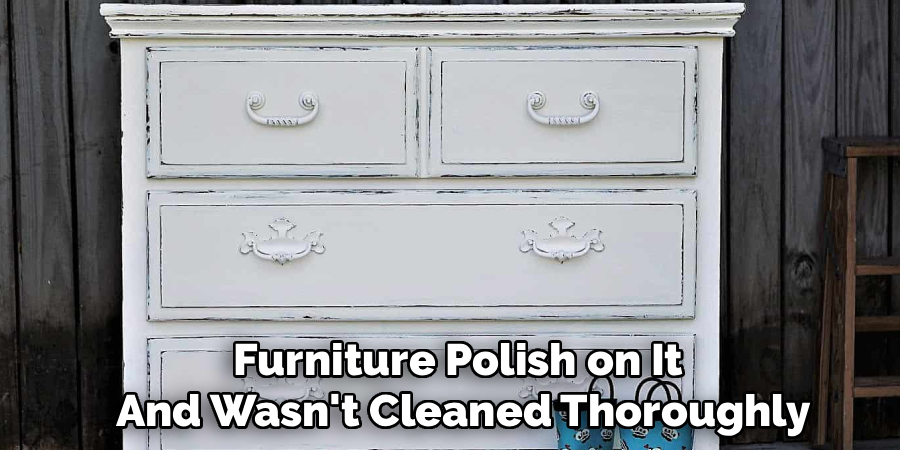
- Dirty Surface: If the furniture had oil, wax, or furniture polish on it and wasn’t cleaned thoroughly, the paint won’t stick.
- Glossy Surface: If the original finish was very shiny and wasn’t sanded (scuffed) before painting, the new paint can’t grip and will peel off in sheets rather than distressing naturally.
Conclusion
Transforming ordinary furniture into shabby chic treasures is a journey that rewards creativity and imperfection. By layering colors, strategically resisting paint with wax, and revealing the history beneath with sandpaper, you create pieces that feel grounded and authentic. This technique is forgiving, making it the perfect entry point for anyone looking to experiment with furniture refinishing. You can start small with a photo frame and eventually work your way up to a dining room buffet.
The most important takeaway is to trust the process. It might look messy in the middle, but the final wax and buff will bring everything together into a cohesive, beautiful design. Now that you understand the mechanics of how to paint distressed white wood, you have the power to curate a home filled with character and warmth, one brushstroke at a time.
About
Mike May is a distinguished figure in the world of woodworking and timber design, with a decade of expertise creating innovative and sustainable indoor solutions. His professional focus lies in merging traditional craftsmanship with modern manufacturing techniques, fostering designs that are both practical and environmentally conscious. As the author of Woodimber, Mike delves into the art and science of timber-craft, inspiring artisans and industry professionals alike.
Education
RMIT University (Melbourne, Australia)
-
Associate Degree in Design (Timber): Focus on sustainable design, industry-driven projects, and practical craftsmanship.
-
Gained hands-on experience with traditional and digital manufacturing tools, such as CAD and CNC software.
Nottingham Trent University (United Kingdom)
-
Bachelor’s in Woodworking and Product Design (Honors): Specialized in product design with a focus on blending creativity with production techniques.
-
Participated in industry projects, working with companies like John Lewis and Vitsoe to gain real-world insights.
Publications and Impact
In Woodimber, May shares his insights on timber design processes, materials, and strategies for efficient production. His writing bridges the gap between artisan knowledge and modern industry needs, making it a must-read for both budding designers and seasoned professionals.