 (1)")

Wood-look tile offers the timeless beauty of hardwood floors without the associated maintenance and durability concerns.
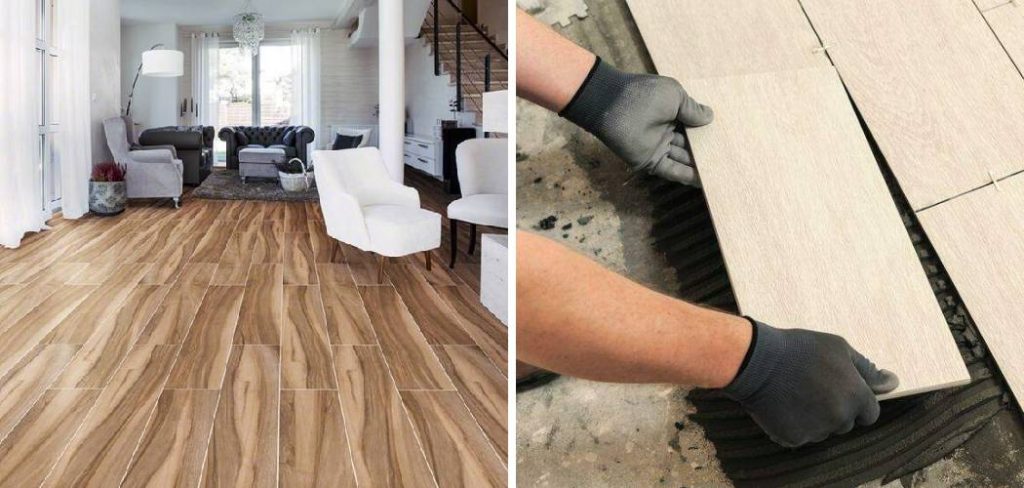
It captures the warm, inviting aesthetic of natural wood while providing the strength and resilience of porcelain or ceramic tile. Installing it yourself can be a rewarding project that transforms your space and saves you a significant amount of money.
This guide on how to lay wood tile flooring will walk you through the entire process, from preparing your subfloor to admiring your finished work, ensuring you have the knowledge and confidence to achieve professional results.
What Will You Need?
Gathering all your tools and materials before you begin will make the installation process much smoother.
Tools:
- Tape measure
- Chalk line
- Level (4-foot or longer)
- Tile saw or angle grinder with a diamond blade
- Notched trowel (size specified by your thin-set manufacturer)
- Rubber mallet
- Tile spacers (1/16″ or 1/8″ are common)
- Tile leveling system (clips and wedges)
- Several buckets (for mixing thin-set and for water)
- Drill with mixing paddle attachment
- Grout float
- Large sponges and a bucket of clean water
- Knee pads
- Safety glasses and gloves
Materials:
- Wood-look tile planks (purchase 10-15% extra for cuts and mistakes)
- Thin-set mortar (choose one suitable for large format tiles)
- Grout (sanded or unsanded, as recommended for your grout line width)
- Grout sealer
- Underlayment or membrane (if needed for your subfloor type)
10 Easy Steps on How to Lay Wood Tile Flooring
Follow these steps carefully to ensure a beautiful, long-lasting tile installation.
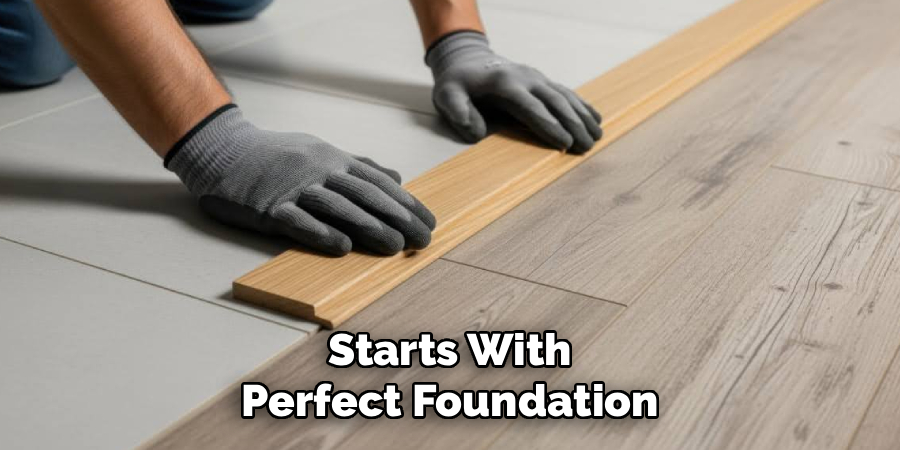
Step 1: Subfloor Preparation
A successful tile job starts with a perfect foundation. Your subfloor must be clean, flat, and structurally sound. Begin by removing any existing flooring, baseboards, and debris. Scrape away any old adhesive or paint. Next, check for flatness using a long level or straightedge. You are looking for a surface that is “flat within 1/8 inch over 10 feet.”
Any low spots should be filled with a self-leveling compound, and high spots should be ground down. This step is critical because an uneven subfloor can lead to cracked tiles and grout over time. If you have a concrete subfloor, check for any cracks and repair them with a suitable crack-filling product. For wood subfloors, ensure there are no loose boards and that the structure is rigid enough to support the weight of the tile. Adding a layer of cement backer board can provide a stable and water-resistant base.
Step 2: Plan Your Layout
Planning your layout is essential for a professional-looking result, especially with plank tiles. First, find the center of the room by measuring the walls and snapping chalk lines. It’s best to do a “dry lay” by placing a few rows of tiles on the floor with spacers to see how the pattern looks. This helps you avoid ending up with very thin, awkward-looking tile cuts along a prominent wall.
For wood-look tiles, a random offset pattern that mimics a real hardwood floor is most common. Avoid a 50/50 “brick” pattern, as it can highlight any slight bowing in the long tiles. Instead, aim for an offset of about one-third the length of the tile. Measure and mark your starting lines on the floor with a chalk line. This reference line will be your guide for the first row, which must be perfectly straight.
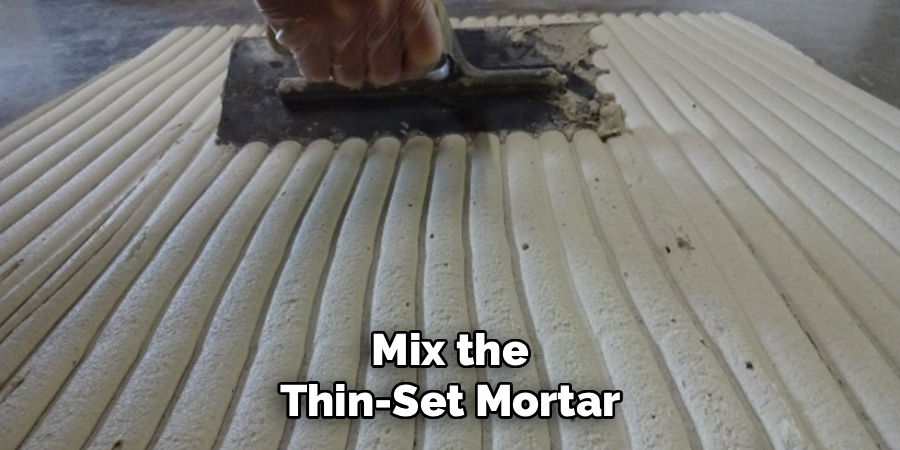
Step 3: Mix the Thin-Set Mortar
Properly mixed thin-set is the glue that will hold your floor together for decades. Always follow the manufacturer’s instructions printed on the bag. Pour the required amount of cool, clean water into a bucket first, then add the dry mortar powder. This prevents dry clumps from forming at the bottom.
Use a drill with a paddle mixer to blend the materials until you achieve a smooth, creamy consistency similar to peanut butter. Once mixed, let the mortar “slake” or rest for 5-10 minutes. This allows the chemicals to fully activate. After slaking, give it one final quick mix without adding any more water. Only mix as much thin-set as you can use within about 30 minutes, as it will begin to harden in the bucket.
Step 4: Apply the Thin-Set
Starting along your main reference line, scoop some thin-set onto the subfloor. Using the flat side of your notched trowel, spread a thin layer of mortar over an area you can tile in about 15-20 minutes. Then, holding the trowel at a 45-degree angle, comb the mortar in one direction with the notched side. This creates ridges of a consistent height, which is crucial for proper adhesion.
For large format planks, it’s also recommended to “back-butter” each tile. This involves applying a thin, smooth layer of thin-set to the back of the tile before placing it. This technique ensures 100% mortar coverage and prevents hollow spots under the tile.
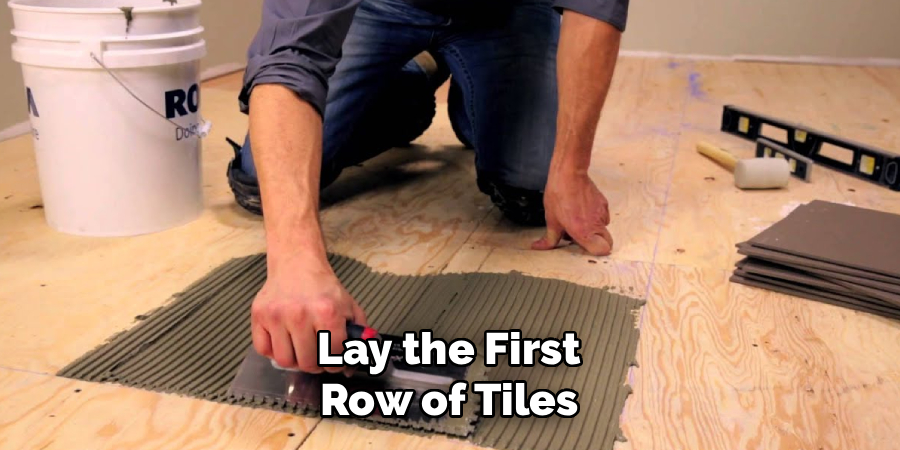
Step 5: Lay the First Row of Tiles
The first row sets the standard for the entire floor, so take your time to get it right. Gently press your first tile into the mortar with a slight twisting motion, aligning it perfectly with your chalk line. Do not slide it into place, as this will mess up the mortar ridges. Place your next tile beside the first, inserting tile spacers to create a consistent grout line.
Use a level to check that the tiles are flat and even with each other. If a tile is too low, lift it and add more mortar. If it’s too high, gently tap it down with a rubber mallet. A tile leveling system with clips and wedges is highly recommended for long planks to prevent “lippage,” which is an uneven edge between adjacent tiles.
Step 6: Continue Laying Tiles
Work your way across the floor, completing one small section at a time. Continue applying mortar, combing it into ridges, and setting your tiles. Remember to maintain your random offset pattern to create a natural wood look. Periodically, lift a tile to check for mortar coverage on the back; it should be at least 95% covered.
As you work, use a damp sponge to wipe any excess thin-set off the surface of the tiles before it dries. Dried mortar is very difficult to remove. This is also where your knee pads will become your best friend. Be systematic in your approach, working from your starting point outwards to avoid tiling yourself into a corner.
Step 7: Making Cuts
You will inevitably need to cut tiles to fit around walls, doorways, and other obstacles. A wet tile saw is the best tool for this job, as it provides clean, precise cuts with minimal dust. Measure the space where the cut tile needs to go, subtracting the width of the grout joints on both sides. Mark the cut line on the tile with a pencil.
When using the wet saw, wear your safety glasses and guide the tile slowly and steadily through the blade. For more complex cuts, like L-shapes or curves, you can use an angle grinder with a diamond blade. Always measure twice and cut once. It’s wise to practice on a scrap piece of tile first to get a feel for the saw.
Step 8: Let the Mortar Cure
Once all the tiles are laid, the most important thing you can do is wait. You must allow the thin-set mortar to cure completely according to the manufacturer’s instructions. This typically takes 24 to 48 hours. During this time, do not walk on the tiles or place anything on them.
Foot traffic can shift the tiles, break the mortar bond, and create an uneven surface. This curing period is essential for the long-term stability of your floor. Once the mortar is cured, you can walk on the tiles and remove all the spacers and leveling system wedges.
Step 9: Apply the Grout
Grout fills the joints between tiles, locking them together and preventing dirt and moisture from getting underneath. First, mix your grout according to the package directions until it has a paste-like consistency. Apply the grout using a grout float, holding it at a 45-degree angle to the tile surface. Spread the grout diagonally across the joints, pressing it firmly to ensure the gaps are filled.
Work in small, manageable sections. After about 15-30 minutes, the grout will begin to set. Use a large, damp sponge to wipe away the excess grout from the tile surface. Rinse your sponge frequently in a bucket of clean water, being careful not to pull grout out of the joints.
Step 10: Clean and Seal
After the grout has cured for about 72 hours, a light haze may appear on the tile surface. This can be buffed off with a clean, dry cloth or a microfiber towel. For stubborn haze, you may need a specialized grout haze remover. The final step is to seal the grout lines. Grout is porous and can absorb stains and moisture if left unsealed.
Apply a high-quality grout sealer with a small brush or applicator bottle, carefully following the product’s instructions. This will protect your grout from discoloration and make it much easier to clean in the future. Allow the sealer to cure, then install your baseboards and enjoy your beautiful new floor.
5 Things You Should Avoid
- Skipping Subfloor Prep: An uneven or dirty subfloor is the number one cause of tile failure.
- Using a 50/50 Offset: This “brick-lay” pattern can emphasize any slight bowing in long planks, creating lippage.
- Mixing Too Much Mortar: Thin-set hardens quickly. Only mix what you can use in about 30 minutes to avoid waste.
- Walking on Tiles Too Soon: Wait at least 24 hours for the mortar to cure before applying any pressure to the floor.
- Grouting Too Early: Applying grout before the thin-set is fully cured can trap moisture and weaken the bond.

Conclusion
Laying your own wood-look tile floor is an ambitious but entirely achievable DIY project.
By carefully preparing your subfloor, planning your layout, and following a methodical installation process, you can achieve a durable and stunningly beautiful floor that will last for decades. This project requires patience and attention to detail, but the reward is a professional-quality installation and a deep sense of accomplishment.
Hopefully, this guide on how to lay wood tile flooring has provided you with the necessary knowledge and tips to confidently tackle your own wood-look tile floor project. Remember to always follow manufacturer instructions and consult a professional if you encounter any issues or have any doubts. Happy tiling!
About
Mike May is a distinguished figure in the world of woodworking and timber design, with a decade of expertise creating innovative and sustainable indoor solutions. His professional focus lies in merging traditional craftsmanship with modern manufacturing techniques, fostering designs that are both practical and environmentally conscious. As the author of Woodimber, Mike delves into the art and science of timber-craft, inspiring artisans and industry professionals alike.
Education
RMIT University (Melbourne, Australia)
-
Associate Degree in Design (Timber): Focus on sustainable design, industry-driven projects, and practical craftsmanship.
-
Gained hands-on experience with traditional and digital manufacturing tools, such as CAD and CNC software.
Nottingham Trent University (United Kingdom)
-
Bachelor’s in Woodworking and Product Design (Honors): Specialized in product design with a focus on blending creativity with production techniques.
-
Participated in industry projects, working with companies like John Lewis and Vitsoe to gain real-world insights.
Publications and Impact
In Woodimber, May shares his insights on timber design processes, materials, and strategies for efficient production. His writing bridges the gap between artisan knowledge and modern industry needs, making it a must-read for both budding designers and seasoned professionals.