 (1)")

There is a unique charm to furniture that looks like it has lived a full life. A pristine, glossy finish can sometimes feel cold or impersonal, whereas a piece with worn edges, subtle scratches, and faded paint tells a story. This aesthetic, often called “shabby chic” or “farmhouse style,” has become incredibly popular in modern interior design. The good news is that you do not need to hunt through antique shops or pay a premium for vintage items to get this look.
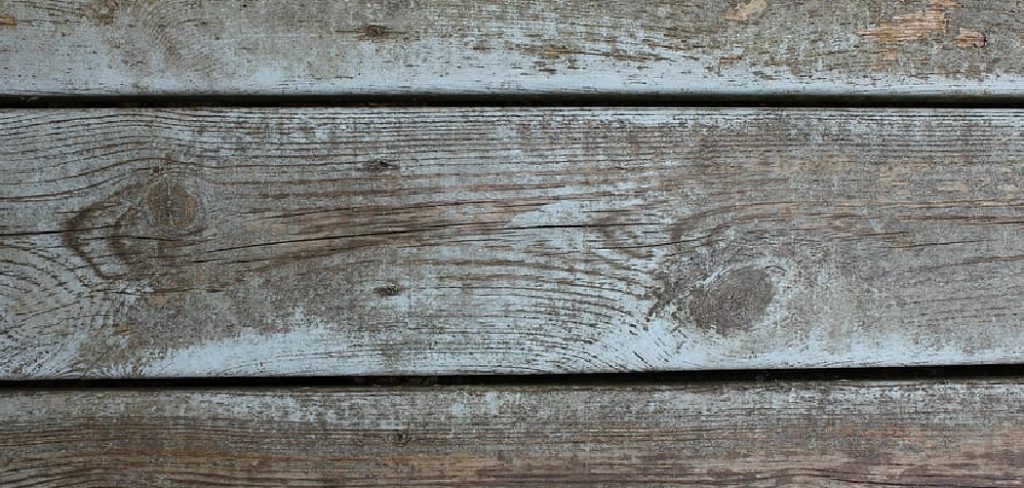
You can achieve it yourself with some basic tools and a little bit of creativity. Learning how to distress wood allows you to transform inexpensive, new lumber or thrift store finds into character-rich centerpieces for your home. This guide is designed for beginners and will walk you through the process of aging wood artificially to create a beautiful, weathered finish that looks authentic and timeless.
Why the Distressed Look Is So Appealing
The appeal of distressed wood lies in its ability to add warmth and history to a space. In an era of mass-produced, flat-pack furniture, a distressed piece stands out as unique and hand-crafted. It brings a sense of comfort and relaxation to a room; because the piece already looks imperfect, you don’t have to worry about the first scratch or dent.
It feels lived-in from the moment you bring it home. Furthermore, distressing is a fantastic way to upcycle old, damaged furniture that might otherwise be thrown away. A few dents and a new coat of paint can hide a multitude of sins while highlighting the piece’s structural beauty. It connects us to a sense of nostalgia and craftsmanship, making our homes feel more grounded and personal.
Step-by-Step Guide on How to Distress Wood
Step 1: Prepare Your Workspace and Materials
Before you begin the transformation, you must set up a proper workspace. Distressing wood can be a messy process involving dust, paint fumes, and flying debris, so it is best to work outdoors or in a well-ventilated garage. Lay down drop cloths to protect your floor from paint drips and wood shavings. Gather all your necessary tools, which might include sandpaper, steel wool, a hammer, a metal chain, screws, paintbrushes, and your chosen paints or stains.
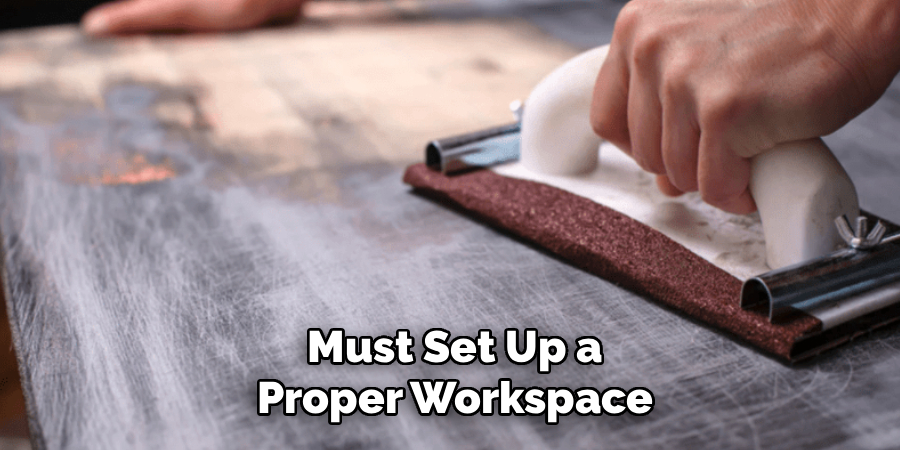
If you are working on an existing piece of furniture, remove all hardware like knobs, handles, and hinges. Clean the wood surface thoroughly to remove any grease or grime, as this ensures your new finish will adhere properly. Having everything organized beforehand allows you to focus entirely on the creative process without interruption.
Step 2: Sand and Paint the Base Layers
The secret to a convincing distressed look is layering. You want to simulate years of paint jobs that have worn away over time. Start by sanding the raw wood to smooth out any rough patches, but don’t worry about making it perfect. Apply a base coat of paint or stain; this will be the color that peeks through the top layer when you distress it later.
Dark brown stains or contrasting paint colors work best for this underlayer. Allow this first coat to dry completely, which usually takes a few hours. If you rush this step, the colors will muddy together instead of creating distinct layers. Once dry, you can apply a second, different color on top if you want a multi-layered, complex finish.
Step 3: Apply a Resist Medium for Natural Peeling
To create the look of chipped or peeling paint, you need to prevent the top coat from sticking in certain areas. This is done using a resist medium, and common household items like candle wax or petroleum jelly work perfectly. Rub a candle or apply a thin layer of jelly on areas where natural wear would occur, such as corners, edges, and around handles.
When you paint your final top coat over these waxed areas, the paint will not adhere to the wood. Later, when you sand the piece, the paint over the wax will flake off effortlessly, revealing the base color underneath. This technique gives you control over exactly where the “aging” happens.
Step 4: Apply the Final Top Coat of Paint
Now it is time to apply the main color of your piece. This is typically a lighter color like white, cream, or a soft pastel, which contrasts well with the darker base layer you applied earlier. Paint over the entire surface, including the areas where you applied the wax or petroleum jelly. Do not worry if the coverage isn’t perfectly even; slight variations in thickness add to the hand-painted, vintage charm. Allow this top coat to dry thoroughly.
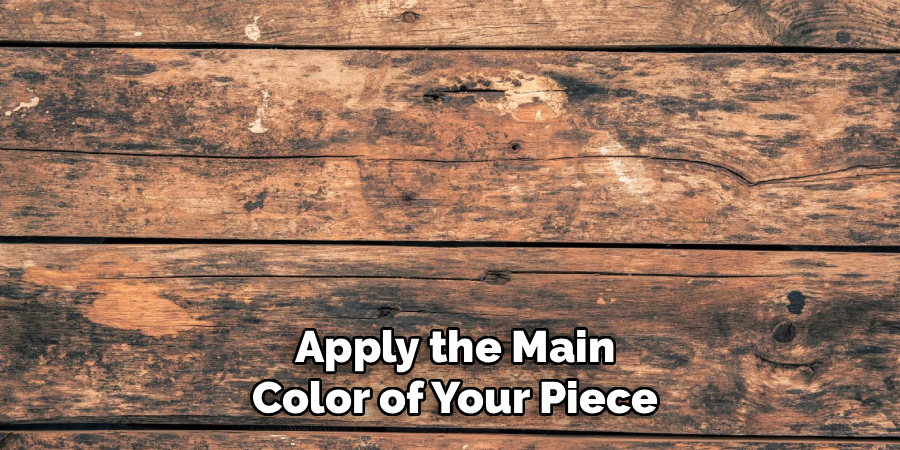
It might look messy or patchy right now, especially over the wax resist areas, but trust the process. The magic happens in the subsequent steps when you start removing this layer to reveal the history you have created underneath.
Step 5: Physically Distress the Wood Surface
This is the fun part where you get to beat up your furniture to simulate decades of use. Take your hammer, metal chain, or a bag of screws and strike the wood surface. Do not go overboard; think about where damage would naturally happen.
Hit the corners and legs harder than the flat surfaces. You can use the claw of the hammer to create deep scratches or drag a heavy screw across the top to mimic gouges. If you want wormholes, you can tap an awl or a nail into clusters on the wood. The goal is to create texture and indentations that will catch the dark wax or stain later, adding depth and shadow to the piece.
Step 6: Sand to Reveal the Layers
Once your top coat is dry and you have physically battered the wood, take a sanding block or coarse sandpaper to the surface. Focus your sanding on the edges, corners, and raised details where hands would have naturally rubbed the paint away over the years. As you sand, the paint over the wax resist areas will flake off easily, revealing the base color or raw wood beneath.
Continue sanding other areas to feather the edges of the paint and expose the underlayers. Vary your pressure to create an organic, uneven look. This step blends the layers together and makes the physical damage you inflicted look like it has been smoothed over by time.
Step 7: Apply Dark Wax or Stain for an Antique Finish
To truly finalize the aged appearance, you need to dirty it up a bit. A pristine white paint job with scratches still looks new; it needs patina. Apply a dark antique wax or a very diluted dark stain over the entire piece.

Use a rag to work the wax into the dents, scratches, and corners you created. The dark pigment will settle into the recesses of the wood, highlighting the texture and giving the piece a dusty, aged character. Wipe away the excess wax from the flat surfaces, leaving it heavier in the crevices. This step adds dimension and instantly adds fifty years to the look of the project.
Step 8: Seal and Protect Your Masterpiece
After all your hard work, you want to ensure your finish lasts. Although the goal is a worn look, you don’t want the paint to continue chipping off uncontrollably. Apply a clear protective top coat to seal the wood. A matte or satin polyurethane is usually the best choice, as a high-gloss finish can look too modern and ruin the vintage effect. You can also use a clear furniture wax if you prefer a softer, hand-rubbed feel. Apply the sealer in thin, even coats, following the manufacturer’s instructions. This protects the wood from moisture and spills while locking in that perfectly imperfect distressed aesthetic you have just worked so hard to achieve.
Frequently Asked Questions
What Is the Best Wood for Distressing?
Softwoods are generally easier to distress than hardwoods.
- Pine: This is the most popular choice because it is soft, inexpensive, and takes dents and scratches very easily. It also has a prominent grain that looks great when stained.
- Poplar: Another good, affordable option that takes paint well.
- Reclaimed Wood: Using wood that is already old gives you a head start, as it likely has natural imperfections you can enhance.
Can I Distress Laminate or Veneer Furniture?
Yes, but it requires extra care.
- Sanding is Key: You must sand the shiny surface thoroughly so the paint can stick.
- Be Gentle: You cannot hammer or gouge laminate deeply because you will expose the particle board underneath, which does not look like real wood.
- Paint Only: Focus on the “distressed paint” look (sanding back layers of color) rather than physical distressing (dents and dings).
How Do I Create the “Chipped Paint” Look?
The “chipped paint” look is best achieved using a resist method.
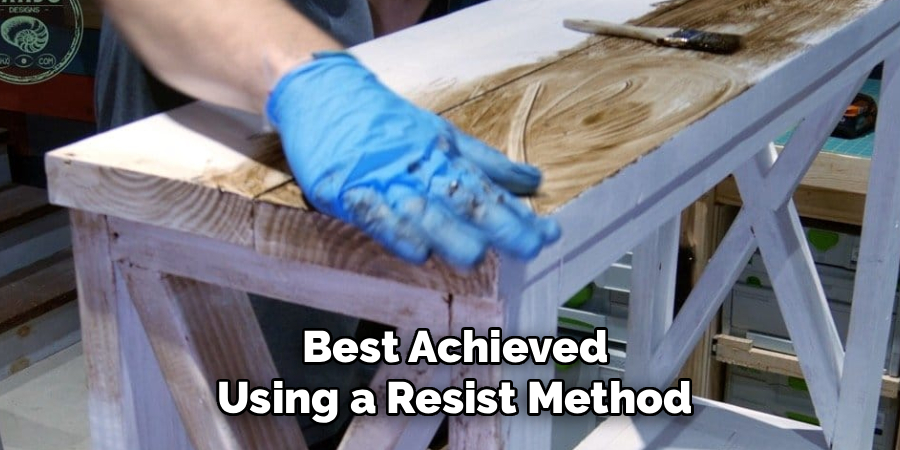
- Vaseline Method: Apply a small amount of petroleum jelly to edges and corners before painting your top coat. The paint won’t dry on the jelly. When you wipe it off later, it creates a jagged, chipped edge.
- Candle Wax: Rub a candle on the wood before painting. When you sand later, the paint over the wax will peel away easily.
Do I Need to Seal Distressed Wood?
Yes, sealing is highly recommended.
- Protection: Even though the look is “worn,” you still want to protect the wood from water rings, spills, and actual rot.
- Durability: Sealing prevents the paint from chipping more than you want it to.
- Finish: Use a matte or satin polycrylic or polyurethane. Avoid glossy finishes, as they tend to make the distressing look fake and plastic.
What Tools Do I Need for Physical Distressing?
You can use almost anything hard or sharp, but common tools include:
- Hammer: For dents and dings.
- Metal Chain: Whacking the wood with a chain creates random, natural-looking patterns.
- Screws/Nails in a Bag: Hitting the wood with a bag of metal hardware creates clusters of small dents.
- Awl or Ice Pick: Perfect for creating fake “wormholes.”
Conclusion
Transforming ordinary lumber into a conversation piece full of character is one of the most satisfying DIY projects you can undertake. It allows you to break the rules of perfection and embrace the beauty of the worn and weathered. By layering paints, adding physical texture, and highlighting those imperfections with dark wax, you create a sense of history that mass-produced furniture simply cannot replicate. The best part is that there is no “wrong” way to do it; every scratch and scrape just adds to the story. Now that you understand the techniques of how to distress wood, you can confidently tackle your next project, turning the new into the nostalgic and adding a warm, rustic touch to your home.
About
Mike May is a distinguished figure in the world of woodworking and timber design, with a decade of expertise creating innovative and sustainable indoor solutions. His professional focus lies in merging traditional craftsmanship with modern manufacturing techniques, fostering designs that are both practical and environmentally conscious. As the author of Woodimber, Mike delves into the art and science of timber-craft, inspiring artisans and industry professionals alike.
Education
RMIT University (Melbourne, Australia)
-
Associate Degree in Design (Timber): Focus on sustainable design, industry-driven projects, and practical craftsmanship.
-
Gained hands-on experience with traditional and digital manufacturing tools, such as CAD and CNC software.
Nottingham Trent University (United Kingdom)
-
Bachelor’s in Woodworking and Product Design (Honors): Specialized in product design with a focus on blending creativity with production techniques.
-
Participated in industry projects, working with companies like John Lewis and Vitsoe to gain real-world insights.
Publications and Impact
In Woodimber, May shares his insights on timber design processes, materials, and strategies for efficient production. His writing bridges the gap between artisan knowledge and modern industry needs, making it a must-read for both budding designers and seasoned professionals.