 (1)")

Varnished wood furniture and flooring add warmth and elegance to any home, but maintaining their lustrous finish requires proper care and attention. Whether you’re dealing with a cherished antique dresser, hardwood floors, or modern wooden cabinetry, knowing how to clean varnished wood correctly will preserve its beauty for years to come.

Many homeowners make the mistake of using harsh chemicals or abrasive materials that can damage the protective varnish layer, leading to dullness, discoloration, or even permanent scratches. The good news is that with the right approach and materials, cleaning varnished wood is straightforward and doesn’t require expensive products or professional help. This guide will walk you through everything you need to know to safely clean and maintain your varnished wood surfaces, helping you avoid common pitfalls while achieving professional-quality results.
Materials You’ll Need
Before you begin cleaning your varnished wood, gather these essential materials:
- Soft microfiber cloths or lint-free rags
- Mild dish soap or specialized wood cleaner
- Warm water
- Two buckets (one for cleaning solution, one for rinsing)
- Vacuum cleaner with soft brush attachment (for floors)
- Soft-bristled brush (optional, for detailed areas)
- Wood polish or conditioner (optional, for finishing)
Having everything prepared beforehand will make the cleaning process smoother and more efficient.
7 Simple Step-By-Step Guidelines on How to Clean Varnished Wood
Step 1: Remove Surface Dust and Debris
Start by removing loose dust, dirt, and debris from the varnished wood surface. For furniture, use a soft microfiber cloth to gently wipe down all surfaces, paying special attention to crevices, carved details, and corners where dust tends to accumulate. For varnished wood floors, use a vacuum cleaner with a soft brush attachment or a dust mop designed for hardwood surfaces.

This preliminary step is crucial because it prevents you from grinding dirt particles into the varnish during the wet cleaning process, which could cause scratches. Take your time with this step, especially if the surface hasn’t been cleaned in a while. If you notice any sticky residue or stubborn spots, don’t try to scrub them off yet—you’ll address those in the following steps.
Step 2: Prepare Your Cleaning Solution
Fill one bucket with warm water and add a small amount of mild dish soap—approximately one teaspoon per gallon of water is sufficient. The solution should be barely sudsy; too much soap can leave a residue on the varnish that dulls its shine. Alternatively, you can use a commercial wood cleaner specifically formulated for varnished surfaces, following the manufacturer’s instructions for dilution.
Fill the second bucket with clean, warm water for rinsing. Having separate buckets ensures you’re not reapplying dirty water to your clean surfaces. Avoid using hot water, as extreme temperatures can potentially damage the varnish over time. The water should be comfortably warm to the touch but not steaming.
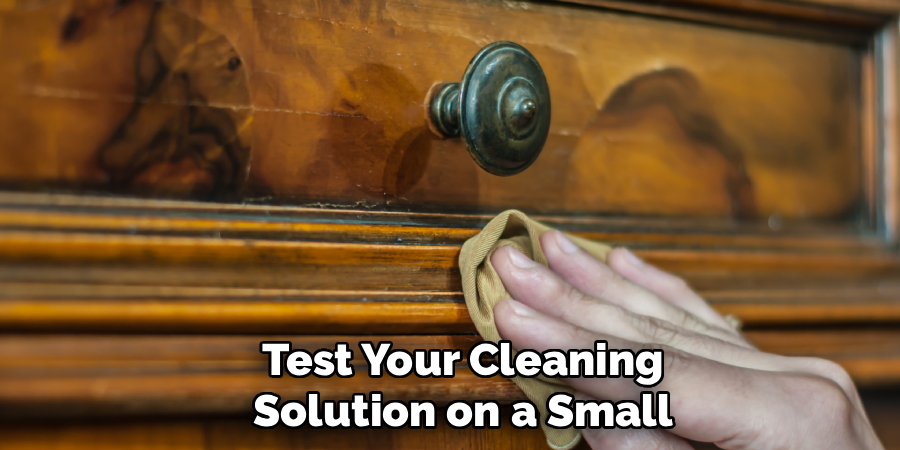
Step 3: Test in an Inconspicuous Area
Before cleaning the entire surface, test your cleaning solution on a small, hidden area of the varnished wood. Choose a spot that isn’t immediately visible, such as the underside of a table, the back of a chair leg, or a corner of the floor that’s typically covered by furniture. Apply a small amount of the solution with a damp cloth and wait a few minutes to ensure there’s no adverse reaction.
This precautionary step helps you identify any potential issues before they affect the visible portions of your furniture or flooring. Look for signs of discoloration, dulling, or damage to the varnish. If the test area looks good after drying, you can proceed with confidence. If you notice any problems, dilute your solution further or switch to plain water only.
Step 4: Clean the Varnished Wood Surface
Dip your microfiber cloth into the cleaning solution and wring it out thoroughly—the cloth should be damp, not wet. Excess water can seep into seams, joints, or cracks in the wood, potentially causing warping or damage over time. Wipe the varnished surface gently in the direction of the wood grain, using smooth, even strokes rather than circular motions.
Work in manageable sections, especially on larger surfaces like floors or tabletops. For furniture, clean one piece or one side at a time. If you encounter sticky spots or stubborn grime, let the damp cloth sit on the area for 30 seconds to loosen the residue before wiping again. Avoid applying excessive pressure, as this can wear down the varnish over time. Remember that varnished wood should never be soaking wet—if water is pooling on the surface, your cloth is too wet.

Step 5: Rinse Away Soap Residue
After cleaning each section, take a fresh cloth, dampen it with clean water from your rinse bucket, and wring it out thoroughly. Wipe down the cleaned areas to remove any soap residue that might remain on the surface. Soap buildup can leave a dull film on varnished wood, diminishing its natural shine and attractiveness.
This rinsing step is often overlooked but makes a significant difference in the final appearance of your varnished wood. Pay particular attention to detailed areas, carved sections, and corners where soap can accumulate. Change your rinse water if it becomes cloudy or dirty to ensure you’re truly removing residue rather than redistributing it.
Step 6: Dry the Surface Immediately
Using a clean, dry microfiber cloth, immediately dry the varnished wood surface after rinsing. Don’t allow water to air-dry on the wood, as this can leave water spots, streaks, or potentially damage the varnish and underlying wood. Buff the surface gently as you dry, following the direction of the wood grain.
For floors, you might want to walk through the cleaned area with dry cloths under your feet, or use a dry mop to speed up the process. Proper drying not only prevents water damage but also helps restore the wood’s natural luster. Once completely dry, inspect the surface in good lighting to ensure you haven’t missed any spots and that the varnish looks clean and clear.
Step 7: Apply Polish or Conditioner (Optional)
For an extra layer of protection and enhanced shine, you can apply a wood polish or conditioner formulated for varnished surfaces. This step isn’t necessary for routine cleaning, but can be beneficial every few months or when the wood starts to look dull. Apply a small amount of polish to a clean cloth and rub it into the varnished wood in circular motions, following the product’s specific instructions.
Allow the polish to penetrate for the recommended time, then buff the surface with a clean, dry cloth until it shines. Quality wood polish can help repel dust, add depth to the wood’s color, and provide an extra protective barrier against everyday wear. However, be cautious not to over-polish, as buildup can occur over time, creating a sticky or cloudy appearance. Once or twice per quarter is typically sufficient for most varnished wood surfaces.
Following these steps on how to clean varnished wood can help maintain its beauty and protect it from damage. However, if there are any tough stains or scratches that cannot be removed with the above methods, it may be necessary to seek professional help or consider refinishing the wood.
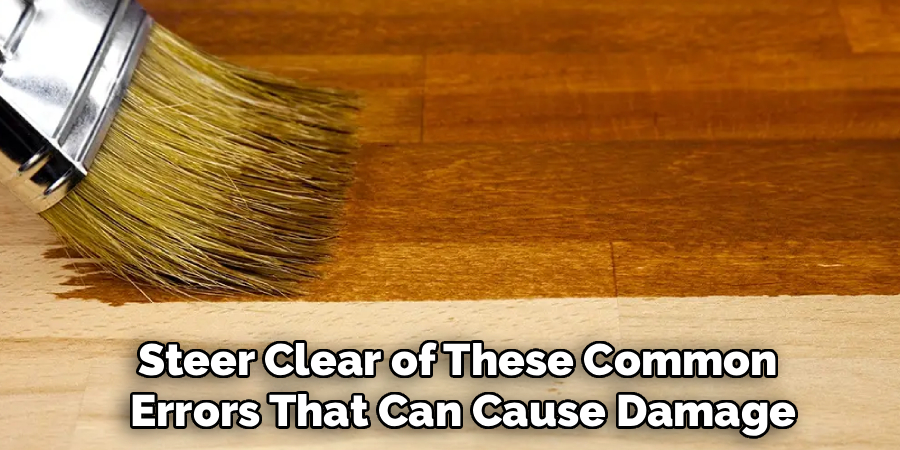
Common Mistakes to Avoid
When cleaning varnished wood, steer clear of these common errors that can cause damage. Never use abrasive scrubbers, steel wool, or harsh chemical cleaners, as these can scratch or strip the varnish. Avoid excessive water, which can penetrate the wood and cause swelling or discoloration. Don’t use furniture polish containing silicone on antique pieces, as it can make future refinishing difficult.
Resist the temptation to use vinegar or ammonia-based cleaners, despite their popularity for other surfaces—these acidic solutions can dull or damage varnish over time. Finally, never clean varnished wood in direct sunlight, as this can cause the cleaning solution to dry too quickly and leave streaks.
Do You Need to Use Professionals?
For routine cleaning and maintenance, professional help isn’t necessary—most homeowners can successfully clean varnished wood themselves with the proper techniques and materials outlined in this guide. However, there are situations where professional restoration services might be worth considering. If your varnished wood has significant damage such as deep scratches, extensive water stains, or areas where the varnish has worn away completely, a professional refinisher can assess whether the piece needs recoating or complete restoration.
Additionally, if you own valuable antique furniture or historically significant wooden pieces, consulting with a professional conservator before attempting any cleaning ensures you don’t inadvertently damage an irreplaceable item. For large-scale projects like refinishing entire hardwood floors, professional equipment and expertise can deliver superior results and save considerable time. Ultimately, the decision to hire professionals depends on the condition of your varnished wood, its value, and your comfort level with DIY maintenance.
How Much Will It Cost?
The cost of cleaning varnished wood yourself is remarkably affordable, typically ranging from $10 to $30 for all necessary supplies. A bottle of mild dish soap costs just a few dollars and will last for many cleaning sessions, while quality microfiber cloths can be purchased in multipacks for under $15. If you opt for a specialized wood cleaner, expect to spend $8 to $15 per bottle, which should last for several months of regular use.
Wood polish or conditioner adds another $10 to $20 to your initial investment, but these products last a long time. In contrast, hiring professional wood cleaning services typically costs between $100 and $300 for furniture pieces, depending on size and condition, while professional floor cleaning services charge approximately $0.50 to $2.00 per square foot.
Professional refinishing or restoration of damaged varnished wood can run anywhere from $300 to several thousand dollars, depending on the extent of damage and the piece’s complexity. Given the significant cost difference, regular DIY cleaning and maintenance represent excellent value while protecting your investment in beautiful varnished wood.
Frequently Asked Questions
Q1: Can I Use Vinegar to Clean Varnished Wood?
A1: While vinegar is often recommended as a natural cleaning solution, it’s not ideal for varnished wood surfaces. Vinegar is acidic and can gradually dull or damage the protective varnish coating, especially with repeated use over time. The acid in vinegar may break down the finish, leading to a cloudy appearance or even causing the varnish to deteriorate.
If you prefer natural cleaning solutions, stick with mild soap and water, which effectively cleans without risking damage to the varnish. For stubborn spots, a specialized wood cleaner designed for finished surfaces is a safer choice than vinegar. Save the vinegar for unfinished wood or other household cleaning tasks where its acidic properties won’t cause harm.
Q2: How Often Should I Clean Varnished Wood?
A2: The frequency of cleaning varnished wood depends on the item’s use and location, but general guidelines can help you establish a routine. For high-traffic areas like varnished hardwood floors, dust or vacuum weekly and perform a damp cleaning every two to four weeks. Furniture pieces in regular use, such as dining tables or coffee tables, benefit from dusting weekly and thorough cleaning monthly. Decorative items or furniture in low-traffic areas may only need dusting every two weeks and deep cleaning every few months.
Always clean spills immediately, regardless of your regular schedule, as allowing liquids to sit on varnished wood can cause staining or damage. By establishing a consistent cleaning routine appropriate to each piece’s usage level, you’ll maintain the beauty of your varnished wood while preventing the buildup of grime that requires more aggressive cleaning methods.
Conclusion
Caring for varnished wood doesn’t have to be complicated or expensive. By following these straightforward steps and avoiding common mistakes, you can keep your furniture and floors looking beautiful for decades. The key is regular maintenance with gentle products, immediate attention to spills, and the right techniques that protect rather than damage the varnish finish.
Now that you understand how to properly clean varnished wood, take a moment to assess the wooden surfaces in your home. Gather your supplies and start with one piece—perhaps that dining table that’s seen better days or the floor in your entryway. You’ll be amazed at how quickly you can restore the warm glow and natural beauty that made you fall in love with these pieces in the first place. Your varnished wood deserves the care that will help it last for generations. Thanks for reading this guide on how to clean varnished wood.
About
Mike May is a distinguished figure in the world of woodworking and timber design, with a decade of expertise creating innovative and sustainable indoor solutions. His professional focus lies in merging traditional craftsmanship with modern manufacturing techniques, fostering designs that are both practical and environmentally conscious. As the author of Woodimber, Mike delves into the art and science of timber-craft, inspiring artisans and industry professionals alike.
Education
RMIT University (Melbourne, Australia)
-
Associate Degree in Design (Timber): Focus on sustainable design, industry-driven projects, and practical craftsmanship.
-
Gained hands-on experience with traditional and digital manufacturing tools, such as CAD and CNC software.
Nottingham Trent University (United Kingdom)
-
Bachelor’s in Woodworking and Product Design (Honors): Specialized in product design with a focus on blending creativity with production techniques.
-
Participated in industry projects, working with companies like John Lewis and Vitsoe to gain real-world insights.
Publications and Impact
In Woodimber, May shares his insights on timber design processes, materials, and strategies for efficient production. His writing bridges the gap between artisan knowledge and modern industry needs, making it a must-read for both budding designers and seasoned professionals.