 (1)")

Are you tired of looking at scratched, faded, or outdated hardwood floors? You do not need to tear out your existing floorboards to get a brand-new look. Refinishing and restaining your hardwood floors can completely transform a room, giving your home a modern, updated feel without the massive cost of replacement.
Whether you want to lighten up a dark room or add deep, rich tones to your living space, changing your floor’s color is a rewarding DIY project.
This guide on how to change the color of wood floors will walk you through exactly what you need, the steps to get the job done right, and the common pitfalls you must avoid along the way.
Benefits of Refinishing Wood Floors
Taking the time to change the color of your wood floors offers several major advantages:
- Cost Savings: Refinishing an existing floor is significantly cheaper than buying and installing brand-new hardwood.
- Increased Home Value: Freshly stained, pristine hardwood floors are a major selling point for prospective homebuyers.
- Customization: You get to choose the exact shade and finish that matches your interior design vision.
- Restored Durability: The process removes years of scratches, dents, and wear, while the new topcoat protects the wood for years to come.
What Will You Need?
Before you start, gather your materials. Having everything on hand makes the process smooth and prevents unwanted delays between steps.
Tools and Equipment:
- Drum sander and floor edge sander (available for rent at hardware stores)
- Various grits of sandpaper (36, 60, 80, and 100-grit)
- Shop vacuum with a brush attachment
- Putty knife and wood filler
- Paint rollers, extension poles, and high-quality brushes
- Rags and tack cloths
Materials:
- Wood floor stain (your choice of color)
- Polyurethane finish (water-based or oil-based)
- Wood conditioner (optional, helps with even stain absorption)
Safety Gear:
- Respirator mask or high-quality dust mask
- Safety goggles
- Knee pads
- Hearing protection
10 Easy Steps on How to Change the Color of Wood Floors
Transforming your floors requires patience and elbow grease. Follow these detailed steps to achieve a professional-quality finish.
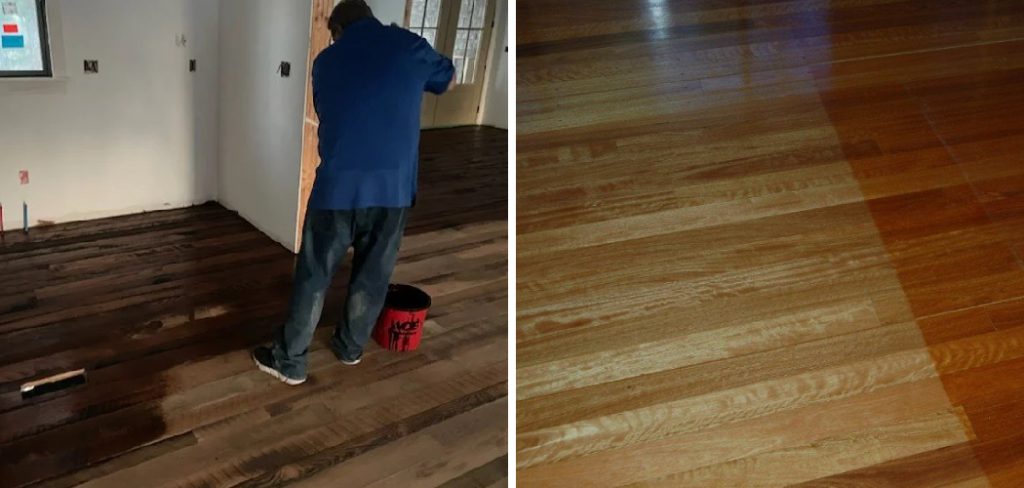
Step 1: Clear the Room and Prep the Area
You cannot work around furniture, so empty the room completely. Remove couches, rugs, tables, and even window treatments to prevent dust from settling on them.
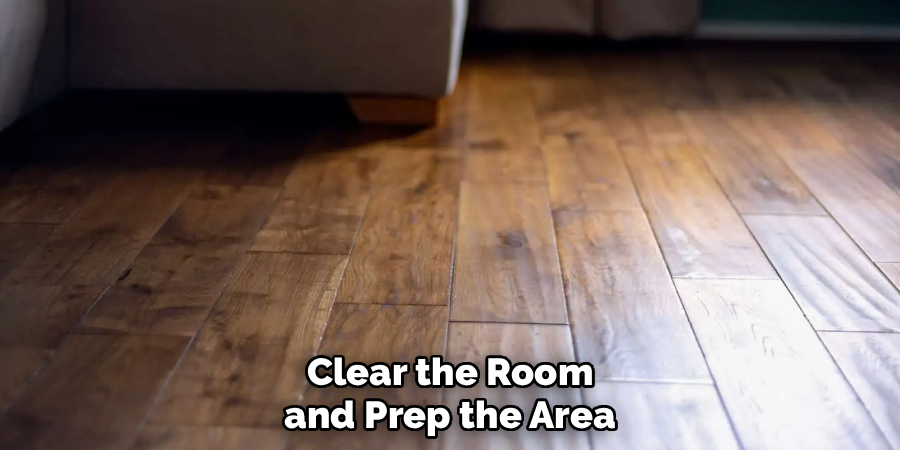
Take off the baseboards or shoe molding carefully, using a pry bar; number them on the back so you know exactly where they go later. Seal off doorways and vents with plastic sheeting and painter’s tape to stop the massive amount of sanding dust from traveling throughout the rest of your home.
Step 2: Inspect and Repair the Floorboards
Before turning on a sander, inspect every inch of your floor. Look for nails that are sticking up and use a nail punch to drive them below the surface of the wood. If you leave nails exposed, they will shred your expensive sanding belts and potentially ruin the sanding machine. Fill any deep gouges, cracks, or holes with a wood filler that matches the species of your hardwood. Allow the filler to dry completely according to the manufacturer’s instructions before moving on to the next phase.
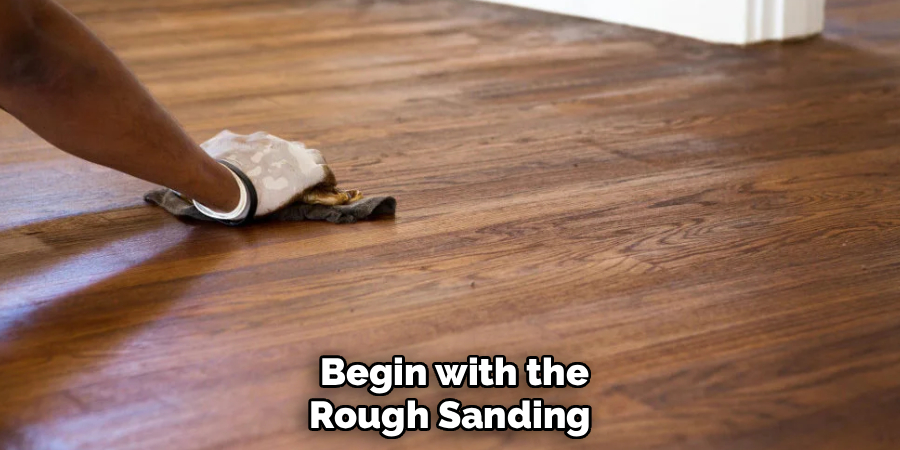
Step 3: Begin with the Rough Sanding
Put on your safety goggles, respirator, and hearing protection. Load the drum sander with coarse sandpaper, typically around 36-grit or 40-grit. Start at one end of the room and move the sander slowly and steadily along the grain of the wood. Never stop moving the sander while the drum is engaged with the floor, or you will gouge deep divots into the wood. This rough sanding phase removes the old finish, deep scratches, and the existing color, revealing the raw, bare wood underneath.
Step 4: Edge Sanding
The drum sander cannot reach the perimeter of the room. You need to use an edging sander for the corners and edges along the walls. Load the edger with the same coarse grit paper you used for the drum sander. Getting down on your knees, carefully maneuver the edger along the baseboards. Be highly attentive during this step, as edgers are notoriously aggressive and can easily leave circular swirl marks if you let them sit in one place for too long.
Step 5: Medium and Fine Sanding
Once the old finish is completely gone, you need to smooth out the floor. Switch your drum sander and edger to a medium grit paper (around 60-grit) and repeat the entire sanding process. This removes the scratches left by the coarse paper. Finally, switch to a fine paper (80 or 100-grit) for the third pass. This final sanding pass closes the pores of the wood slightly and creates a buttery-smooth surface that is perfectly prepared to absorb your new stain evenly.
Step 6: Thoroughly Vacuum and Clean
This step is critical for a flawless finish. Give the dust time to settle, then use your shop vacuum with a brush attachment to vacuum the floor, windowsills, and walls. Vacuum the floor a second time to catch any remaining particles. Finally, wipe down the entire floor using dry tack cloths. Tack cloths are slightly sticky and will pick up the microscopic dust that a vacuum leaves behind. Any dust left on the floor will ruin your stain and finish.
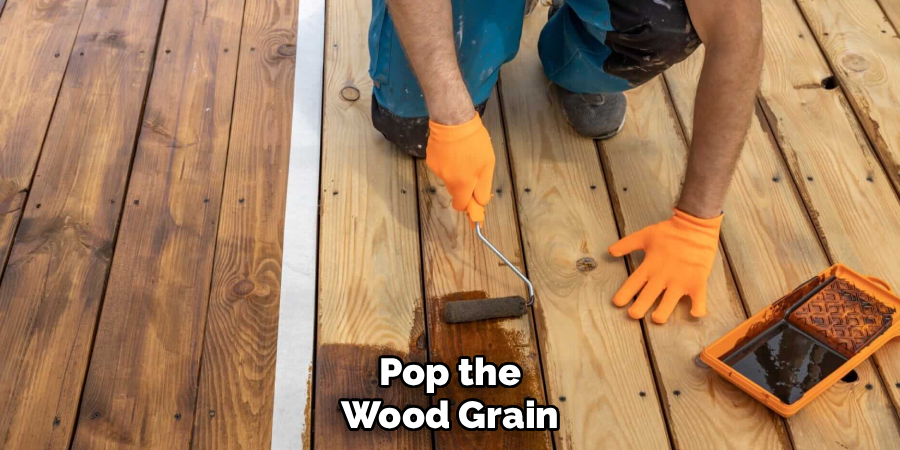
Step 7: Pop the Wood Grain (Optional)
If you are applying a dark stain, you may want to “water pop” the floor. This involves wiping the floor evenly with a damp (not soaking wet) rag or sponge. The moisture causes the wood grain to open up, allowing it to absorb more stain. This results in a much richer, deeper, and more even color. If you choose to water pop your floors, you must let the wood dry completely—usually for several hours—before you apply any stain.
Step 8: Apply the Stain
Stir your stain thoroughly to ensure the color pigments are mixed well. Working in small sections (about three to four feet wide), apply the stain using a rag, a brush, or a staining pad attached to a pole. Always apply the stain following the direction of the wood grain. Keep a “wet edge” as you move across the room to prevent overlapping lines from forming where a dry section meets a newly stained section. Work quickly but carefully toward your exit door.
Step 9: Wipe Off the Excess Stain
Wood can only absorb a certain amount of pigment. After letting the stain sit for the time recommended on the can (usually 5 to 15 minutes), use clean, dry cotton rags to wipe up the excess liquid. Wipe firmly in the direction of the grain. If you leave excess stain pooling on the surface, it will dry into a sticky, blotchy mess that will prevent your clear topcoat from adhering properly. Allow the stained floor to dry completely, usually 24 to 48 hours.
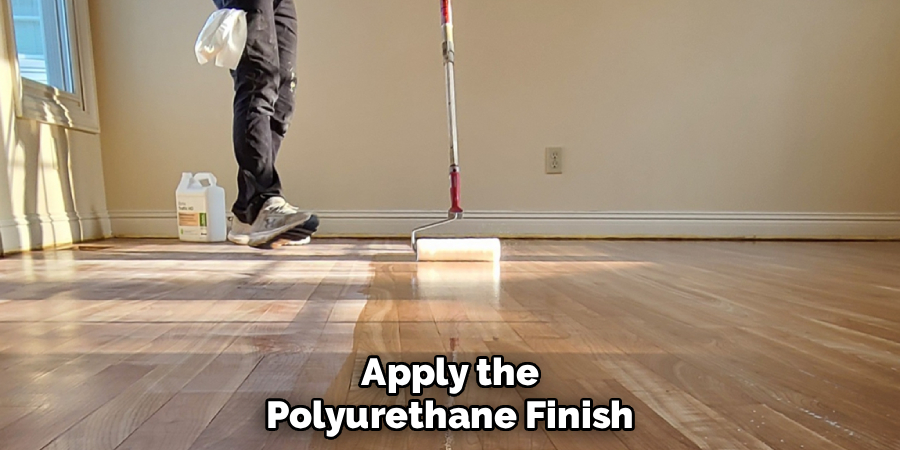
Step 10: Apply the Polyurethane Finish
Once the stain is completely dry, apply your protective topcoat. Pour the polyurethane into a paint tray and use a high-quality synthetic applicator or a lamb’s wool applicator to spread an even coat across the floor, working with the grain. Let the first coat dry overnight. Lightly scuff the floor with a 220-grit screen on a pole sander to ensure adhesion, vacuum up the dust, and apply a second coat. Three coats typically provide the best long-term protection.
5 Things You Should Avoid
- Skipping the Prep Work: Failing to punch down nails or clean up dust will ruin your sander and create a bumpy, dirty finish. Take the prep stage seriously.
- Stopping the Sander: Never let a running drum sander sit still on the wood. It will instantly dig a deep trench into the floorboards that is nearly impossible to fix.
- Applying Stain Inconsistently: Do not let the stain sit for 5 minutes in one corner and 20 minutes in another. The color will look incredibly blotchy and uneven.
- Rushing the Drying Process: Applying finish over a stain that is not completely dry will trap moisture and cause the finish to peel or turn cloudy.
- Ignoring Ventilation: Stains and oil-based polyurethanes emit strong fumes. Always open windows and use fans facing outward to ventilate the space.
Frequently Asked Questions
- Can I Change the Color of My Wood Floors Without Sanding?
You cannot drastically change the color without sanding down to the bare wood. While you can apply a tinted topcoat or a glaze to slightly alter the tone, true restaining requires removing the old finish entirely so the wood pores can absorb the new pigment. - How Long Does It Take to Refinish and Restain Wood Floors?
For an average-sized living room, expect the project to take about four to five days. Sanding takes one to two days, staining requires a day to apply and dry, and applying multiple coats of polyurethane takes another two days to cure properly. - Should I Choose an Oil-based or Water-based Polyurethane?
Oil-based finish provides a highly durable, slightly amber glow but takes longer to dry and has stronger fumes. Water-based finish dries clear, preventing the wood from yellowing over time, dries much faster, and emits fewer odors, though it may require more coats.
Conclusion
How to change the color of wood floors is an excellent way to breathe new life into your home. While the process demands careful preparation, heavy labor, and attention to detail, the results speak for themselves.
By gathering the right tools, following these 10 steps methodically, and avoiding common DIY mistakes, you can achieve a stunning, professional-level finish.
Take your time, focus on proper sanding and cleaning, and enjoy the beautiful transformation of your space.
About
Mike May is a distinguished figure in the world of woodworking and timber design, with a decade of expertise creating innovative and sustainable indoor solutions. His professional focus lies in merging traditional craftsmanship with modern manufacturing techniques, fostering designs that are both practical and environmentally conscious. As the author of Woodimber, Mike delves into the art and science of timber-craft, inspiring artisans and industry professionals alike.
Education
RMIT University (Melbourne, Australia)
-
Associate Degree in Design (Timber): Focus on sustainable design, industry-driven projects, and practical craftsmanship.
-
Gained hands-on experience with traditional and digital manufacturing tools, such as CAD and CNC software.
Nottingham Trent University (United Kingdom)
-
Bachelor’s in Woodworking and Product Design (Honors): Specialized in product design with a focus on blending creativity with production techniques.
-
Participated in industry projects, working with companies like John Lewis and Vitsoe to gain real-world insights.
Publications and Impact
In Woodimber, May shares his insights on timber design processes, materials, and strategies for efficient production. His writing bridges the gap between artisan knowledge and modern industry needs, making it a must-read for both budding designers and seasoned professionals.