 (1)")

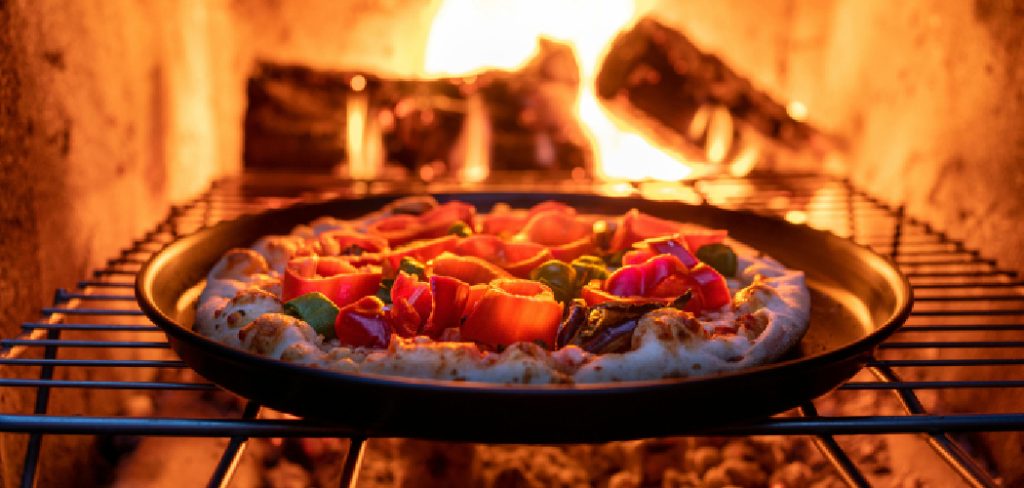
There is something undeniably magical about gathering around a crackling fire with friends and family, the scent of woodsmoke mingling with bubbling cheese and fresh basil. A backyard pizza oven isn’t just a cooking appliance; it is a centerpiece for entertainment and a gateway to culinary adventures that a standard kitchen oven simply cannot replicate.
The intense, radiant heat creates that perfect crispy crust and charred toppings that define authentic Neapolitan pizza. While buying a pre-made unit can cost thousands, taking the DIY route is a rewarding project that saves money and instills a deep sense of pride.
Learning how to build wood fired pizza oven is an achievable weekend project for anyone willing to put in a little sweat equity. You do not need to be a master mason to create a functional, beautiful oven that will last for years. This guide breaks down the construction process into manageable stages, demystifying the materials and techniques needed. By following these steps, you will transform a corner of your patio into a rustic pizzeria, ready to churn out delicious meals and create lasting memories under the open sky.
Why a Backyard Pizza Oven Changes Everything
Installing a wood-fired oven is a lifestyle upgrade that goes far beyond making pizza. The intense heat retention of fire bricks allows for a style of cooking that is impossible indoors. You can roast vegetables with a perfect char, bake rustic loaves of sourdough with a thick, crackling crust, or slow-cook meats overnight as the oven cools down. It turns meal preparation into an event rather than a chore.
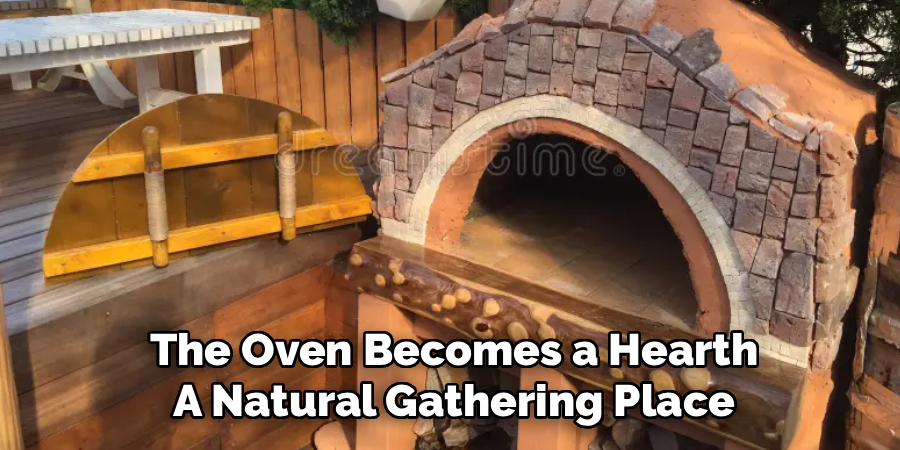
From a social perspective, the oven becomes a hearth—a natural gathering place. Guests love to get involved, stretching their own dough and choosing toppings, turning dinner into an interactive party. Furthermore, a well-built masonry oven is a durable landscaping feature that can increase your property value. It adds a sophisticated, custom touch to your outdoor living space that prospective buyers love. It is an investment in your home and your quality of life, offering returns in the form of incredible food and community connection.
Step-by-Step Guide on How to Build Wood Fired Pizza Oven
Step 1: Design and Pour a Solid Concrete Foundation
Every durable structure begins with an unshakeable foundation, and your pizza oven is no exception. This heavy masonry unit requires a reinforced concrete slab to prevent it from sinking or cracking over time. Begin by excavating a rectangular area in your chosen location, digging down about six inches to remove the topsoil.
Build a simple wooden form using 2×4 lumber to define the perimeter of your slab. Fill the bottom with a layer of crushed gravel for drainage, then lay down a grid of steel rebar for structural reinforcement. Mix and pour your concrete, smoothing it out with a screed board to ensure it is perfectly level. Allow this slab to cure for several days before building any weight on top of it.
Step 2: Construct the Base Stand with Concrete Blocks
Once your concrete foundation has fully cured, you need to build the stand that will hold the oven at a comfortable cooking height. Dry stack concrete cinder blocks in a U-shape or a solid rectangle, depending on your design preference. Using mortar between the blocks will create a permanent, rigid structure. Ensure that each course of blocks is level and plumb as you build upward. The standard height for the oven floor is usually around waist level, or about 40 to 44 inches high. This base not only supports the massive weight of the oven dome but also provides convenient storage space underneath for your firewood.
Step 3: Pour the Insulating Hearth Slab
On top of your block stand, you need to pour a second concrete slab, but this one has a special requirement: insulation. A standard concrete slab will suck the heat right out of your oven floor, making it hard to keep pizzas cooking evenly.
To solve this, you construct a “floating” countertop reinforced with rebar. On top of this structural slab, you will layer a specialized insulating mixture made of vermiculite or perlite mixed with cement. This lightweight, insulating layer is critical. It ensures that the heat generated by your fire stays inside the cooking chamber where it belongs, rather than dissipating down into the concrete blocks below.

Step 4: Lay the Fire Brick Cooking Floor
The cooking floor is the heart of your oven, where the food directly contacts the heat. For this surface, you must use high-quality fire bricks, also known as refractory bricks, which are designed to withstand extreme temperatures without cracking. Lay these bricks on top of your insulating layer in a herringbone or running bond pattern.
Do not use mortar between these floor bricks; they should be laid loose on a thin bed of sand or fire clay. This allows them to expand and contract with the heat without cracking the floor. Take your time to ensure this surface is perfectly flat and smooth, as any raised edges will catch your pizza peel later.
Step 5: Understanding Pizza Oven Domes
The dome is the most challenging but structurally important part of the build. You can build it using fire bricks cut in half, or “soldiers,” mortared together with high-heat refractory mortar. Many builders use a sand mold or a wooden form to support the bricks as they build the arch. Start at the base and work your way up in concentric circles, tilting the bricks inward as you go. The shape should be a low vault or a hemisphere; a lower dome height forces the flame to roll across the ceiling, radiating intense heat down onto the pizza. Understanding the geometry of the dome is essential to mastering how to build wood fired pizza oven functionality.

Step 6: Construct the Oven Arch and Chimney
The opening of your oven needs to be slightly lower than the height of the internal dome to create a heat lock. This ensures that hot air circulates inside rather than escaping immediately. Build an archway using bricks or a pre-made form at the front of the dome. Just behind this arch, you will install the chimney vent. The chimney draws the smoke up and away from the chef’s face while facilitating the airflow needed to feed the fire. A stainless steel flue pipe or a clay chimney liner works well here. Ensure the connection is sealed tightly with high-heat mortar to prevent smoke leaks.
Frequently Asked Questions
What is the best location for a pizza oven?
Choosing the right spot involves safety and convenience.
- Wind Direction: Position the oven so the prevailing wind blows smoke away from your house and dining area.
- Clearance: Ensure there are no low-hanging branches or flammable structures directly above the chimney.
- Foundation: The ground must be level and solid, as the oven will weigh several tons. Avoid areas with underground utility lines.
Do I really need fire bricks?
Yes, using standard red clay bricks is a recipe for failure.
- Thermal Shock: Regular bricks are not designed for the rapid temperature changes of a pizza oven and will crack, spall, or explode under high heat.
- Heat Retention: Fire bricks (refractory bricks) are dense and formulated to absorb and radiate heat efficiently, which is the secret to cooking a pizza in 90 seconds.
How much does it cost to build a DIY pizza oven?
The cost varies widely based on materials and size.
- Basic Build: Using recycled materials for the base and standard fire bricks, you can build a functional oven for $800 to $1,500.
- Premium Build: Using high-end stone veneer, custom casting, and professional-grade insulation kits can push the cost to $2,000 or more.
- Comparison: This is still significantly cheaper than buying a pre-built masonry oven, which often starts at $5,000.
How long does it take to heat up the oven?
Heating time depends on the size of the oven and the thickness of the walls.
- Standard Time: Most residential ovens take 60 to 90 minutes to reach the optimal temperature of 700°F – 900°F.
- Saturation: You want the heat to soak deep into the bricks (thermal mass) so the oven stays hot for hours, rather than just heating the air inside.
What wood should I use for cooking?
The type of wood affects heat output and flavor.
- Hardwoods Only: Use seasoned, dry hardwoods like oak, maple, ash, or fruitwoods (apple, cherry). They burn hot and clean.
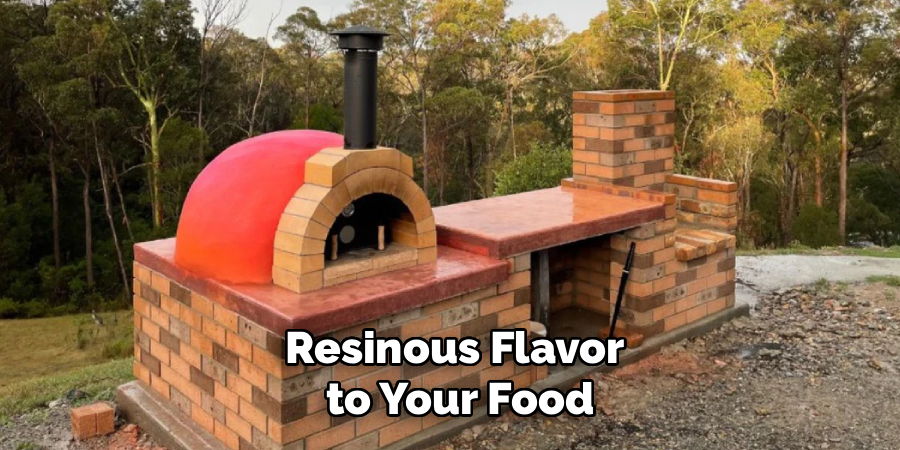
- Avoid Softwoods: Never use pine, spruce, or cedar. They contain sap that creates creosote buildup, pops dangerous sparks, and imparts a bitter, resinous flavor to your food.
Conclusion
Building your own masonry oven is a project that pays dividends in flavor, fun, and satisfaction. While the process involves some heavy lifting and careful planning, the result is a professional-grade cooking tool right in your backyard. From pouring the first bag of concrete to laying the final decorative tile, every step brings you closer to the ultimate goal: pulling that first blistering, perfect pizza out of the fire.
The key to success is patience—both in the construction and the curing process. Don’t rush the drying times, and invest in quality insulation to ensure your oven performs efficiently. Now that you have a comprehensive roadmap for how to build wood fired pizza oven, you are ready to gather your materials and break ground. Invite your friends over, fire up the kiln, and get ready to enjoy the best food you have ever tasted, made with your own two hands.
About
Mike May is a distinguished figure in the world of woodworking and timber design, with a decade of expertise creating innovative and sustainable indoor solutions. His professional focus lies in merging traditional craftsmanship with modern manufacturing techniques, fostering designs that are both practical and environmentally conscious. As the author of Woodimber, Mike delves into the art and science of timber-craft, inspiring artisans and industry professionals alike.
Education
RMIT University (Melbourne, Australia)
-
Associate Degree in Design (Timber): Focus on sustainable design, industry-driven projects, and practical craftsmanship.
-
Gained hands-on experience with traditional and digital manufacturing tools, such as CAD and CNC software.
Nottingham Trent University (United Kingdom)
-
Bachelor’s in Woodworking and Product Design (Honors): Specialized in product design with a focus on blending creativity with production techniques.
-
Participated in industry projects, working with companies like John Lewis and Vitsoe to gain real-world insights.
Publications and Impact
In Woodimber, May shares his insights on timber design processes, materials, and strategies for efficient production. His writing bridges the gap between artisan knowledge and modern industry needs, making it a must-read for both budding designers and seasoned professionals.