 (1)")

Embarking on a kitchen renovation is an exciting prospect. Whether you are aiming for a complete overhaul or simply want to create an open-shelf look, removing old cabinets is often the first step. The idea of taking down heavy, bulky cupboards can seem intimidating, especially for a DIY beginner. However, with the right tools, a clear plan, and a focus on safety, it is a surprisingly manageable task. Knowing how to remove a kitchen cupboard correctly can save you money on labor costs and empower you with valuable home improvement skills. This guide will provide clear, step-by-step instructions to help you take down your cabinets safely and efficiently, paving the way for your brand-new kitchen design.
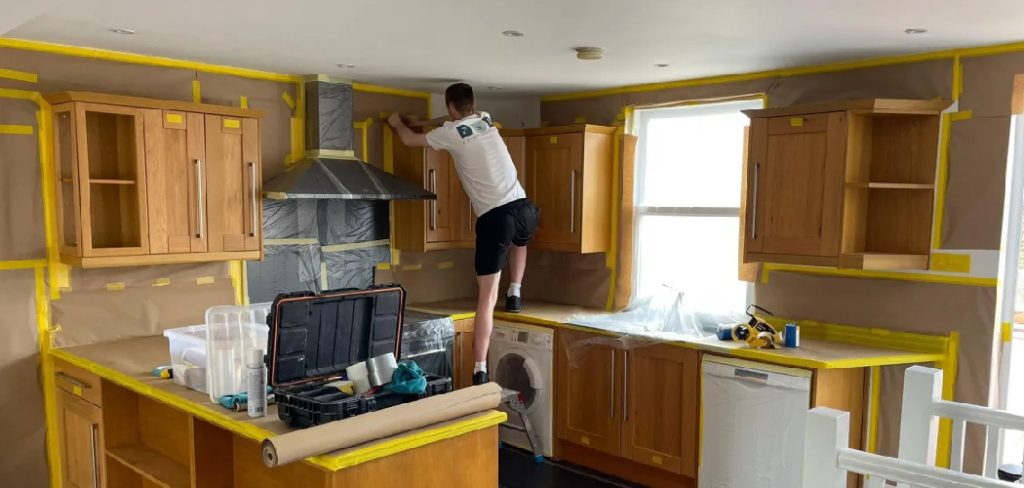
Removing kitchen cupboards may seem daunting at first, but it’s an essential step in many home renovation projects. Whether you’re replacing old cabinets with modern designs or simply modifying your layout, understanding how to approach this task properly can make all the difference. With a few basic tools and some preparation, you can take on this project with confidence, ensuring a smooth and stress-free process.
Why This Project is a Great DIY Starter
Removing kitchen cupboards is an excellent entry point into the world of home renovation. Unlike more complex tasks that require specialized skills like plumbing or electrical work, this project is primarily about unscrewing and careful lifting. It provides a tangible sense of accomplishment and visibly transforms your space in just a few hours. This process helps you understand how your home is constructed, from finding wall studs to seeing how cabinetry is installed. It builds confidence and prepares you for the next stages of your remodel, whether that involves painting, tiling, or installing new fixtures. It is a project with a high impact and a relatively low barrier to entry.
Step-by-Step Guide on How to Remove a Kitchen Cupboard
Step 1: Prepare Your Workspace and Gather Your Tools
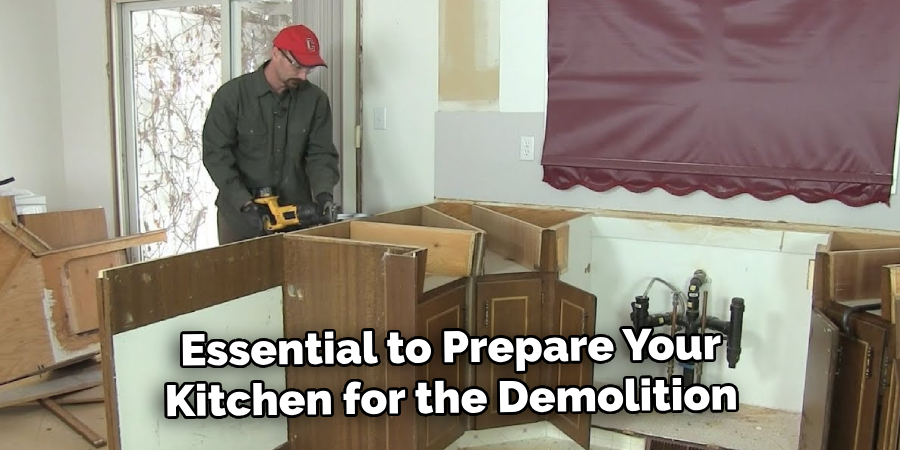
Before you touch a single screw, it is essential to prepare your kitchen for the demolition. Start by clearing everything off your countertops. Cover the counters and floor with heavy-duty drop cloths or old blankets to protect them from falling debris, screws, or the cabinets themselves. This also makes cleanup much easier. Next, gather all your necessary tools. You will need a drill or impact driver with various bits, a stud finder, a utility knife, a pry bar, safety glasses, and sturdy work gloves. Having a second person to help you is not just a suggestion—it is a critical safety requirement for lifting the heavy cabinets off the wall.
Step 2: Empty the Cupboard and Remove the Doors and Shelves
The first step in disassembly is to lighten the load as much as possible. Open the cupboard and remove every single item from inside. Once it is completely empty, you can proceed with removing the doors. Use your drill or a screwdriver to unscrew the hinges from the cabinet frame, not from the door itself. This is usually easier and faster. Set the doors and their hardware aside, especially if you plan to reuse or sell them. After the doors are off, take out any adjustable shelves. This significantly reduces the weight you and your helper will need to manage when the cabinet is ready to come off the wall.
Step 3: Locate and Disconnect Any Adjoining Cupboards
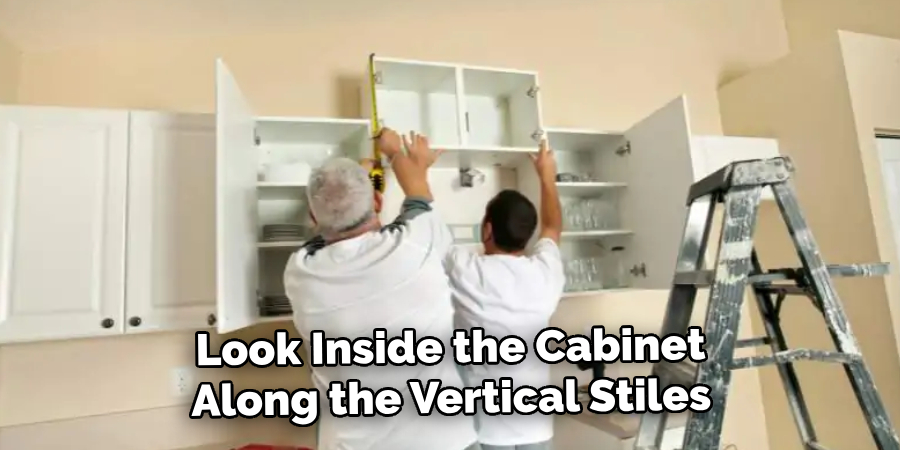
Most kitchen cupboards are installed as a connected run, meaning they are screwed together side-by-side to create a seamless unit. Before you can remove an individual cabinet, you must detach it from its neighbors. Look inside the cabinet along the side frames for screws that connect it to the adjacent units. These are typically found near the front and back, at the top and bottom of the frame. Use your drill to carefully remove these connecting screws. Be sure to support the neighboring cabinet if necessary, as removing the screws might cause it to shift slightly. This step isolates the cupboard you are targeting.
Step 4: Find the Mounting Screws
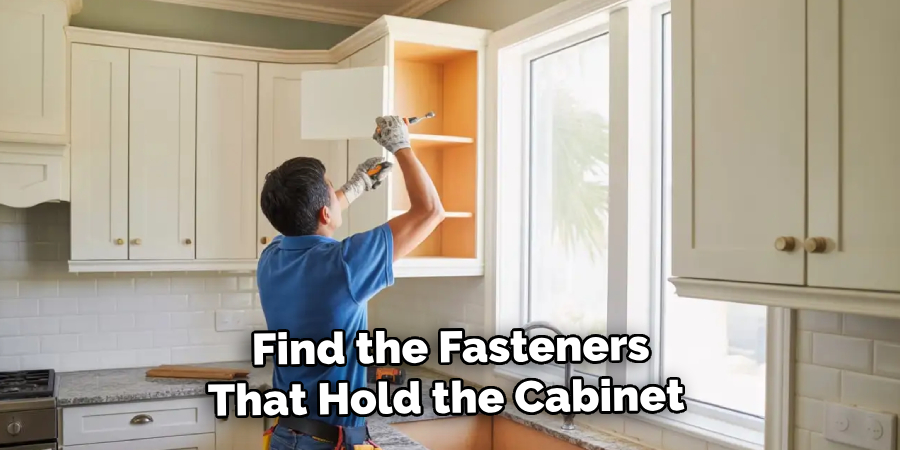
Now it is time to find the fasteners that hold the cabinet to the wall. These are the most important screws in the entire process. They are long and are driven through the back of the cabinet, directly into the wall studs for support. You will typically find them along a thicker wooden rail at the top and sometimes at the bottom of the cabinet’s interior. Use your stud finder on the wall above or below the cabinet to confirm where the studs are located; this will help you anticipate where the screws will be. There are usually two to four mounting screws holding each upper cabinet in place.
Step 5: Support the Cabinet’s Weight Before Final Removal
This is a critical safety step and the primary reason you need a helper. Do not start removing the mounting screws until the cabinet is fully supported. An unsupported cabinet can fall unexpectedly, causing injury and damage. Have your helper press firmly upward on the bottom of the cupboard, taking on its full weight. If you are working alone, you can create a support structure using a stack of books or blocks of wood on the countertop to hold the cabinet in place. However, a human helper is always the safest and most reliable method for managing the weight during this delicate phase of learning how to remove a kitchen cupboard.
Step 6: Carefully Remove the Mounting Screws
With the cabinet’s weight fully supported by your helper, you can now begin to remove the mounting screws. Start with the bottom screws, if there are any, before moving to the top. Use your drill or impact driver to back the screws out slowly. It is often a good idea to leave one top screw partially in place until you are absolutely ready to lift the cabinet away. This acts as a final safety catch. Communicate clearly with your helper throughout this process. Once the final screw is removed, the cabinet will be completely free from the wall, held only by your partner.
Step 7: Lower the Cabinet and Move It Away
This is the moment of truth. With all screws removed, coordinate with your helper to carefully tilt the top of the cabinet slightly away from the wall. Then, together, lift it off any support blocks and lower it onto the protected countertop. Take a moment to rest before moving it further. From the countertop, carefully maneuver the heavy and awkward cabinet down to the floor. Once it is safely on the ground, you can move it out of the kitchen to a garage or another room where it will be out of the way, completing the guide on how to remove a kitchen cupboard. Congratulations, the wall is now clear!

Frequently Asked Questions
Do I Need to Turn Off the Power Before Removing Cabinets?
Yes, this is a crucial safety step. If your cupboards have any under-cabinet lighting or are near electrical outlets, you should turn off the corresponding circuit breaker before you begin. This eliminates the risk of electric shock. It is always better to work in a slightly darker space with a headlamp than to risk a dangerous accident.
What Tools Do I Absolutely Need for This Job?
While you can get by with minimal tools, a few are essential for safety and efficiency.
- Drill/Impact Driver: This is non-negotiable for removing screws quickly.
- Safety Glasses: Protects your eyes from dust and falling debris.
- A Helper: Lifting heavy upper cabinets is a two-person job. Do not attempt it alone.
- Stud Finder: Helps you locate the mounting screws that are driven into the wall studs.
How Can I Tell If Cabinets Are Screwed Together?
Look inside the cabinet along the vertical stiles (the front frame). You will see screw heads that are driven sideways into the adjacent cabinet. There are typically two screws near the front—one high and one low. If you cannot see them, they may be hidden by a thin veneer strip that can be gently pried off.
What If My Cabinets Are Glued to the Wall?
Some older installations may have used construction adhesive in addition to screws. If you have removed all the screws and the cabinet still will not budge, this is likely the cause. You will need to carefully run a utility knife along the seam where the cabinet meets the wall to break the seal. Then, use a pry bar to gently work the cabinet away from the wall, being careful not to cause excessive damage to the drywall.
Can I Reuse the Cabinets I Remove?
Absolutely! If you remove them carefully, old kitchen cabinets are perfect for reuse. They make excellent storage solutions for a garage, laundry room, or workshop. You can also donate them to a habitat for humanity restore or sell them online. Just be sure to keep all the doors, shelves, and hardware together.
Conclusion
Removing a kitchen cupboard is a task that looks more challenging than it is. By following a methodical approach that prioritizes safety and preparation, any DIY enthusiast can successfully clear out old cabinetry. The process boils down to systematically lightening the load, detaching the unit from its neighbors, and carefully unscrewing it from the wall with the help of a partner. This project not only opens up your space for new possibilities but also builds the confidence you need to tackle other aspects of your renovation. Now that you have a detailed guide on how to remove a kitchen cupboard, you are ready to take that first powerful step toward creating the kitchen of your dreams.
About
Mike May is a distinguished figure in the world of woodworking and timber design, with a decade of expertise creating innovative and sustainable indoor solutions. His professional focus lies in merging traditional craftsmanship with modern manufacturing techniques, fostering designs that are both practical and environmentally conscious. As the author of Woodimber, Mike delves into the art and science of timber-craft, inspiring artisans and industry professionals alike.
Education
RMIT University (Melbourne, Australia)
-
Associate Degree in Design (Timber): Focus on sustainable design, industry-driven projects, and practical craftsmanship.
-
Gained hands-on experience with traditional and digital manufacturing tools, such as CAD and CNC software.
Nottingham Trent University (United Kingdom)
-
Bachelor’s in Woodworking and Product Design (Honors): Specialized in product design with a focus on blending creativity with production techniques.
-
Participated in industry projects, working with companies like John Lewis and Vitsoe to gain real-world insights.
Publications and Impact
In Woodimber, May shares his insights on timber design processes, materials, and strategies for efficient production. His writing bridges the gap between artisan knowledge and modern industry needs, making it a must-read for both budding designers and seasoned professionals.