 (1)")

Hardwood floors are a timeless feature that adds warmth, elegance, and value to any home. However, daily foot traffic, pet claws, and moving furniture can leave them looking dull and scratched over time. While deep scratches might require a full refinishing job, most surface-level wear can be fixed with a much simpler process. Buffing, also known as screening, is a maintenance technique that revitalizes the top layer of finish without removing the wood itself. It is a fantastic way to bring back the shine and extend the life of your flooring investment.
Many homeowners feel intimidated by the idea of using floor machines, fearing they might damage the wood. Fortunately, learning how to buff a hardwood floor is a straightforward skill that anyone can master with the right guidance. This process is less invasive than sanding and can be completed in a single weekend. By following a clear set of steps, you can restore that showroom glow to your living space, making your floors look brand new without the heavy dust or high cost of a professional service.
Why Buffing Is Essential for Floor Longevity
Buffing is more than just a cosmetic upgrade; it is a crucial part of preventative maintenance for your home. Over time, the protective polyurethane or wax coating on your floor develops microscopic scratches and scuffs. These imperfections scatter light, making the floor appear dull, and they can trap dirt that slowly grinds into the finish. If left unchecked, this wear eventually penetrates through to the raw wood, necessitating a complete and expensive sanding job.
Regular buffing smoothes out these minor imperfections and prepares the surface for a fresh coat of finish or wax. It acts as a reset button for your floor’s protective layer. By buffing every few years, you effectively add decades to the lifespan of your hardwood. It revives the rich color of the timber and creates a smoother surface that is easier to clean. This simple act of care preserves the structural integrity of the wood, ensuring that your floors remain a durable and beautiful foundation for your home’s design for generations to come.
Step-by-Step Guide on How to Buff a Hardwood Floor
Step 1: Clear the Room and Clean Thoroughly
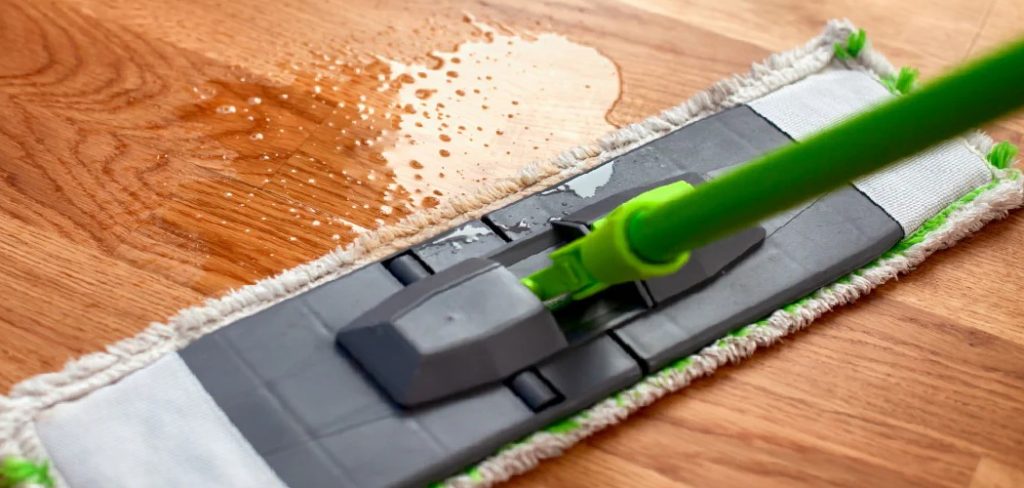
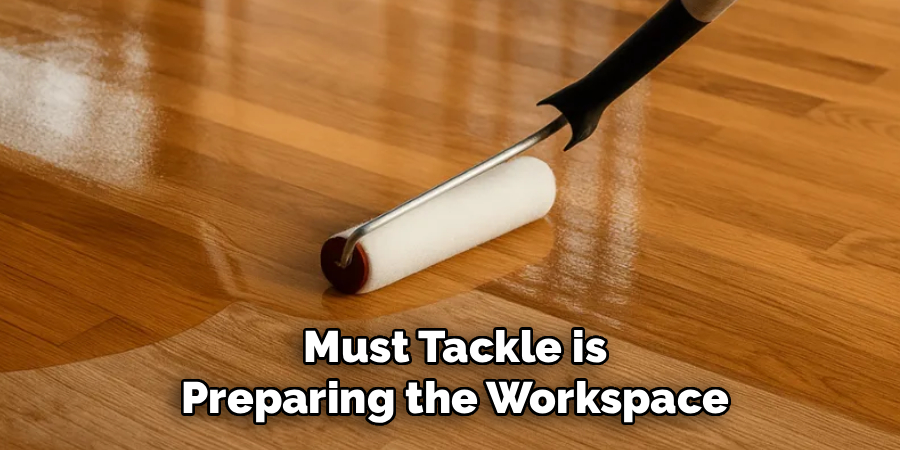
The very first task you must tackle is preparing the workspace to ensure nothing obstructs the machine. You need to remove absolutely everything from the room, including all furniture, rugs, curtains that touch the floor, and even wall hangings that might fall due to vibration. Once the room is empty, you must clean the floor meticulously. Sweep up all loose dust and debris, then follow up with a vacuum cleaner to get into the corners. Finally, use a specialized hardwood floor cleaner to remove any sticky residue or grime. Any dirt left on the floor will act like sandpaper under the buffer, creating deeper scratches instead of removing them.
Step 2: Inspect the Floor for Wax or Polish
Before you bring in any heavy machinery, you need to determine exactly what kind of finish is currently on your floor. If your floor has ever been treated with acrylic waxes or oil soaps, you cannot buff and recoat it directly, as the new finish will not adhere. To test this, find an inconspicuous spot and pour a tiny amount of water on it. If the water beads up, there may be a wax coating. You can also wipe a spot with mineral spirits on a white rag; if the rag turns brown or yellow, wax is present. If you find wax, you must strip it completely using a chemical wax remover before proceeding.
Step 3: Select and Rent the Right Buffing Machine
For most DIY enthusiasts, renting a floor buffer, often called a polisher or maintainer, from a local hardware store is the most practical option. You should look for a machine that operates at a lower speed, typically around 175 RPM, which is safer for beginners to control. When you pick up the rental, ask the staff to show you exactly how to attach the pads and operate the safety switch. You will also need to purchase the correct abrasive screens or pads. A 120-grit or 150-grit screen is usually standard for scuffing up the old finish. Make sure to buy enough screens, as they tend to clog up quickly during the process.
Step 4: Safety Gear and Machine Setup
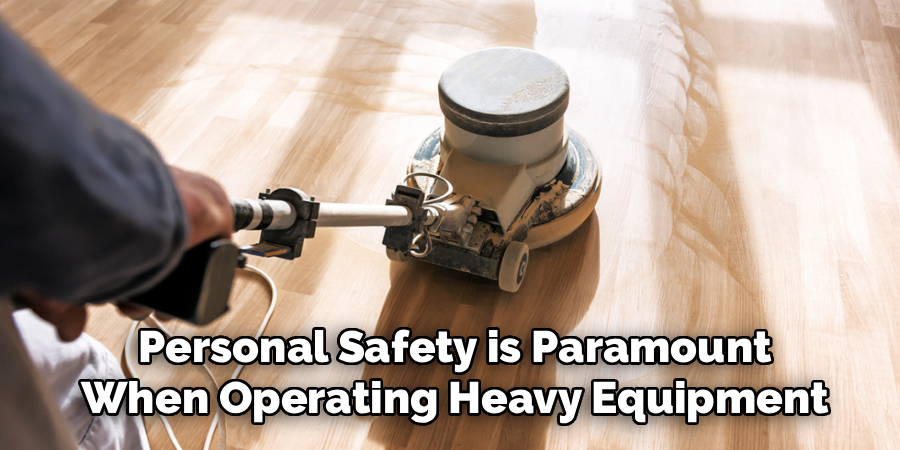
Your personal safety is paramount when operating heavy equipment indoors. You should wear a dust mask or respirator to avoid inhaling fine particles, as well as safety glasses to protect your eyes from flying debris. Ear protection is also recommended because these machines can be quite loud in an empty room. Once you are geared up, place the abrasive screen onto the floor and center the buffing pad on top of it. Lower the machine onto the pad assembly, ensuring it locks into place. Adjust the handle height so that it rests comfortably at your waist level, allowing you to maneuver the heavy unit without straining your back.
Step 5: Master the Buffing Technique on Hardwood
Now you are ready to start the machine and begin the actual work. Stand in the center of the room with the cord behind you over your shoulder. Turn the machine on and begin moving it from side to side in a slow, sweeping motion. The buffer will naturally want to pull to the left or right; you control it by slightly lifting or lowering the handle. Learning how to buff a hardwood floor requires a gentle touch, so let the weight of the machine do the work. Overlap each pass by about six inches to ensure you don’t miss any spots. Keep the machine moving constantly to avoid sanding a depression into the wood in one spot.
Step 6: Address Corners and Edges Manually
The large circular buffer will not be able to reach all the way into the corners or flush against the baseboards without risking damage to your walls. You must stop the machine about six inches away from the walls. To treat these perimeter areas, you will need to do some manual labor. Take a sheet of the same grit sandpaper or a handheld sanding block and scuff these areas by hand. Rub with the grain of the wood until the sheen matches the buffed center of the room. This ensures a uniform appearance across the entire floor. Be thorough, as any shiny spots left near the edges will stand out clearly once the new finish is applied.
Step 7: Clean Up All Dust and Residue
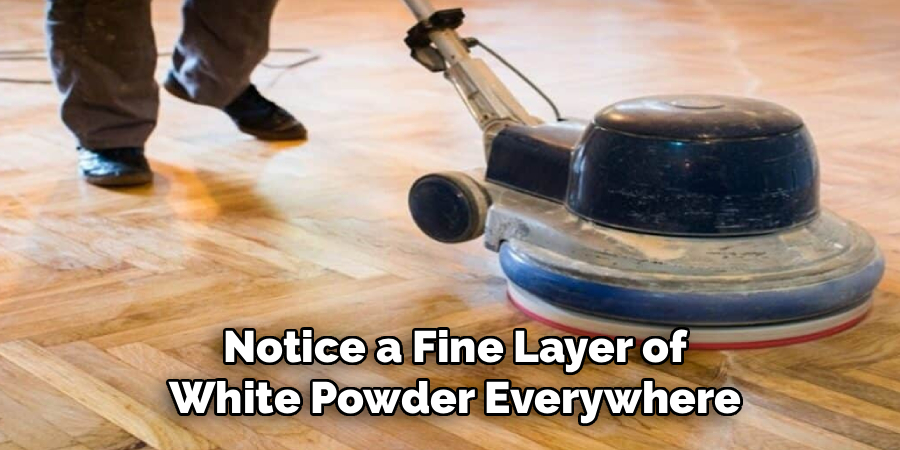
Once the entire floor has been buffed and scuffed, you will notice a fine layer of white powder everywhere. This is the old finish that you have removed. It is absolutely critical to remove every speck of this dust before applying any new coating. Start by vacuuming the floor thoroughly, using a brush attachment to protect the wood. Allow the dust in the air to settle for a few hours, then vacuum again. Finally, wipe the entire floor with a tack cloth or a rag dampened with mineral spirits. This step picks up the microscopic particles that the vacuum missed. A perfectly clean surface is the secret to a professional-looking result.
Step 8: Apply the Revitalizer or New Finish
With the floor clean and prepped, you can now apply the rejuvenating product. If you are just restoring shine, a liquid revitalizer or polish might be sufficient. Pour a small amount onto the floor in an “S” pattern and spread it evenly using a microfiber mop applicator. Work in small sections, moving with the grain of the wood. If you are applying a fresh coat of polyurethane, use a high-quality applicator pad and maintain a wet edge to avoid lap marks. Smooth, long strokes are best. Ensure the room is well-ventilated during this stage, but try to prevent strong drafts that might blow dust onto the wet finish.
Frequently Asked Questions
What Is the Difference Between Buffing and Sanding?
Buffing and sanding serve different purposes in floor maintenance.
- Buffing (Screening): This process only removes the top layer of the finish (polyurethane or wax). It does not cut into the wood itself. It is used to remove surface scratches and restore shine.
- Sanding: This removes the finish entirely and cuts into the raw wood. It is necessary for deep scratches, dents, or changing the stain color of the floor.
How Often Should I Buff My Hardwood Floors?
The frequency depends on the traffic in your home.
- High Traffic: For entryways or living rooms with pets and kids, you might need to buff every 2 to 3 years.
- Low Traffic: For bedrooms or formal dining rooms, buffing every 3 to 5 years is usually sufficient.
- Rule of Thumb: If the floor looks dull even after cleaning, it is time to buff.
Can I Buff Engineered Hardwood Floors?
Yes, but you must be extremely careful.
- Wear Layer: Engineered floors have a thin top layer of real hardwood. If this layer is too thin (less than 2mm), you risk buffing right through it.
- Check First: Always check the manufacturer’s guidelines.
- Technique: Use a finer grit screen (like 150 or 180) and minimal pressure to avoid damage.
Do I Need to Move All the Furniture?
Ideally, yes, you should remove everything.
- Uniformity: Buffing around furniture leaves “halos” of old finish that will be visible if you ever rearrange the room.
- Dust: The process creates dust that can settle on upholstery.
- Safety: It prevents accidental bumps or damage to your furniture legs from the machine.
How Much Does It Cost to Rent a Buffer?
The cost is quite affordable compared to hiring a pro.
- Daily Rate: Expect to pay between $40 and $60 for a 24-hour rental from a big-box hardware store.
- Supplies: Pads and screens will cost an additional $10 to $20.
- Total: A DIY buffing project can often be completed for under $100 total, whereas pros charge $1-$3 per square foot.
Conclusion
Revitalizing your home doesn’t always require a major renovation budget or a contractor crew. By mastering the art of buffing, you take control of your home’s maintenance and aesthetics. It is a satisfying weekend project that yields immediate, visible results, turning tired, scratched surfaces into gleaming focal points. The key is preparation—ensuring the floor is clean, the wax is removed, and you have the right safety gear before you ever turn on the machine.
Once you have completed the process, the difference in your room’s ambiance will be undeniable. The wood will glow, the grain will pop, and the entire space will feel cleaner and brighter. Furthermore, regular buffing protects your financial investment, delaying the need for costly sanding by years. Now that you understand how to buff a hardwood floor safely and effectively, you can enjoy the natural beauty of your timber for a lifetime.
About
Mike May is a distinguished figure in the world of woodworking and timber design, with a decade of expertise creating innovative and sustainable indoor solutions. His professional focus lies in merging traditional craftsmanship with modern manufacturing techniques, fostering designs that are both practical and environmentally conscious. As the author of Woodimber, Mike delves into the art and science of timber-craft, inspiring artisans and industry professionals alike.
Education
RMIT University (Melbourne, Australia)
-
Associate Degree in Design (Timber): Focus on sustainable design, industry-driven projects, and practical craftsmanship.
-
Gained hands-on experience with traditional and digital manufacturing tools, such as CAD and CNC software.
Nottingham Trent University (United Kingdom)
-
Bachelor’s in Woodworking and Product Design (Honors): Specialized in product design with a focus on blending creativity with production techniques.
-
Participated in industry projects, working with companies like John Lewis and Vitsoe to gain real-world insights.
Publications and Impact
In Woodimber, May shares his insights on timber design processes, materials, and strategies for efficient production. His writing bridges the gap between artisan knowledge and modern industry needs, making it a must-read for both budding designers and seasoned professionals.