 (1)")

Thinking about hauling out that old wood stove? It might sound like a backbreaking chore, especially if you’ve never tangled with one before, but it’s not as insurmountable as it looks—if you pace yourself and plan. With a touch of care, you’ll soon clear up a corner (or more) for another purpose, or finally swap in that fancy, efficient model you’ve been eyeing.
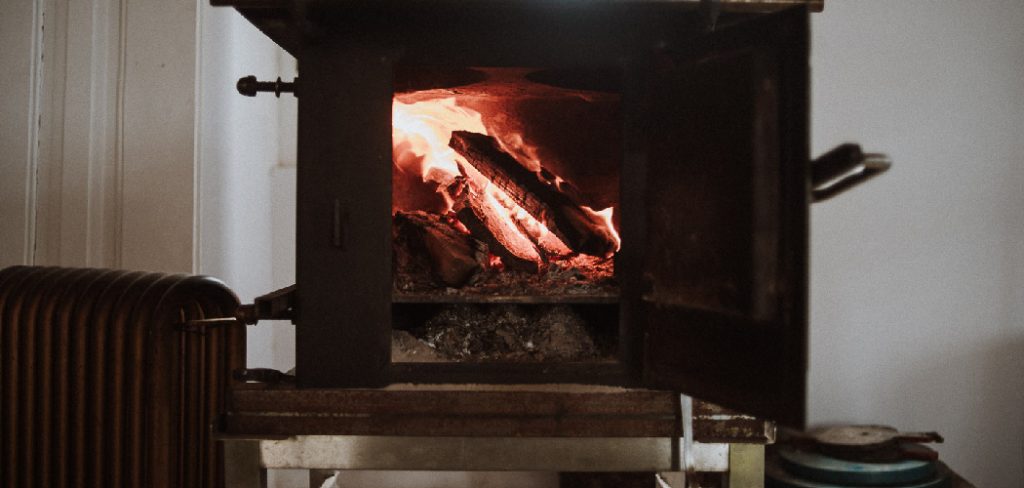
It’s worth noting that a bit of planning goes a long way. Trying to muscle a stove out on a whim is, frankly, a recipe for mess—or mishap. You’ll want to keep dust and dents to a minimum, both for your home and for your own nerves. Let’s walk through this guide on how to remove wood stove, step by step, paying special attention to what most guides tend to gloss over: the details you’ll appreciate later, when your living space isn’t caked in soot.
Safety Precautions
Pause before you grab any tools—safety should top the list. There’s no point in swapping an old appliance for a trip to the emergency room. That stove? It should be stone cold, untouched for at least two days.
Fire can linger surprisingly long, and even a faint ember is trouble. Kit up: thick gloves, boots with toe protection, and a sturdy pair of goggles are bare essentials. Don’t try flying solo. These stoves are beasts, and even with two people, you’ll need to watch your coordination. Teamwork lowers your risk a great deal.
Tools and Materials You’ll Need
If you like, call this a scavenger hunt—better to have everything at your fingertips before you start. Missing one wrench mid-removal will have you fuming and filthy. Here’s what you’ll realistically need:
- Appliance dolly built for heavy loads
- Tough drop cloths or thick blankets (the kind you wouldn’t mind ruining)
- A full set of screwdrivers and an adjustable wrench for good measure
- Spare gloves and safety glasses in case you’re working with a helper
- Shop vacuum with a filter—fine dust can be a problem
- One metal bucket plus a compact metal shovel
- Sheets of plywood, enough for a decent walkway
- Cap for the chimney or something to seal up the vent, at least temporarily
7 Simple Step-by-step Guidelines on How to Remove Wood Stove
Step 1: Prepare the Area
No one ever regrets spending an extra five minutes clearing a workspace. Move chairs, rugs, whatever’s nearby—if it’s light enough to be moved, do it now rather than curse later. Drape those blankets all around; stoves spit out more ash and soot than you’d expect, usually at exactly the wrong moment. Proper prep means stains stay off the floor, and you don’t track mess into the rest of the house.

Next, lay out your plywood sheets. Be deliberate—visualize the dolly path, and overlap if you’re worried about soft spots. These stoves can dent floorboards, pop tiles, or tangle themselves in carpet fibers with hardly any warning. The aim is a clear, sturdy runway so you can focus on lifting, not the ground under your feet.
Step 2: Disconnect the Stove Pipe
Take a close look at where the pipe connects—top or back, it varies. Thicker gloves might help here, since the edges can be sharper than expected. Loosen up the screws or brackets using the appropriate tool, but keep a firm grip as you work; nothing quite matches the cloud of fine black dust that erupts if a pipe slips loose. It’s not the end of the world, but it makes a difference if you can avoid it.
Once you have the pipe free, move with a bit of caution. Lay it down gently on your drop cloth (not straight on the floor) and grab the vacuum right away. Suck up residual soot as soon as you see it—it only takes a few seconds for a light layer to settle where you least want it.
Step 3: Clean Out the Firebox
Open up the stove’s doors and confront whatever’s left inside. Whether it’s old ash, the last bits of unburnt wood, or larger chunks, be patient as you scoop everything into the metal bucket. If you rush, you’ll stir up haze. Reducing the stove’s weight—sometimes surprisingly by dozens of pounds—also lessens the chance of injury when you start maneuvering later.

When you think you’ve gotten most of it, switch to the vacuum. Corners and baffled areas tend to hide more ash than you’d assume. The cleaner the firebox is now, the less you’ll have floating into your face when you move the stove.
Step 4: Detach the Stove from the Floor
In some homes, especially in regions where earthquakes or codes require it, wood stoves are bolted down tightly. Take a look around the feet or the base—sometimes the anchors aren’t obvious on first inspection. Your adjustable wrench or socket set will come in handy here. Stash any hardware in a baggie if you’re considering reselling the stove or want to keep your options open.
If your stove hasn’t budged in years, expect a fight. Old bolts love to fuse into place, so a little penetrating oil and patience are often necessary. Once you’re free of all fasteners, nudge the stove gently back and forth. You’re aiming for that small but telling shift that means you’re no longer anchored.
Step 5: Load the Stove onto a Dolly
Here’s the moment you’ll really appreciate a willing helper. Discuss your grip and balance before you start lifting; one hasty movement can end badly. With one person on either side, gently tip the stove just enough to slide the dolly underneath. Check that the dolly is well-centered—the last thing you want is a lopsided weight.
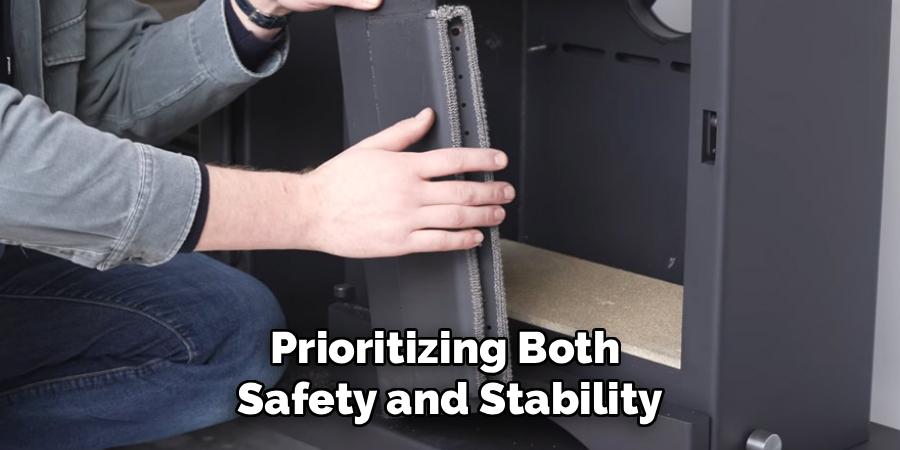
Wrap heavy-duty straps around the stove, prioritizing both safety and stability. Straps should go around the thickest part you can find, with special attention to locking the doors closed. When you tug on the stove, it should feel like a single unit—not something just perched loosely on the dolly.
Step 6: Transport the Stove Outside
Double-check your path—still clear? Great. Guide the dolly slowly, with one person pulling and the other keeping the stove steady. Use the plywood path and stay alert around every threshold or tight corner. If your hands start slipping, stop and regroup.
Stairs raise the stakes. Ideally, rustle up a third pair of hands. Take it slow; there’s no prize for speed here, and an uncontrolled drop is dangerous for everyone involved. Lower each wheel with care until you’re past every step, then continue outside at the same measured pace. Only when you’re on flat, solid ground should you relax.
Step 7: Seal the Chimney Opening
With the stove safely away from the house, you’re left staring at a hole—don’t ignore it. A missing pipe is an open invitation to drafts, insects, and possibly even adventurous squirrels. Measure carefully and buy a cap or plug that matches the diameter and material of your chimney. Some people add fireproof insulation behind the cap for good measure since it can lessen heat loss further.
Install your cap snugly, checking for any gaps. Vacuum up the soot and debris lingering in the area. Leaving everything as clean as possible now tends to save you a lot of work later, especially if you’re about to redecorate or install something new.
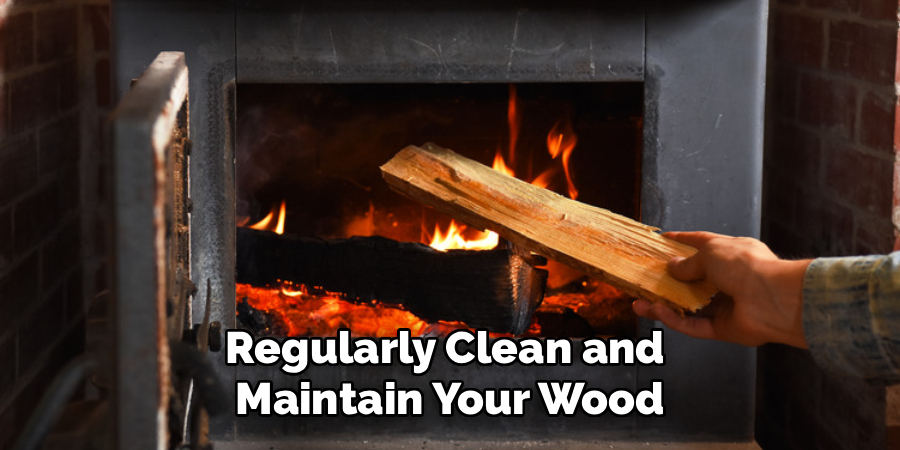
Following these steps on how to remove wood stove pipe, you can safely and efficiently clean your wood stove without causing any damage to your home. It is important to regularly clean and maintain your wood stove to ensure its longevity and safety.
Safety Tips
Bodies heal, but backs don’t always forgive. Always bend at your knees, never at your waist, when lifting—even if it feels awkward. Refuse the temptation to improvise with makeshift equipment.
If you don’t have an actual appliance dolly or a strong set of straps, stop and get them. Children and pets are curious—let them nowhere near this operation until every piece of old iron is gone and your floors are broom-clean.
Common Mistakes to Avoid
People routinely misjudge the weight of wood stoves; it’s an easy oversight that accounts for most injuries and accidents. Forgoing plywood protections often leaves behind deep gouges or broken tiles—damage that’s immediately regrettable and expensive to repair. Skipping the vacuuming step means airborne ash will settle anywhere and everywhere.
Some get impatient and don’t secure the stove tightly before moving, and that’s how you end up with a tipped stove and a dented floor. And yes, forgetting to seal the chimney leads to a winter of mystery drafts and higher energy bills—easy to avoid if you hang onto that detail.
Frequently Asked Questions
Q1: How Heavy Is A Typical Wood Stove?
Honestly, the range is significant. Most house stoves tip the scales somewhere between 300 and 800 pounds, though some, especially those built with soapstone, can break the 900-pound mark. Cast-iron units are especially punishing to lift. Look for the weight in the manual if possible, and never guess.
Q2: Do I Need A Permit To Remove A Wood Stove?
Generally, you won’t need a building permit to pull out a freestanding stove—but this can change if your project touches the structure of the fireplace, or if you’re sealing things off permanently or swapping in a new heating system. A call to your code office before you begin prevents unpleasant surprises, and you’ll sidestep possible fines if you ever sell the house.
Q3: How Should I Dispose Of An Old Wood Stove?
If your stove is not terribly old and still meets EPA standards, someone else might be happy to have it—try selling online or check if a local reuse charity will take it. For the older, out-of-date units, a scrap yard is usually the destination of choice. Iron and steel still fetch something, though don’t expect much. If hauling it yourself is out of the question, a junk removal service will do it for a fee and a cleaner garage.
Wrapping Up Your Stove Removal Project
Once that monstrous hunk of metal is out of your way, your room feels different—lighter, ready for whatever comes next. It’s no trivial task, but if you’ve prepped thoughtfully, handled the heavy work with care, and cleaned up every last bit of dust, you’ve saved yourself a fair sum and perhaps even enjoyed the process in spite of the hassle.
With the toughest part finished, you’re free to imagine the space however you like—a new heat source, perhaps, or simply a cozy-looking reading nook at last. Thanks for reading this guide on how to remove wood stove.
About
Mike May is a distinguished figure in the world of woodworking and timber design, with a decade of expertise creating innovative and sustainable indoor solutions. His professional focus lies in merging traditional craftsmanship with modern manufacturing techniques, fostering designs that are both practical and environmentally conscious. As the author of Woodimber, Mike delves into the art and science of timber-craft, inspiring artisans and industry professionals alike.
Education
RMIT University (Melbourne, Australia)
-
Associate Degree in Design (Timber): Focus on sustainable design, industry-driven projects, and practical craftsmanship.
-
Gained hands-on experience with traditional and digital manufacturing tools, such as CAD and CNC software.
Nottingham Trent University (United Kingdom)
-
Bachelor’s in Woodworking and Product Design (Honors): Specialized in product design with a focus on blending creativity with production techniques.
-
Participated in industry projects, working with companies like John Lewis and Vitsoe to gain real-world insights.
Publications and Impact
In Woodimber, May shares his insights on timber design processes, materials, and strategies for efficient production. His writing bridges the gap between artisan knowledge and modern industry needs, making it a must-read for both budding designers and seasoned professionals.