 (1)")

Thrift stores and estate sales are frequently crowded with mid-century dressers, sideboards, and nightstands.
Many of these pieces possess excellent structural geometry but suffer from superficially damaged exteriors. Shoppers often bypass them, assuming the dated, chipped finish is a permanent defect. This assumption is largely incorrect. Updating these surfaces is highly achievable when approached with an understanding of material science and proper technique.
The hidden potential in these discarded items is vast. This guide explains exactly how to paint wood veneer furniture, so the new finish adheres properly and withstands daily use. We will analyze the specific vulnerabilities of thin wood layers, evaluate the chemical properties of bonding primers, and outline a methodical sequence for achieving a remarkably smooth topcoat.
Understanding Wood Veneer vs. Solid Wood
A fundamental error in furniture restoration involves treating all wood surfaces as identical. They are not. Solid wood furniture is constructed from single, continuous pieces of lumber. If a solid oak table is deeply scratched, one can simply grind away the top fraction of an inch with heavy machinery to reveal pristine grain underneath.
Veneer demands a completely different paradigm. It is an incredibly thin slice of actual hardwood—sometimes less than a millimeter thick—that has been adhered with industrial glue to a less expensive core substrate. This core is typically medium-density fiberboard (MDF) or particleboard.
Why Veneer Requires Special Care
The extreme thinness of the surface layer represents your primary constraint. Aggressive techniques used successfully on solid wood will almost certainly ruin a veneered piece. Heavy power sanders can chew through the top wood layer in a matter of seconds.
Once that thin hardwood is breached, you expose the porous, crumbly particleboard beneath. This exposure creates an irregular texture that paint cannot disguise. It is a catastrophic failure that is exceptionally difficult to repair. Consequently, working with this material requires a gentle touch and a reliance on chemical adhesion rather than deep mechanical abrasion.
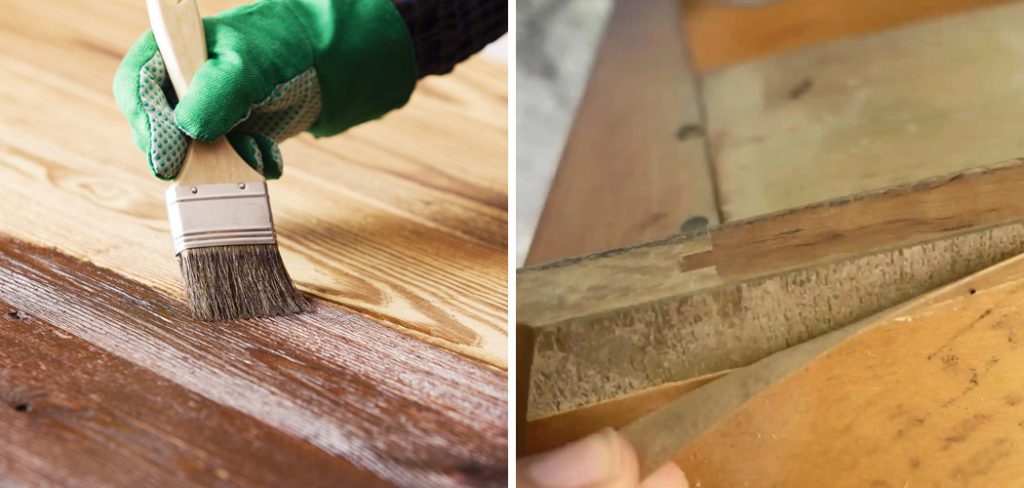
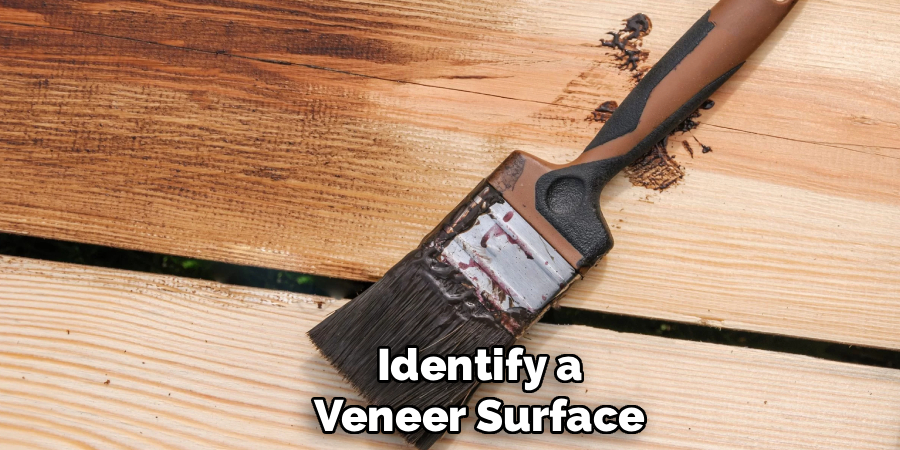
How to Identify a Veneer Surface
Before purchasing supplies, you must confirm what you are actually painting. Inspect the edges of the cabinet doors or the sides of the drawers. On a solid wood piece, the end grain will show the natural continuation of the wood rings. On a veneered piece, you will observe a distinct seam where the thin top sheet meets the core board.
You might also notice repeating grain patterns. Because veneer is sliced thinly from a single log, adjacent sheets often display an identical, mirrored grain pattern that rarely occurs in solid board construction.
Why You Should Know How to Paint Wood Veneer Furniture?
The contemporary furniture market is saturated with items designed for temporary use. These modern pieces frequently rely on paper laminates printed to mimic wood, which peel and disintegrate rapidly. Conversely, older veneered furniture was often built with superior joinery and heavy, stable cores.
Budget-Friendly Home Upgrades
Acquiring high-quality new furniture requires a significant capital expenditure. The retail cost of a structurally sound dresser can easily exceed a month’s rent. Taking an outdated, fifty-dollar thrift store find and applying a high-grade enamel completely alters its perceived value. A single coat of strategically chosen paint can modernize a room’s aesthetic for a fraction of the cost of new retail goods.
Sustainable Decorating
The environmental implications of “fast furniture” are becoming difficult to ignore. Millions of tons of manufactured particleboard end up in landfills annually. These materials do not biodegrade quickly.
By intercepting a heavy veneered desk before it reaches the dump, you are actively participating in material diversion. Upcycling older items reduces the market demand for newly harvested resources and lowers the carbon footprint associated with shipping flat-pack furniture across the globe.
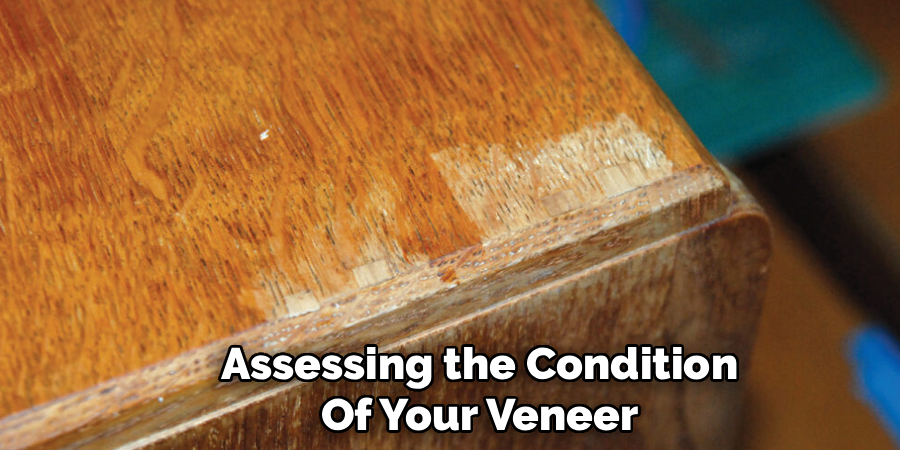
Assessing the Condition of Your Veneer
Not every piece of furniture is a suitable candidate for restoration. A thorough physical assessment must precede any sanding or painting. Applying premium paint over a failing foundation is an exercise in futility. You must evaluate the integrity of the glue binding the wood sheet to the core.
Checking for Bubbles and Peeling
Over decades, the industrial adhesives used in manufacturing can degrade due to temperature fluctuations. Run your hand flat across the top of the dresser.
Press down firmly. If you feel the surface compress slightly and hear a faint cracking sound, the veneer has detached from the substrate, creating an air pocket. Inspect the sharp corners. The edges are highly susceptible to peeling backwards. These structural failures must be stabilized with wood glue and heavy clamps before any cosmetic work begins.
Spotting Water Damage
Water is highly destructive to engineered wood cores. If a potted plant leaked onto a veneered table years ago, the moisture likely penetrated the thin top layer and soaked into the particleboard beneath. Particleboard acts like a sponge.
It swells dramatically when wet and does not shrink back to its original dimensions upon drying. This swelling creates raised, uneven bumps on the surface. While minor swelling can occasionally be flattened with specialized fillers, severe water damage might indicate that the piece is beyond casual repair.
Gathering the Right Tools and Materials
A successful outcome depends heavily on the quality of your chemistry. Attempting to save money by purchasing inferior primer or cheap brushes usually results in visible brush strokes and peeling paint. You must assemble a specific set of supplies engineered for slick surfaces.
Essential Prep Materials
Your initial focus is on cleaning and surface manipulation. Procure a heavy-duty degreaser. Tri-sodium phosphate (TSP) or a synthetic TSP substitute works exceptionally well for dissolving crystallized hand oils. You will need a high-quality wood filler to address missing chunks of veneer. A flexible metal putty knife is required for pressing the filler into the gaps. For the abrasion phase, secure a block of fine 220-grit sandpaper. Finally, purchase a package of sticky tack cloths to capture the microscopic dust generated during preparation.
Primers, Paints, and Applicators
The primer is the anchor of the entire project. Standard drywall primer is insufficient. You require a high-adhesion bonding primer, such as a shellac-based formula or a specialized urethane acrylic.
For the color coat, select a high-quality water-based enamel or an acrylic-alkyd hybrid paint. These formulations cure to a very hard finish that resists fingernail scratches. To apply these liquids, use a high-density foam roller for the wide, flat expanses. For the corners and detailed trim, utilize a synthetic bristle brush with an angled tip.
How to Paint Wood Veneer Furniture: Step-by-Step Guide
This sequential framework is designed to mitigate the specific risks associated with thin wood layers. Deviating from these steps or rushing the drying times frequently leads to adhesion failure. The preparation phase will consume the majority of your time. This is entirely normal.
Step 1: Cleaning and Deglossing
The historical accumulation of furniture polish presents a massive chemical barrier. Products containing silicone or heavy waxes repel water-based paints violently. You must strip this invisible barrier away. Dilute your degreaser according to the manufacturer’s ratios.
Scrub the entire piece systematically with a coarse sponge. Pay careful attention to the areas around the drawer pulls, as these spots harbor decades of concentrated human skin oils. Once you have scrubbed the surface, wipe it down multiple times with clean water to remove any residual degreaser. Allow the wood to dry entirely.
Step 2: Repairing Chips and Peeling Edges
Inspect the perimeter for physical deficits. If you locate a piece of veneer peeling upward, use a toothpick to force a small amount of wood glue beneath the flap. Place a piece of wax paper over the repair to prevent sticking, and compress it tightly with a C-clamp until the glue cures. For areas where the wood has chipped off entirely and the rough core is exposed, apply wood filler. Overfill the deficit slightly, as the filler will shrink as the water evaporates. Once it hardens, gently level it with your putty knife.
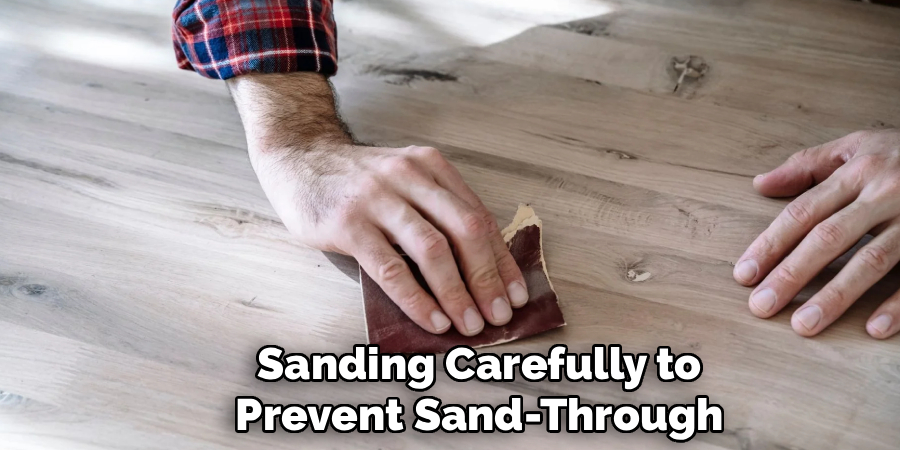
Step 3: Sanding Carefully to Prevent Sand-Through
This is the most delicate physical operation. Your objective is not to strip away the original factory stain. Your goal is simply to “degloss” the surface. You are attempting to carve microscopic scratches into the existing finish to give the new primer a physical texture to grip. This concept is often referred to as providing “teeth” for the paint.
Using your 220-grit sandpaper, rub the flat surfaces by hand using light, even pressure. Do not use an orbital sander. Power tools remove material too rapidly and lack the tactile feedback necessary to know when you are nearing the fragile particleboard core.
Step 4: Removing Dust and Prepping the Surface
Sanding produces a fine, powdery residue that settles into corners and grooves. If you paint over this dust, it mixes with the liquid primer, creating a gritty texture that feels like fine sandpaper. Attach a soft brush nozzle to your vacuum and extract the majority of the loose debris. Following the vacuuming, unfold a sticky tack cloth. Lightly drag the cloth across every square inch of the furniture. The resin in the cloth will capture the microscopic particles that the vacuum missed. The surface should feel entirely smooth under your bare hand.
Step 5: Applying a High-Adhesion Primer
Primer acts as a chemical bridge between the old, slick factory finish and your new paint. Stir the primer thoroughly to distribute the binding agents. Using your foam roller, apply a thin, consistent layer across the top and sides. Use your angled brush to push the primer into recessed details. The primer layer does not need to look beautiful. It will likely appear streaky and slightly translucent. This is acceptable. Its only job is to stick fiercely to the wood. Allow this layer to dry for the exact duration specified on the product label.
Step 6: Painting with the Right Technique
You are now ready to apply the color. Pour your enamel paint into a clean tray. Load your foam roller lightly. The secret to a factory-like finish is applying multiple exceptionally thin coats rather than one thick, heavy layer. Roll the paint onto the flat surfaces using long, continuous strokes. Do not press hard on the roller, as this creates air bubbles in the wet paint. The paint will begin to dry quickly. Once a section is rolled, leave it alone. Overworking dried paint creates deep, permanent brush marks. Apply the first coat, let it dry for several hours, and then apply a second thin coat to achieve full, opaque coverage.
Step 7: Adding a Durable Topcoat
While high-quality enamels cure to a hard finish, horizontal surfaces like dresser tops endure severe daily friction. Keys, ceramic lamps, and drinking glasses will eventually scratch exposed paint. Applying a clear water-based polyurethane provides a sacrificial protective layer. Stir the polyurethane gently to avoid introducing air. Apply it with a high-quality synthetic brush in long, parallel strokes. Water-based polyurethanes dry crystal clear and will not yellow your paint color over time. Two thin coats of polyurethane will safeguard the piece for years.
Choosing the Best Paint for Veneer Surfaces
The chemical composition of your paint directly dictates the longevity of the restoration. Latex wall paint, designed for static drywall, remains soft and rubbery even after weeks of drying. If you place a heavy object on a latex-painted dresser, the object will physically stick to the paint, peeling it away when lifted. You must utilize coatings formulated specifically for cabinetry and furniture.
Acrylic-Alkyd Enamels
These hybrid formulations represent a significant advancement in paint chemistry. They combine the easy application and water cleanup of traditional acrylics with the hard, durable curing properties of an oil-based alkyd. As the water evaporates from the applied film, the alkyd resins cross-link chemically, creating a rigid structural matrix. Furthermore, these paints possess excellent self-leveling characteristics. The liquid actually flows slightly as it sits, settling out minor brush strokes before it hardens.
Chalk and Mineral Paints
Chalk paint remains highly popular for individuals seeking a distinctly matte, historically aged appearance. Manufacturers often market these products with claims that no sanding or priming is required prior to application. While the paint might stick initially, skipping the preparation phase on a slick veneered surface usually invites premature chipping. If you desire the chalky aesthetic, it is highly recommended that you perform the standard deglossing and priming steps outlined above.
Troubleshooting Common Veneer Painting Mistakes
Even with meticulous preparation, the interaction between older organic materials and modern synthetic coatings can sometimes produce unexpected physical reactions. Recognizing these anomalies early allows you to intervene before the final topcoat is applied.
Dealing with Tannin Bleed-Through
Certain wood species, particularly mahogany and dark cherry, contain high concentrations of water-soluble tannic acids. When you apply a water-based primer or paint over these woods, the water dissolves the underlying tannins. As the paint dries, these dark brown or pinkish acids migrate upward, bleeding directly through your crisp new color. This discoloration cannot be painted over with more water-based paint; the cycle will simply repeat. The only solution is to seal the surface entirely. You must apply a coat of alcohol-based shellac primer. The alcohol flashes off rapidly, leaving an impermeable resin barrier that permanently traps the tannins beneath it.
Fixing Peeling Paint
If your dried paint scratches off effortlessly with a fingernail, you are experiencing an adhesion failure. This almost always points to an error during the preparation phase. You likely missed a patch of heavy furniture wax during the degreasing step, or you applied the color directly over a glossy surface without utilizing a bonding primer. Unfortunately, there is no simple chemical fix for this structural failure. You must take a sanding block and aggressively strip the peeling paint back down to the stable veneer. You must then re-clean the localized area, apply a proper primer, and repaint the section.

Conclusion
Reviving discarded, outdated furniture is a highly satisfying mechanical process. It requires an analytical mindset to assess the structural integrity of the substrate and a methodical adherence to chemical preparation. The thin nature of the material dictates a cautious, non-aggressive approach. By relying on rigorous degreasing, light mechanical scuffing, and premium bonding primers, you effectively neutralize the slick factory finish.
Understanding exactly how to paint wood veneer furniture allows you to bypass the disposable consumer goods market entirely. You possess the capability to transform heavy, structurally sound relics into customized, modern focal points that will confidently withstand the demands of daily residential use.
About
Mike May is a distinguished figure in the world of woodworking and timber design, with a decade of expertise creating innovative and sustainable indoor solutions. His professional focus lies in merging traditional craftsmanship with modern manufacturing techniques, fostering designs that are both practical and environmentally conscious. As the author of Woodimber, Mike delves into the art and science of timber-craft, inspiring artisans and industry professionals alike.
Education
RMIT University (Melbourne, Australia)
-
Associate Degree in Design (Timber): Focus on sustainable design, industry-driven projects, and practical craftsmanship.
-
Gained hands-on experience with traditional and digital manufacturing tools, such as CAD and CNC software.
Nottingham Trent University (United Kingdom)
-
Bachelor’s in Woodworking and Product Design (Honors): Specialized in product design with a focus on blending creativity with production techniques.
-
Participated in industry projects, working with companies like John Lewis and Vitsoe to gain real-world insights.
Publications and Impact
In Woodimber, May shares his insights on timber design processes, materials, and strategies for efficient production. His writing bridges the gap between artisan knowledge and modern industry needs, making it a must-read for both budding designers and seasoned professionals.